ARC Raiders Complete Enemy Combat Guide
Learn every ARC enemy's weaknesses, vision cones, armor types, and takedowns in View All's ARC Raiders. Practical weapon picks, boss tips, and mistakes to avoid.
TL;DR
- ARCs have a narrow 45° vision cone (blue = patrol, yellow = suspicious, red = engaged). Use stealth and angle play.
- Aim for yellow weak spots (150–200% damage). Grey plating resists damage (30–50%); white takes full damage.
- Use Ferro or AP for armored units; energy/SMGs work on small drones. Save EMPs for Rocketeers and big threats.
- Bosses: kite The Queen and Rocketeers. Clear spotters on Artillery Bastions and target leg joints on Standard Bastions.
What You Need to Know First
Quick summary before you get messy.
| Item | Effect | Where to Get |
|---|---|---|
| Vision cone | 45-degree searchlight; blue/patrol, yellow/suspicious, red/engaged | Observed in-game UI color changes |
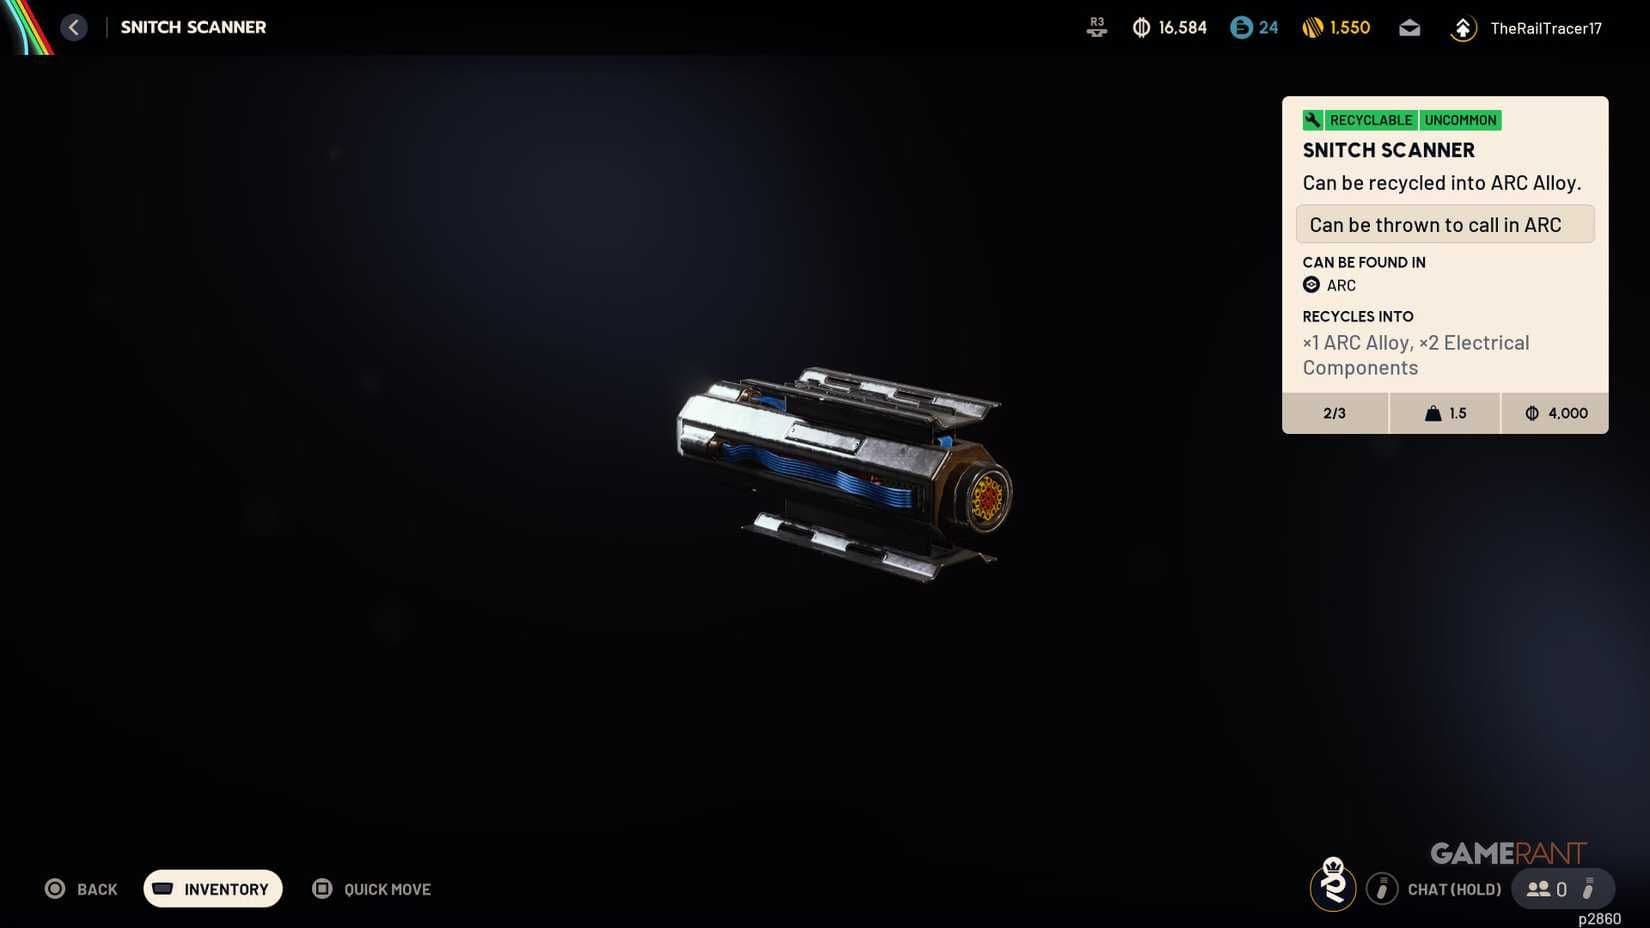
| Snitch | Enhanced audio detection, calls reinforcements | Patrols and recon waves |
| Yellow weak spots | 150–200% damage; often joints, cores, rears | Visible bright yellow components on ARCs |
| Grey plating | Heavy armor reduces damage to 30–50% | Armored units and plating sections |
| White surfaces | Take 100% damage | Soft areas and exposed mechanics |
Prerequisites and recommended levels:
| Item | Effect | Where to Get |
|---|---|---|
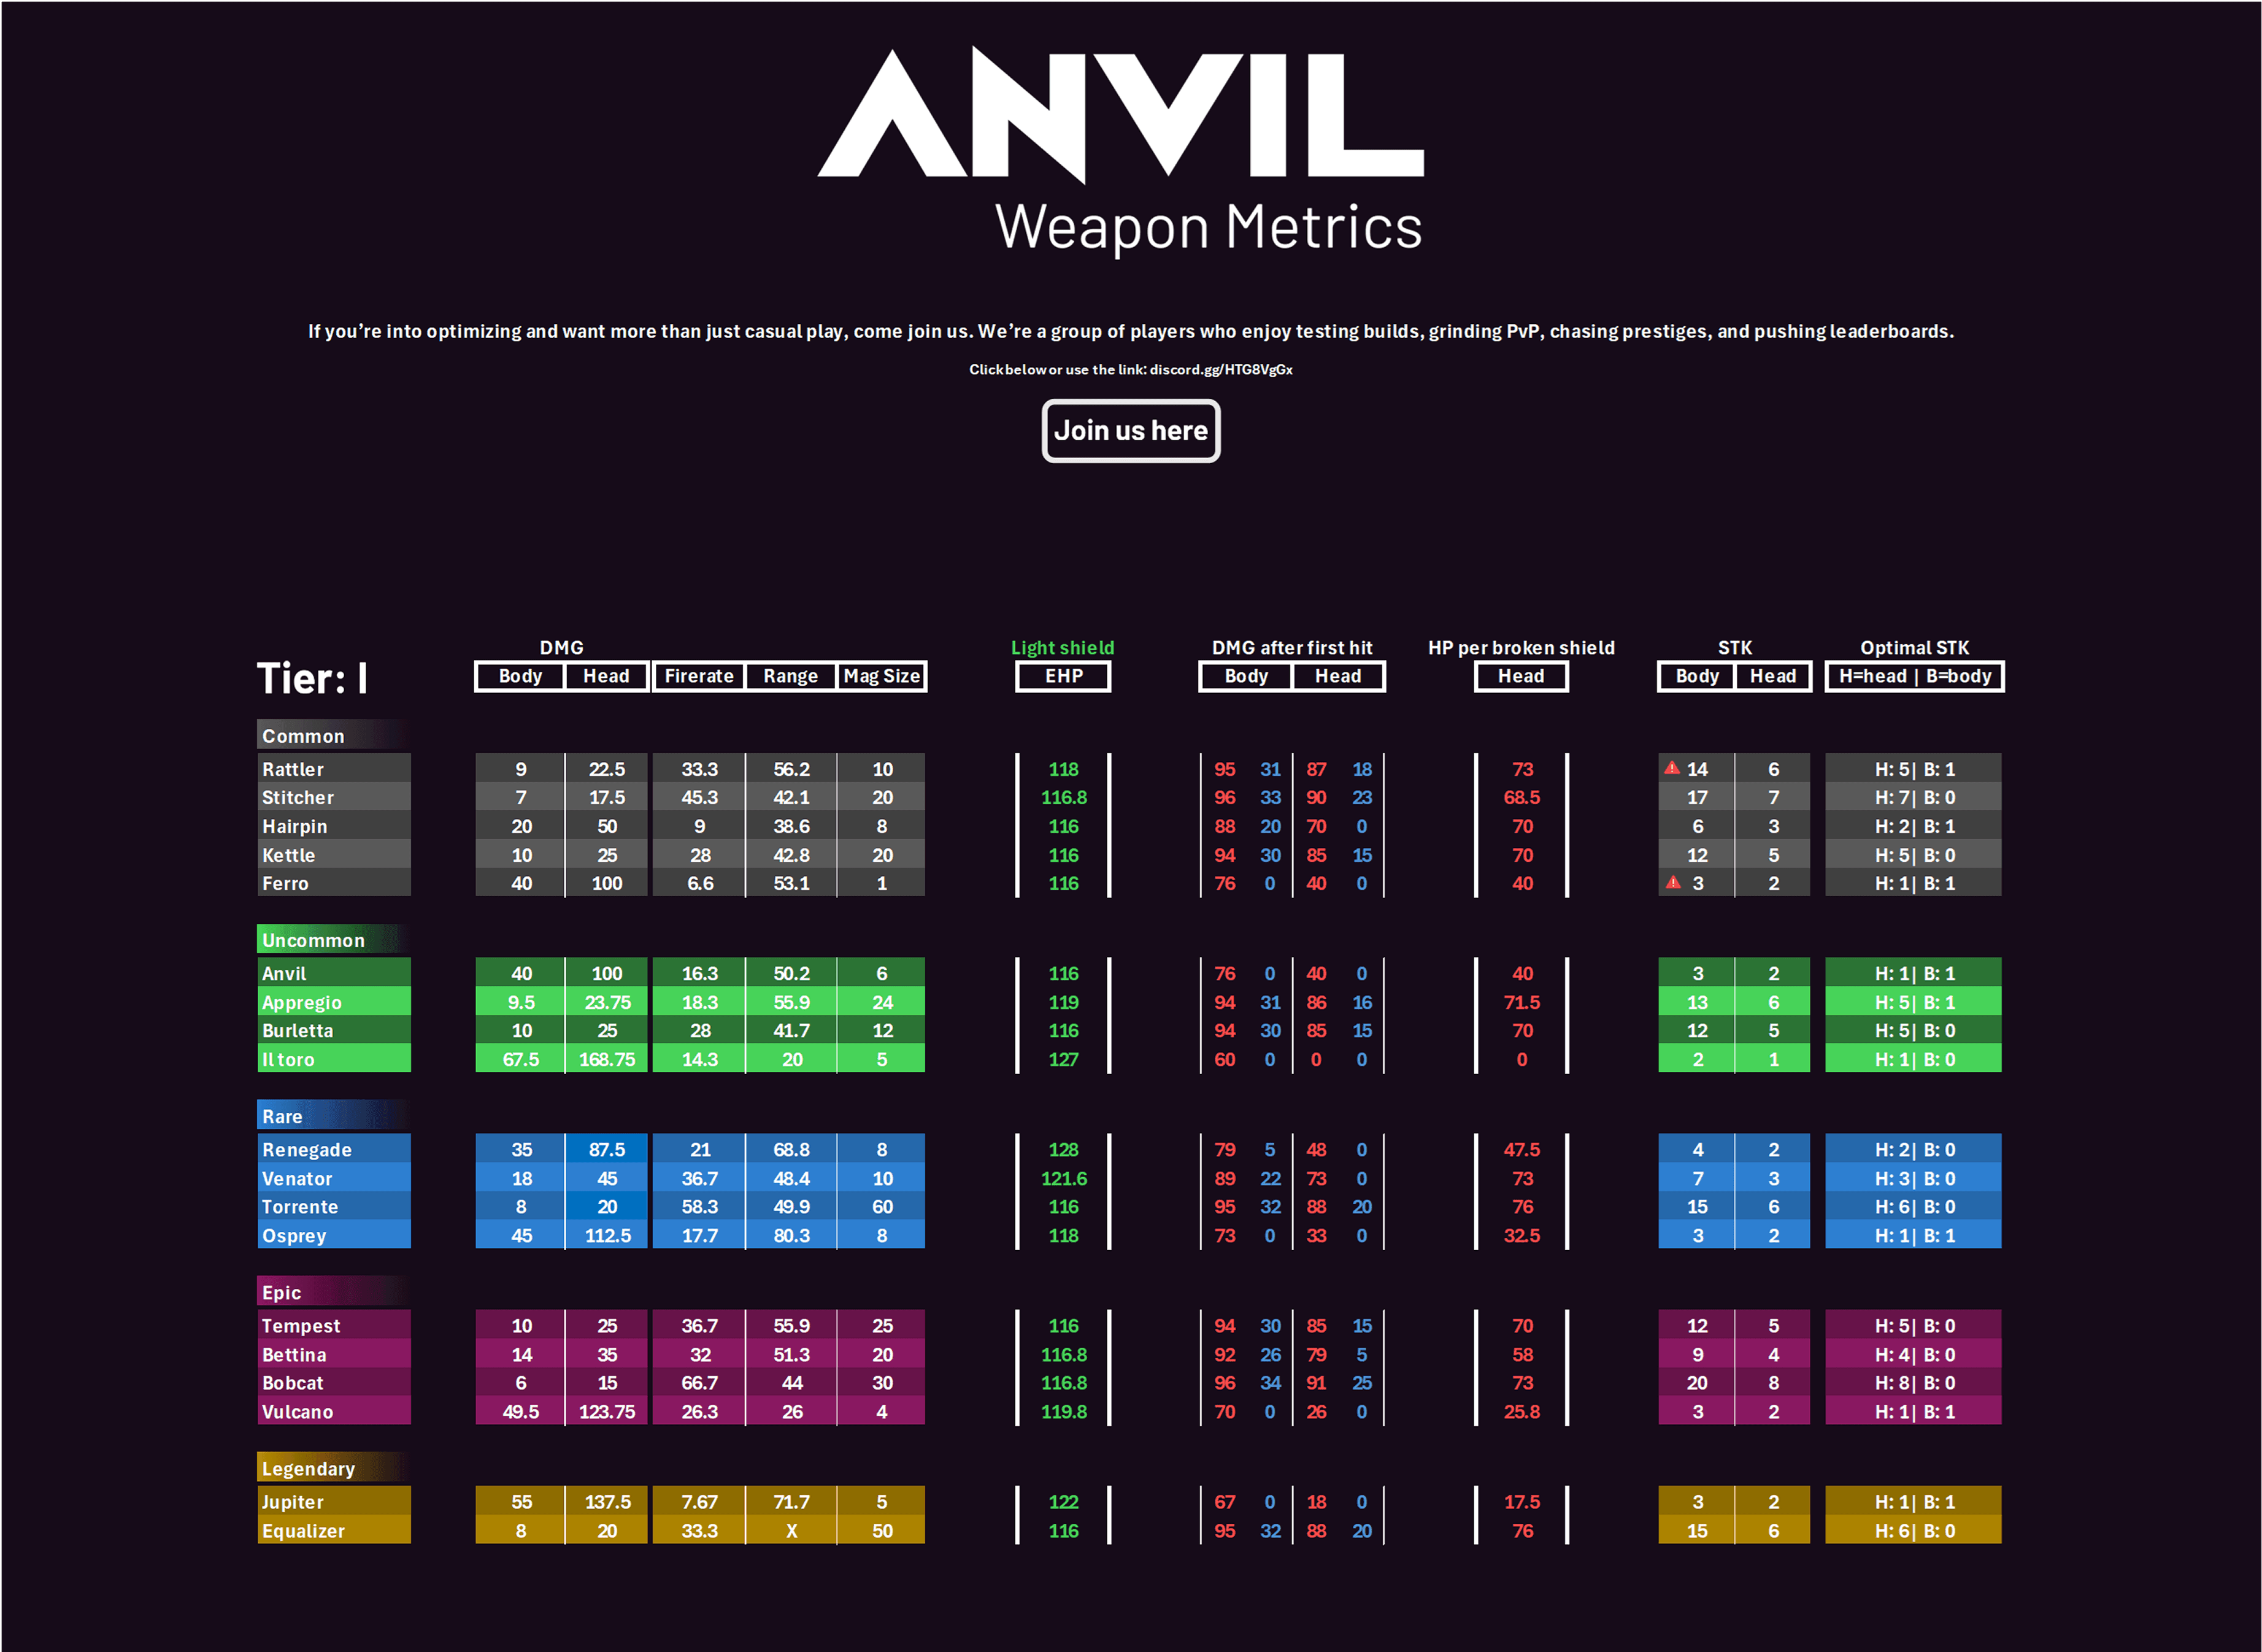
| Ferro weapons | Punch through armor | Weapon vendors / loot crates |
| AP rounds | Better damage vs grey plating | Ammo vendors / crafting |
| EMP grenades | Disable many ARC units temporarily | Gear vendors / crafting |
| Heavy launchers | Needed for The Queen & Bastion variants | High-tier loot / mission rewards |
If you only remember one thing: ARCs are loud-looking, but their perception and armor are predictable. Exploit the cones and shoot the yellow parts.
Step-by-Step Guide
-
Read the battlefield and respect the 45° cone.
- Use third-person peeks or cover to bait ARCs into yellow states. A single alerted unit only notifies its patrol group, not the entire map. The Snitch is the exception—its audio detection will call reinforcements.
-
Prioritize targets by threat and armor.
Item Effect Where to Get Yellow weak spots 150–200% damage; often disables systems Rear sections, joint connections, exposed cores Soft (White) 100% damage White/flesh-colored surfaces Armored (Grey) 30–50% damage Dark metallic plating; needs Ferro/AP -
Handling small drones (Wasps, Hornets, Ticks, Pop bots):
- Wasps: aim at rotors/thrusters. Two rotors down and they fall—don’t waste heavy ammo on the main body.
- Hornets: taser quadcopters. If you’ve got heavy weapons, strip one front and the opposite rear thruster. No heavy fire? Position under them during reload; their aim is awful. Running diagonal lines makes their shots miss more often.
- Pop bots: treat like grenades. Kill at range or bait close and sprint away before detonation.
- Ticks: melee or close-range removal. If one latches on, remove immediately.
-
Turrets and stationary defenses:
- Standard Turrets: peek, fire until they return fire, then hide. Time your shots between their firing cycles.
- Sniper Turrets: they broadcast with a laser. Slice their yellow neck components from outside the firing arc.
-
Mini-bosses and Bastions:
- Leaper: sidestep when it jumps; it can’t change direction mid-leap. Aim at the glowing eye and stun when windows open.
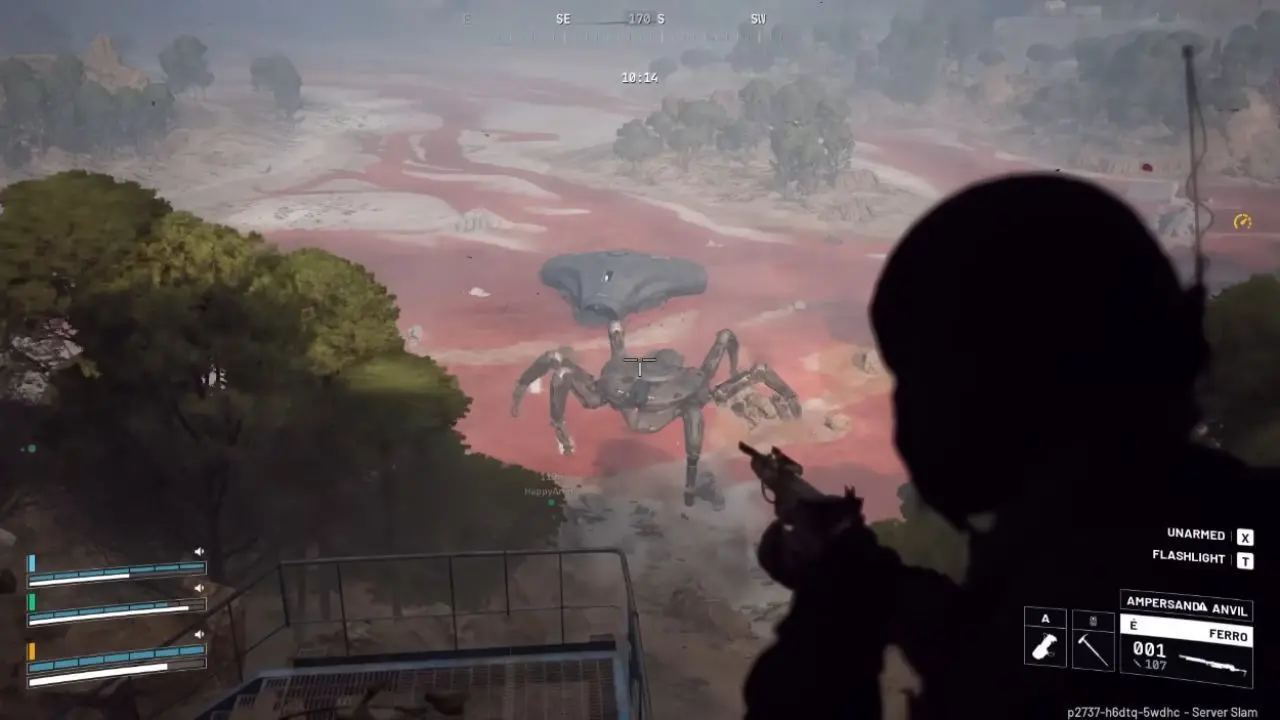
- Bastions: variants matter. Artillery Bastions have spotter drones that paint targets—kill spotters first. Standard Bastions: target leg joints and rear cylinders while hugging cover. Rocketeers: keep 100-meter distance, break LOS immediately when detected. Their missiles are guided but can’t lead moving players.
Enemy Best Weapons Notes Small Drones Energy weapons, SMGs Precision rifles as secondary Armored Units Heavy rifles, Ferro AP rounds advised Mini-Bosses Rocket launchers, Heavy MGs EMP grenades useful for control The Queen Heavy launchers, Energy weapons Specialized team fights; clear spawned ARCs first -
The Queen strategy:
- Looting: wait for her back during her circular patrol, sprint to Harvester, grab loot, get out before she turns. Her vision limits still apply.
- Combat: focus exposed core during attack animations. Kill smaller summons first. Coordinated fire and staggered EMP usage make the fight manageable.
-
Ammo economy and weapon calls:
- Carry a Ferro for general armor-piercing work. Energy weapons shine against small drones. EMP grenades are for Rocketeers and other high-threat units. Explosives are for groups; don’t waste rockets on single Wasps.
-
Movement and positioning:
- Keep moving. ARCs have trouble leading targets and have poor peripheral coverage. Use cover, reposition after shots, and don’t be proud—zigzagging looks silly, but it works.
Follow this progression: scout, identify armor and weak spots, pick weapon based on target, control the engagement with movement and EMPs, then finish the high-value core components.
Pro Tips
- Ferro weapons are the safest carry if you only have one slot to worry about—aim for yellow components for big returns.
- Use EMP grenades to force Rocketeers to waste their missile locks or to open windows on Bastions and The Queen.
- For Hornets, strafing diagonally while firing makes their taser patterns miss more often—your movement beats their aim.
- When facing Artillery Bastions, clear spotters first. The main cannon loses targeting without them, and that’s where engagements stop being lethal.
Common Mistakes to Avoid
- Trying to tank Rocketeers—keep distance. Their guided missiles will punish you and the team.
- Spraying armour-plated grey sections with regular rounds instead of switching to Ferro or AP—waste of ammo.
- Ignoring Snitches. One spotted Snitch can cascade into a reinforcement cluster if not handled quickly.