Anvil Hand Cannon Blueprint Guide — Unlock & Craft
Find Anvil blueprints, required materials, and workbench levels. Step-by-step crafting, upgrade path, ammo management, and how to squeeze ARC armor damage.
TL;DR
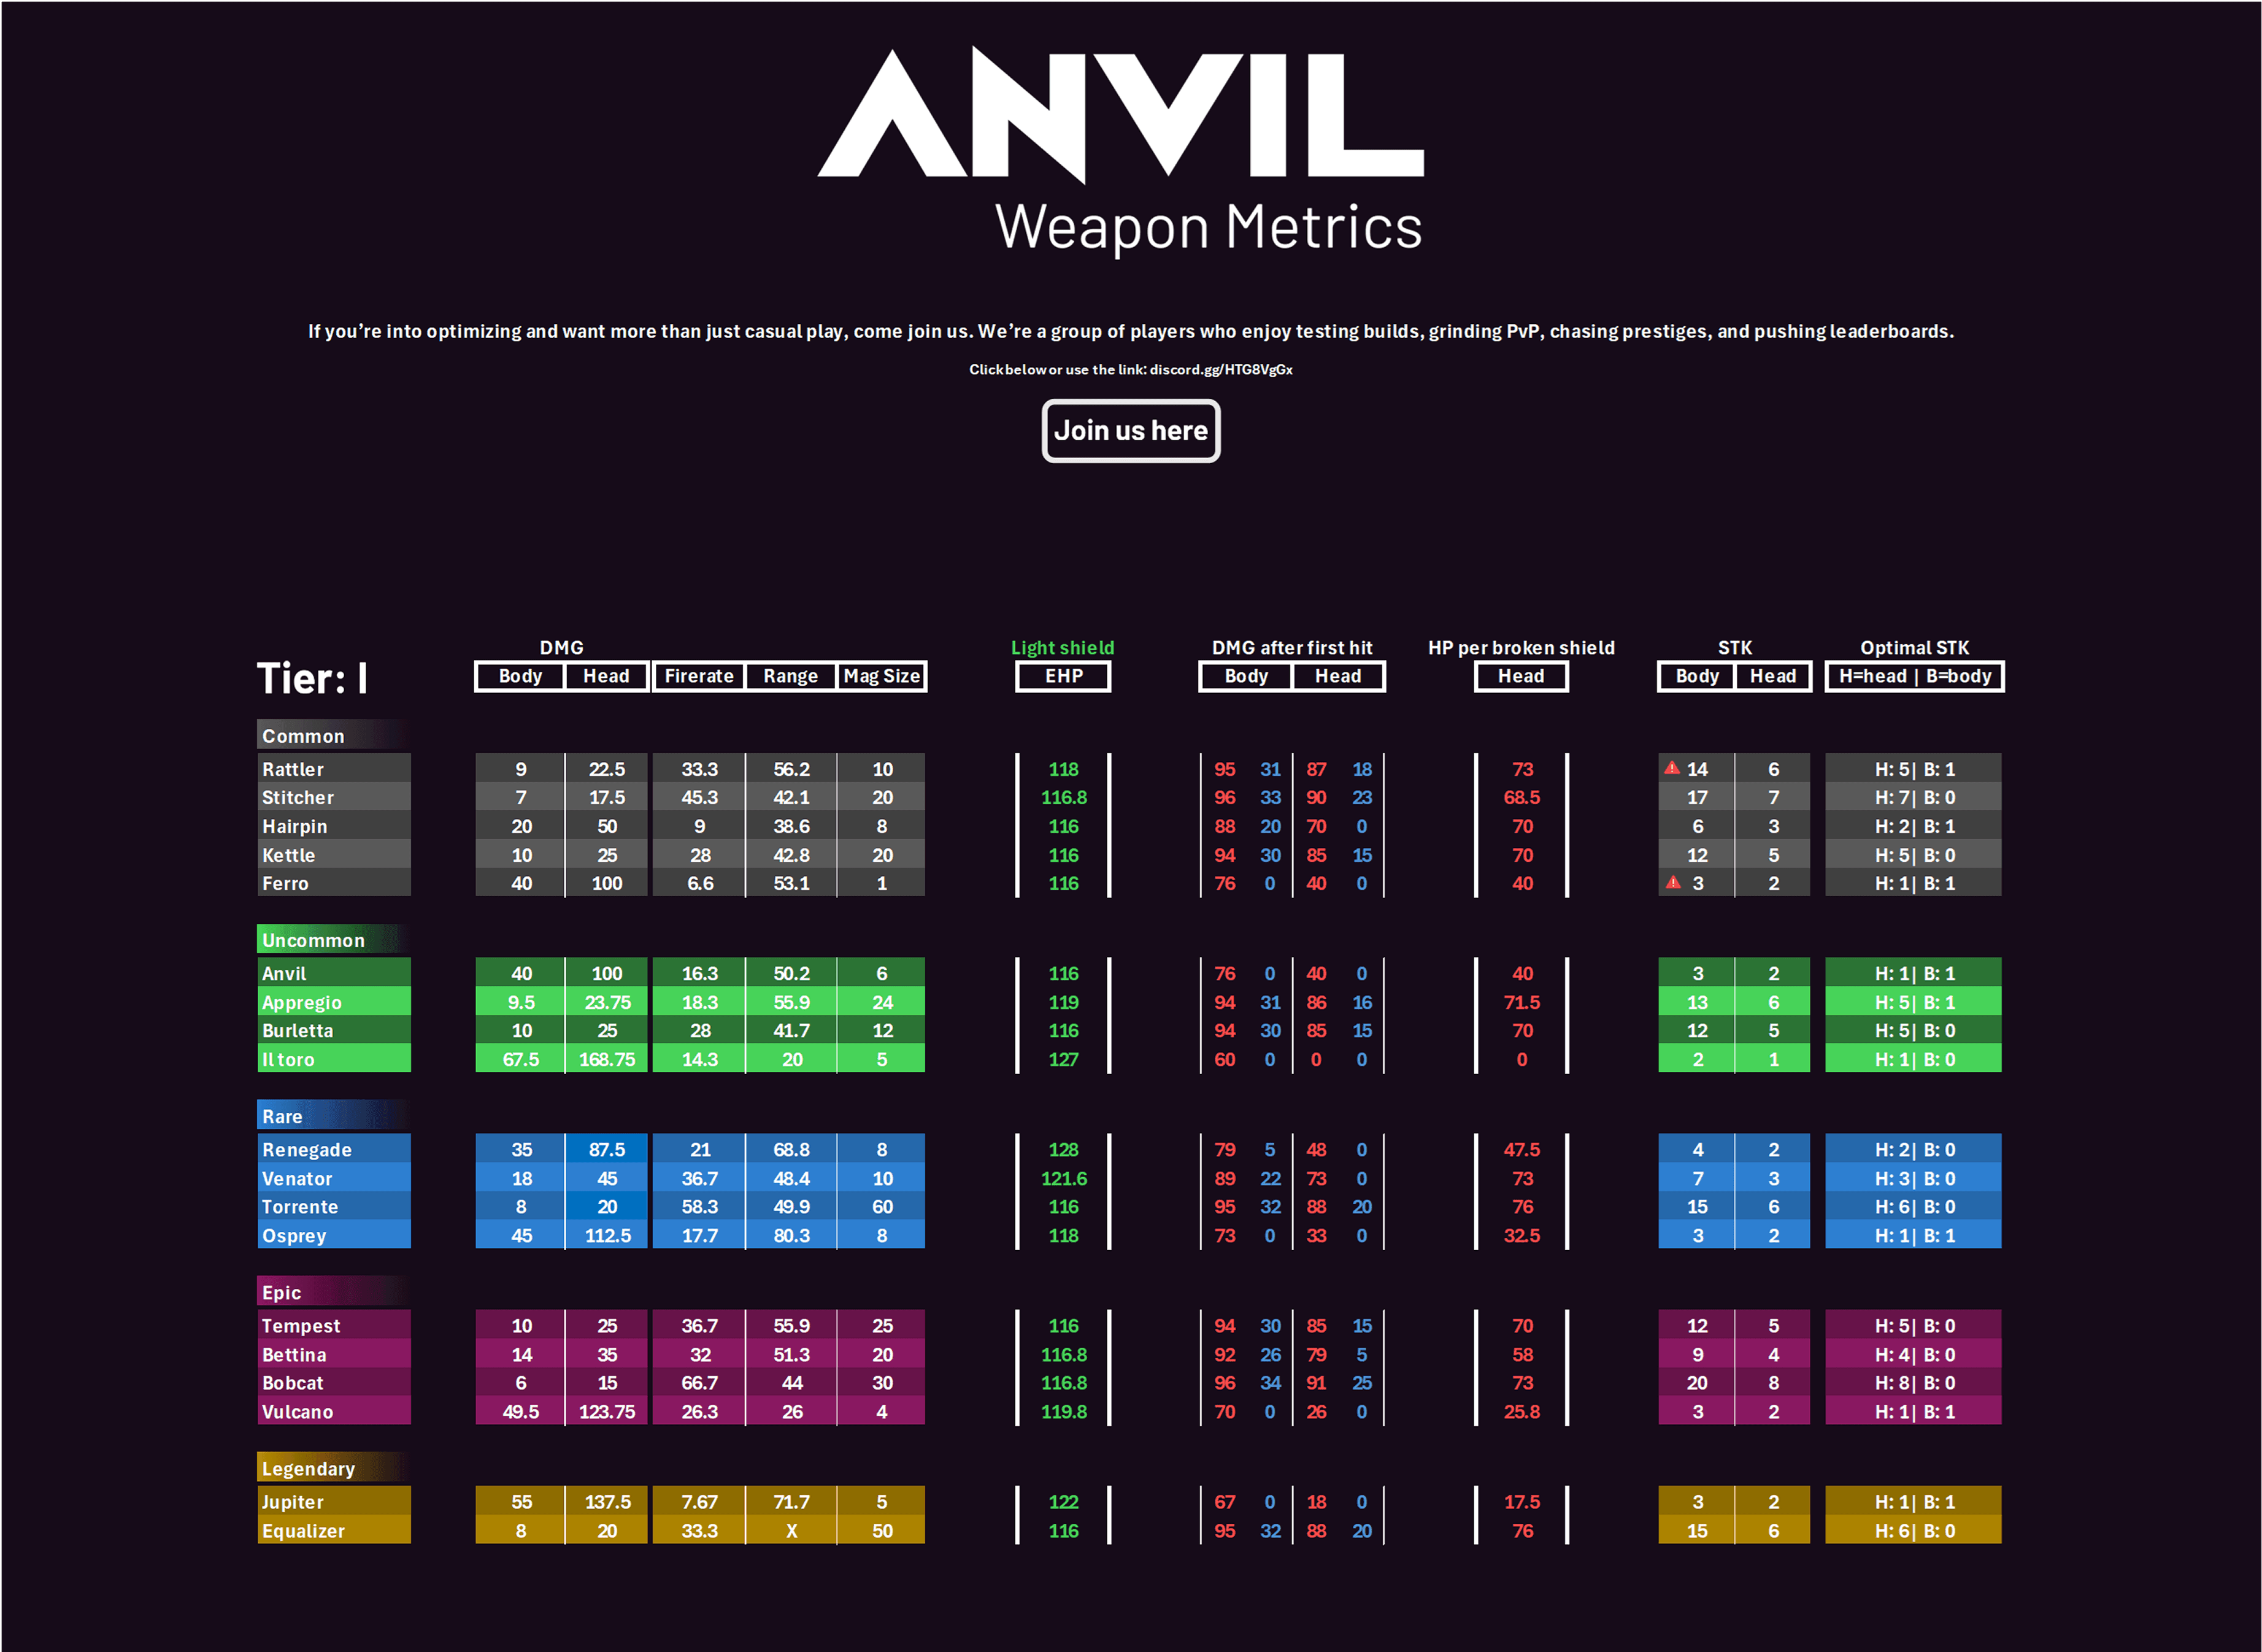
- The Anvil is a heavy single-action hand cannon: 40 base damage, 6-round mag, 50.2m effective range, and strong ARC penetration.
- Blueprints drop randomly from loot containers, defeated ARC units, high-value zones, and contested supply caches — extract or sell duplicates.
- Craft at Gunsmith 2 (Gunsmith Level required for upgrades). Base craft needs Mechanical Components and Simple Gun Parts.
- Upgrade to Anvil IV for massive fire-rate and handling gains; craft Heavy Gun Parts at Refiner Level 2 to avoid bottlenecks.
What You Need to Know First
Quick primer before you go blueprint hunting:
| Item | Effect | Where to Get |
|---|---|---|
| Anvil I (Weapon) | 40 base damage, Fire Rate 16.3, Range 50.2m, Magazine 6, Heavy Ammo, Weight 5kg, ARC Penetration Strong | Craftable after learning blueprint / buy from TianWen |
| Anvil Blueprint | Unlocks crafting recipe when learned | Loot containers, defeated ARC units (rare), high-value zones, contested supply caches |
| Mechanical Components | Crafting component for Anvil | Refiner output, industrial containers, break down gear |
| Simple Gun Parts | Common crafting component | Regular loot drops, crafting station outputs, trading |
| Heavy Gun Parts | Required for higher-tier upgrades | Craft at Refiner Level 2 (4x Simple Gun Parts -> 1 Heavy Gun Part) |
Minimum requirements:
- Learn an Anvil blueprint by extracting it from a raid. You either "Learn and Consume" to permanently unlock or sell for 5,000 Raider Coins. Duplicate blueprints give no extra unlock.
- Gunsmith Level: base crafting requires Gunsmith 2. Some attachments and the Anvil Splitter mod require Gunsmith Level 3.
- Refiner Level: Heavy Gun Parts require Refiner Level 2.
A few practical notes: treat blueprint runs like a gamble. Plan extraction routes before you chase that rare drop. And yes, if you plan on spamming Anvils, learn the blueprint — crafting is cheaper than buying repeat copies.
Step-by-Step Guide
-
Blueprint Hunting and Extraction
1.1 Choose raid routes with dense loot and contested supply caches; off-peak hours reduce PvP interference. 1.2 Prioritize extraction over endless looting when you find a blueprint. Losing it because you died to some clown? Painful and avoidable.
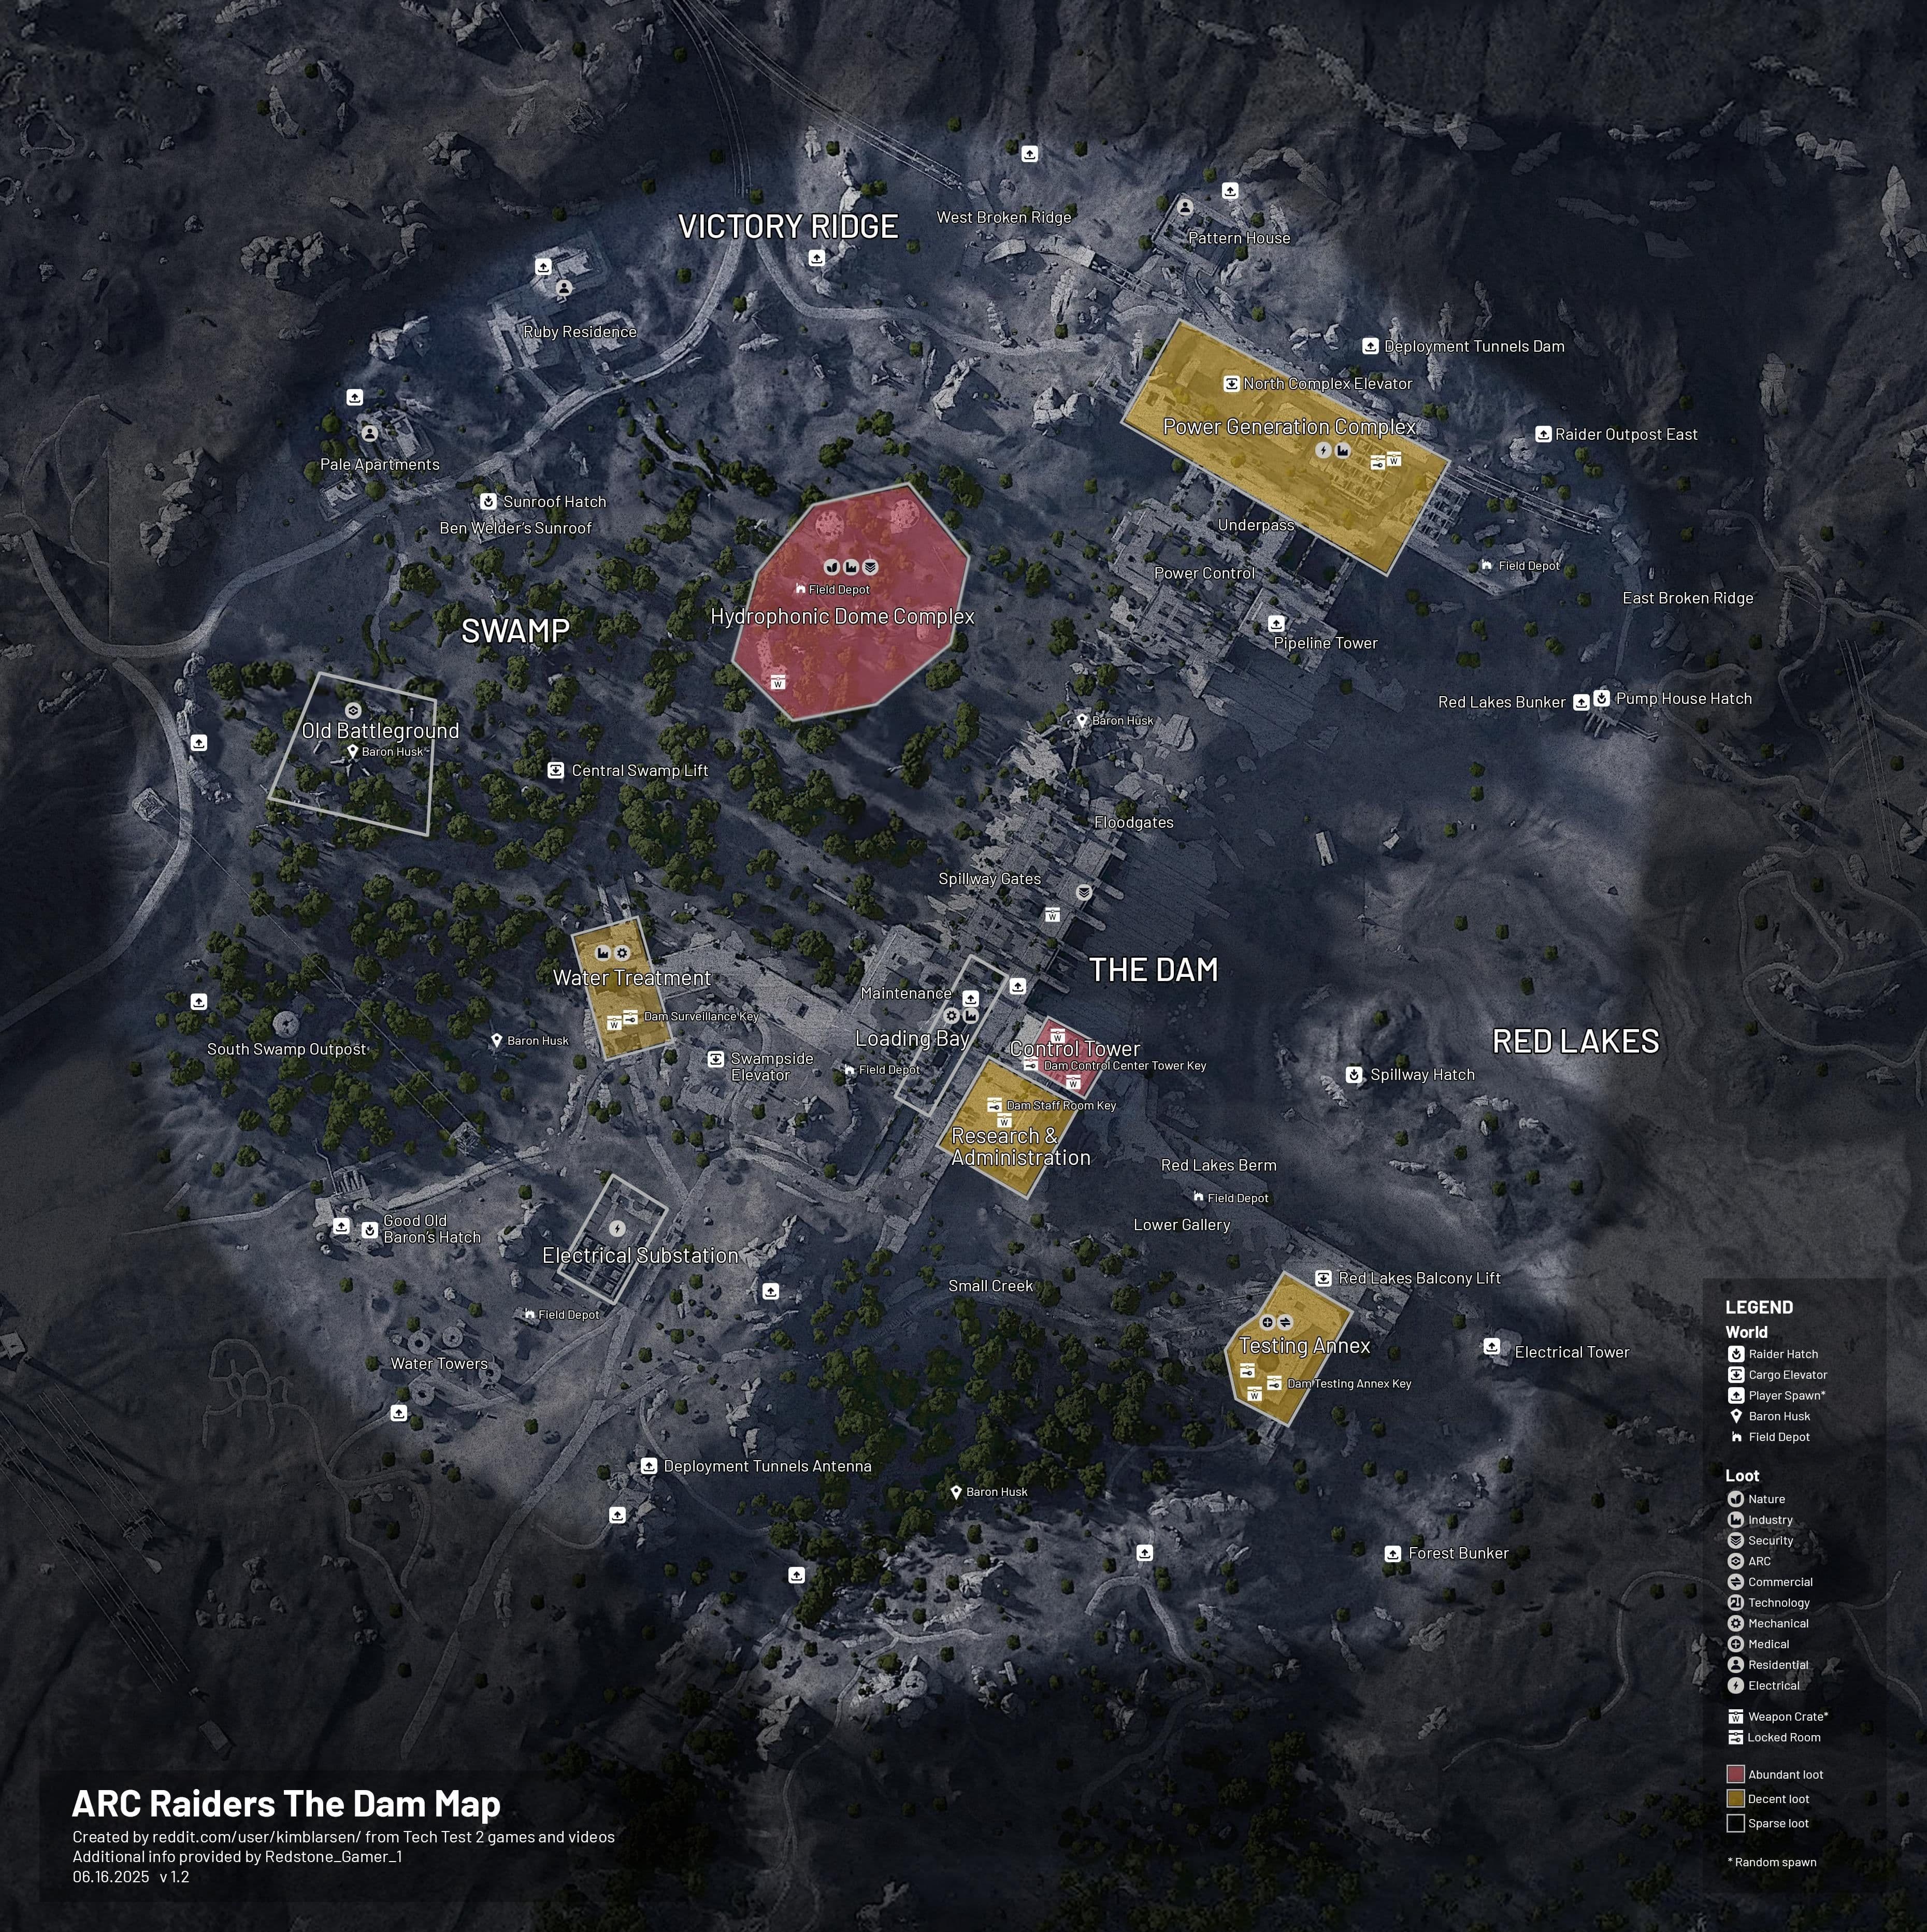
Location Type Chance Notes Loot containers across maps Common Every container is a potential blueprint spawn Defeated ARC units Rare Drops are uncommon; kill priority targets if you can extract safely High-value zones near objectives Uncommon Good trade-off between danger and reward Supply caches in contested areas Uncommon High risk, higher reward -
Learn vs. Sell: Decision Time
- Open the blueprint in inventory. "Learn and Consume" permanently unlocks the recipe. "Sell" gives 5,000 Raider Coins immediately.
- Always sell extras after you've learned the first one. Duplicate learned blueprints do nothing for your crafting list.
-
Crafting Anvil I at Base
Component Quantity Source Mechanical Components 5x Refined materials, industrial loot, breakdowns Simple Gun Parts 5-6x Common crafting materials, loot, trading Workbench Gunsmith 2 Required base level to craft Anvil I Note: Some players report 6x Simple Gun Parts for first craft in certain builds. Always check your in-game Gunsmith UI for the exact count before committing resources.
-
Upgrade Path (do this in order)
Tier Requirements Benefits Anvil II Anvil I + 3x Mechanical Components + 1x Simple Gun Parts 6.5% faster dispersion recovery, +25% fire rate, +10 durability Anvil III Anvil II + 4x Mechanical Components + 1x Heavy Gun Parts 12.5% faster dispersion recovery, +50% fire rate, +20 durability Anvil IV Anvil III + 4x Mechanical Components + 1x Heavy Gun Parts 18.75% faster dispersion recovery, +75% fire rate, +30 durability - Heavy Gun Parts: craft at Refiner Level 2 using 4x Simple Gun Parts per Heavy Gun Part. Stock these early; they become the choke point for Anvil III->IV.
-
Attachments and Mods
Slot Options Muzzle Slot Compensators, silencers, muzzle brakes Tech Mod Slot Advanced mods like Anvil Splitter (requires Gunsmith Level 3 + mod blueprint) - Anvil Splitter changes single shots into multi-projectile bursts. It's powerful but needs its own blueprint and Gunsmith 3.
-
Combat Use and Maintenance
- Effective range: 50.2 meters — best for medium-range precision. Use the Anvil on heavy ARC units and shielded targets.
- Ammo is heavy; conserve rounds for high-value targets and headshots.
- Durability affects reload and handling. Repair high-tier Anvils rather than replace; Anvil I can be replaced if worn and cheap.
-
Economy: Craft vs Buy
- TianWen price: 15,000 Raider Coins per Anvil I. Craft cost estimated ~2,500 Raider Coins in materials. Recycle value ~1,940 Raider Coins.
- Learn the blueprint as soon as you can if you plan to use Anvils repeatedly — crafting saves long-term currency.
Pro Tips
- Don't treat the Anvil like an AR. Its slow single-action cadence means every shot should count. Line up headshots or weak points and let your teammates deal with crowds.
- If you run out of Heavy Ammo mid-raid, swap to a fast-firing secondary for clears and save the Anvil for boss or plated targets.
- Farm Simple Gun Parts aggressively before you attempt Anvil III->IV. One bottlenecked upgrade can cost you multiple runs and a lot of frustration.
- When upgrading, prioritize Mechanical Components and Heavy Gun Parts early. Hit Refiner Level 2 as soon as possible to craft Heavy Gun Parts rather than relying on rare drops.
- Use the Anvil Splitter only if you can afford the Gunsmith Level 3 investment and its blueprint. It changes the weapon's role — excellent for compressed burst damage, worse for single, surgical shots.
Common Mistakes to Avoid
- Chasing blueprints without an extraction plan — you’ll lose the blueprint to a bad route or a patrol. Always map your exit before committing.
- Upgrading without Heavy Gun Parts stockpiled — you’ll stall at Anvil II->III and waste runs gathering other components.
- Using the Anvil on mass mobs — it’s for high-value, armored targets. Handing crowd control to your secondary saves your Heavy Ammo.