North Line ARC Enemies: How to Beat Each Threat
North Line makes ARC enemies meaner: AI, Stella Montis +25% aggression, new elites like Matriarch and Shredder. Learn counters, weak points, and loadouts.
TL;DR
- North Line boosts ARC aggression (Stella Montis +25%) and adds dangerous elites like Matriarch and Shredder. Expect smarter AI and coordinated attacks.
- Use elevation vs Wasps/Hornets, Raider Tool for silent Tick takedowns, and target thrusters/weak tanks on flying and armoured units.
- Traps (Blaze Grenade Traps + Jolt Mines) wreck Leapers; Anvil and two-thruster focus are keys vs Rocketeers. Bring cover vs Bombardier mortar spam.
- Matriarch is a full-squad fight: target the central core, bring Hullcracker launchers and Wolfpack Grenades, and control spawn points to avoid being overwhelmed.
What You Need to Know First
Requirements and quick facts in one place.
| Item | Effect | Where to Get |
|---|---|---|
| Minimum Level | Comfortable encounters start at mid-game; elite fights expect end-game gear | Progress through main missions and side ops |
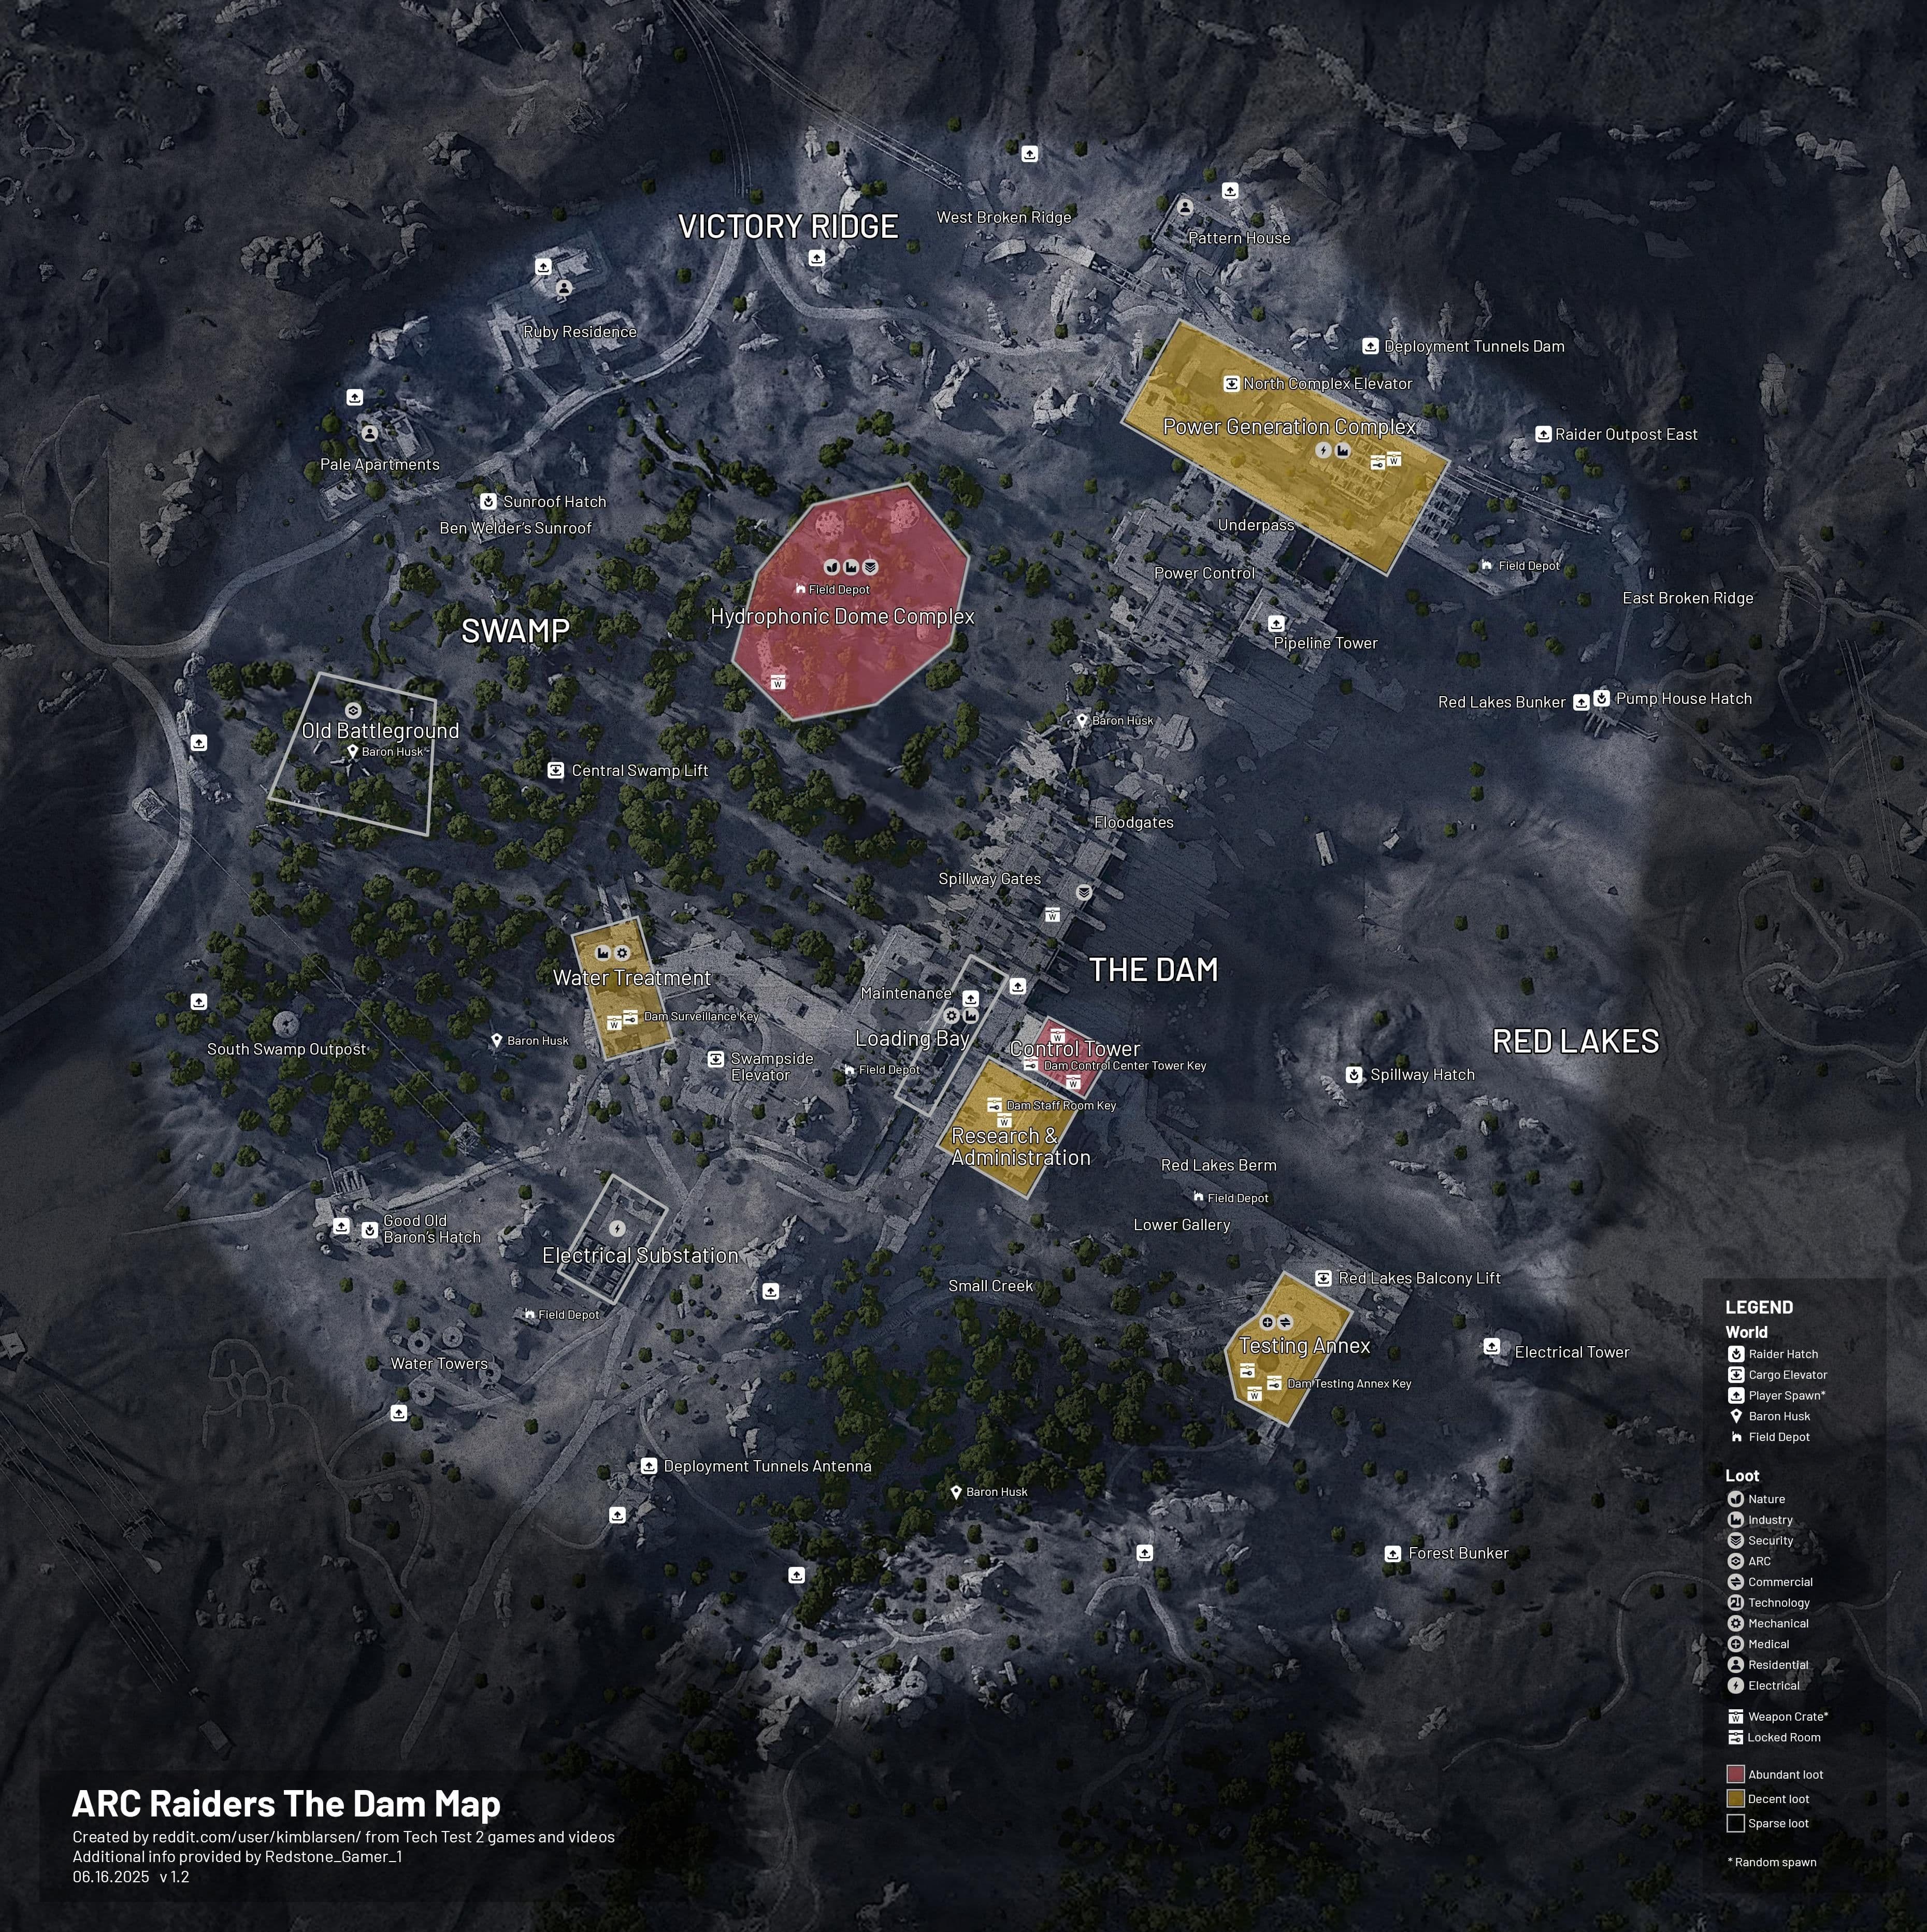
| Stella Montis Modifier | ARC enemies are 25% more aggressive in Stella Montis | North Line map region |
| Scanner Colors | Blue = patrol, Yellow = investigating, Red = combat | Visible on ARC enemies' scanners |
| Raider Tool | Silent melee for Tick stealth kills | Craft or loot early-game vendors |
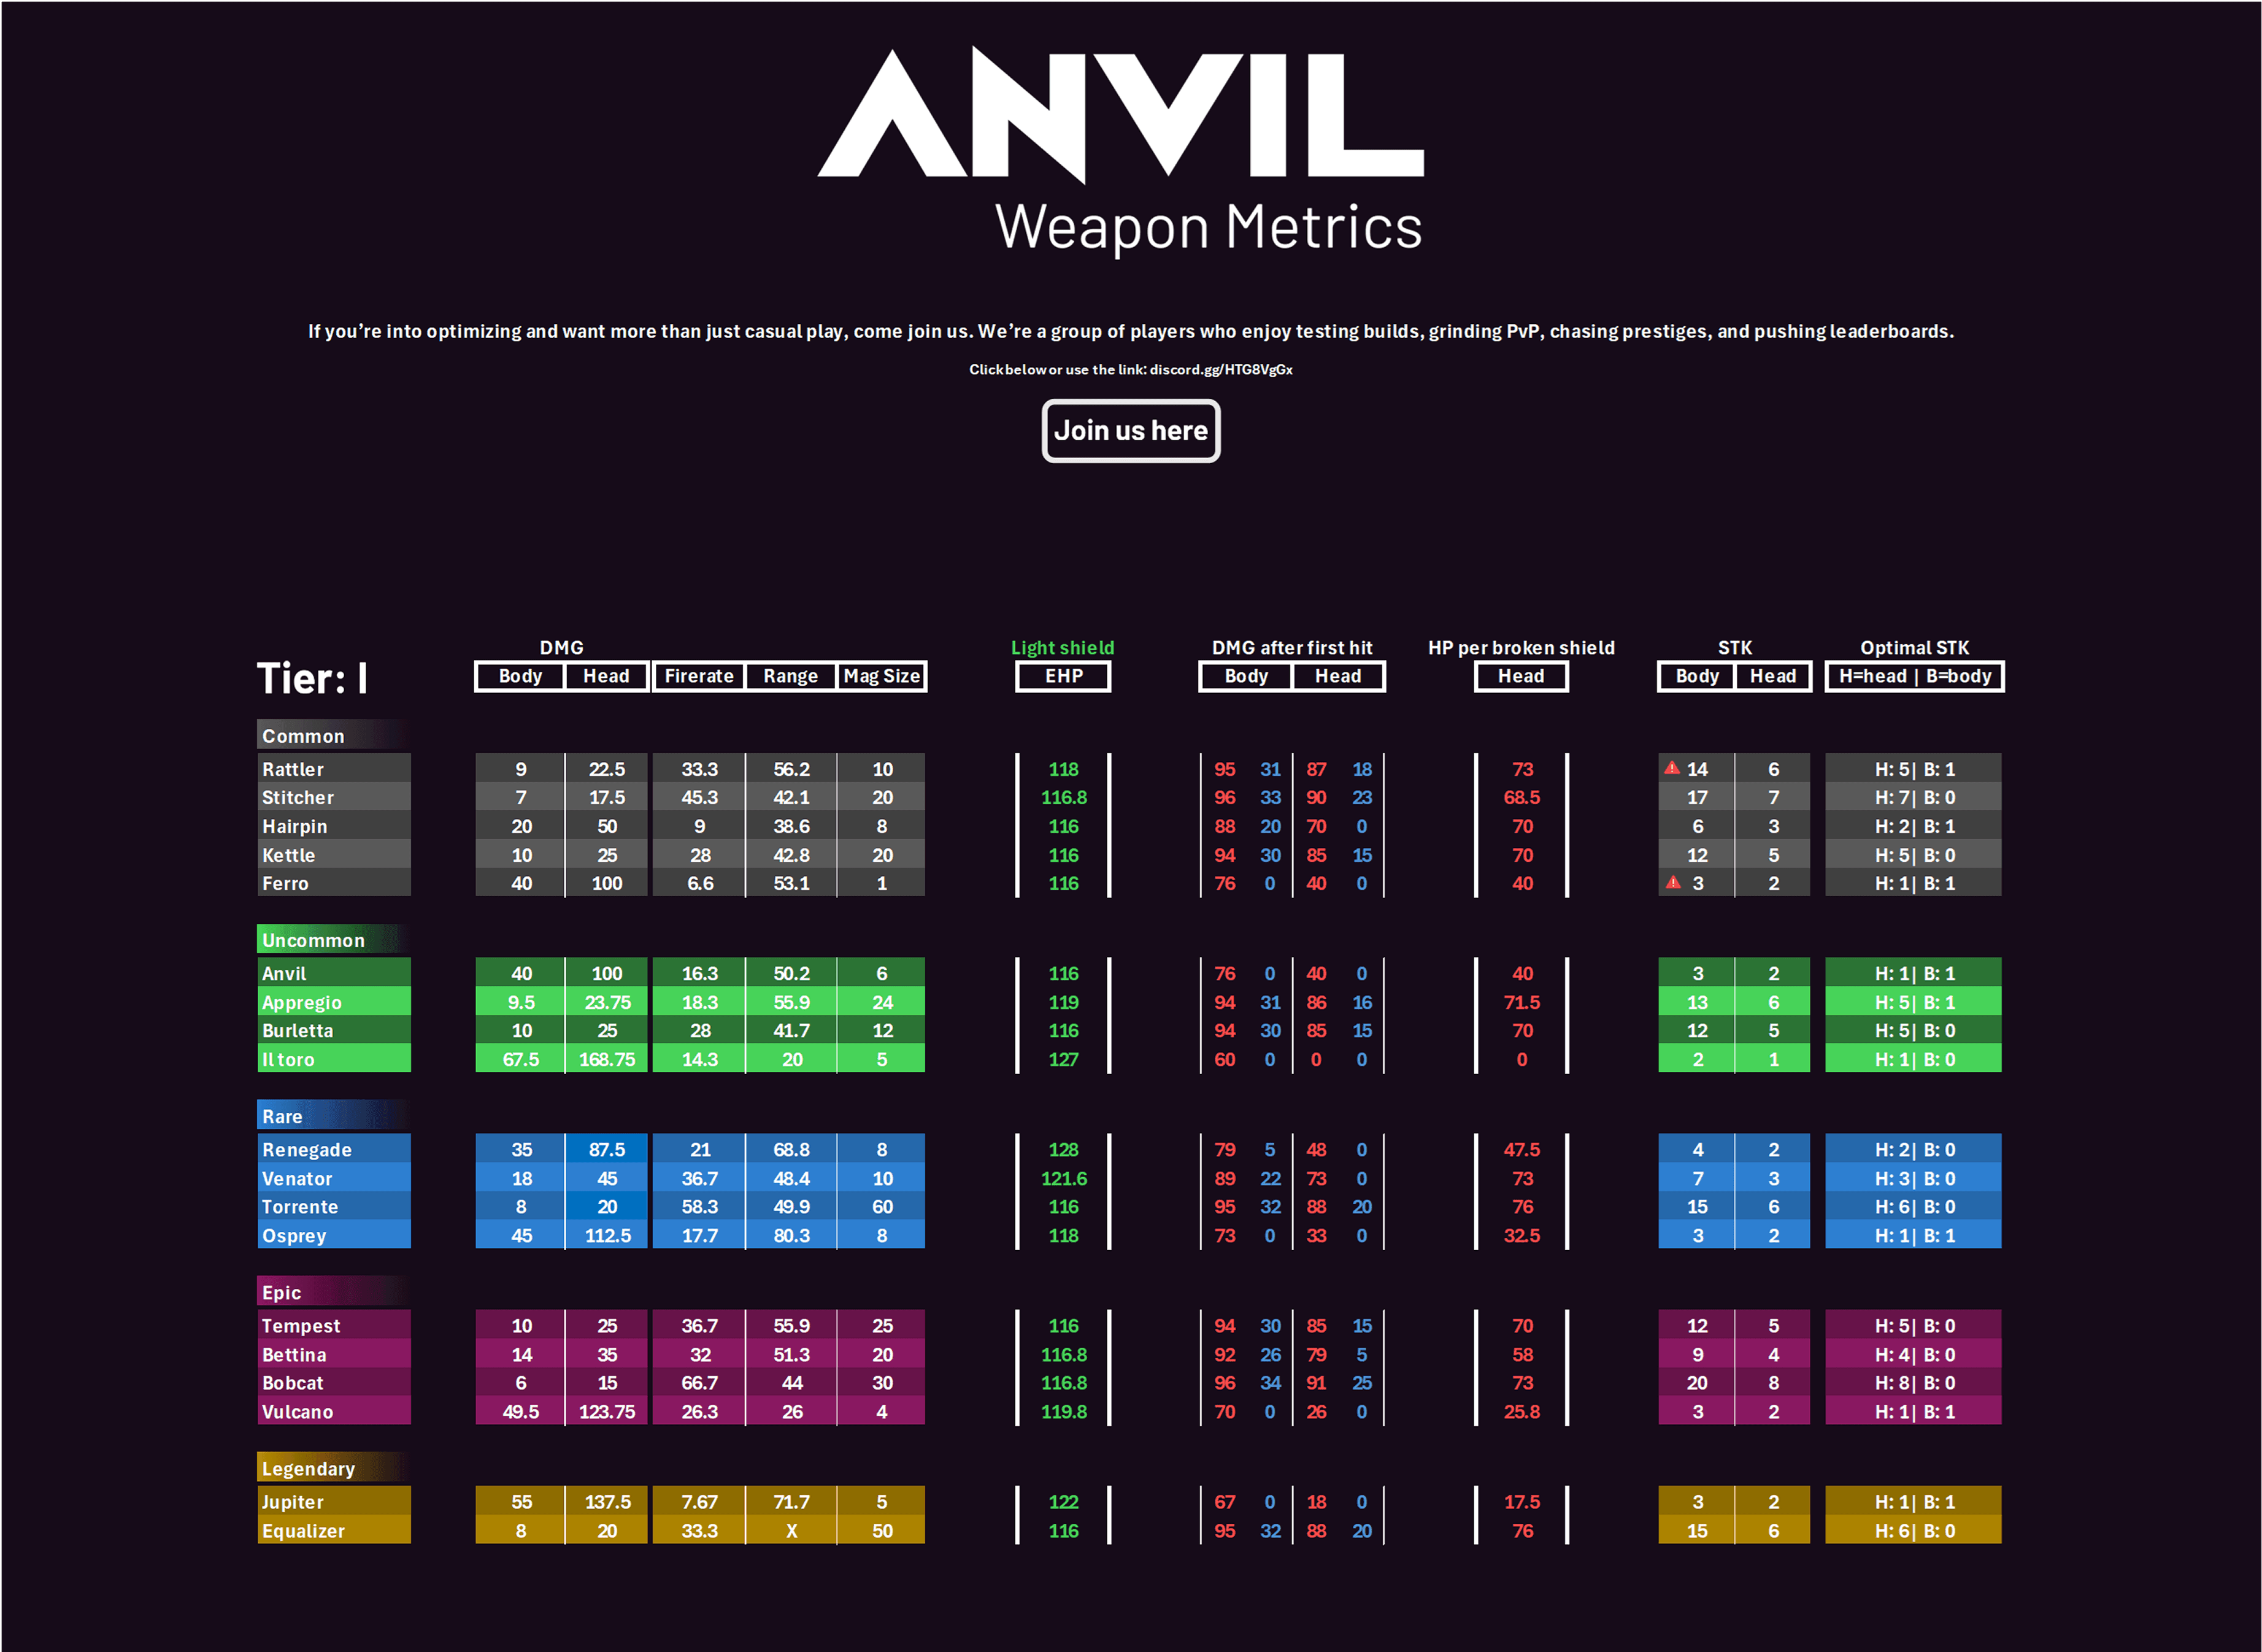
| Anvil | Heavy weapon recommended vs Rocketeer and late mid-tier bosses | Mid-game weapon drops/blueprints |
| Hullcracker Launcher & Wolfpack Grenades | Required for efficient Matriarch kills | High-tier crafting or boss drops |
Short checklist:
- Squad recommended for Bastion, Bombardier, and Matriarch. Solo viable with prep for many other fights.
- Bring a mix: light ammo for Wasp/Hornet, heavy ammo (Anvil) for Rocketeer, explosives for elites.
- Know extraction routes before committing to an elite fight.
Quick read: learn scanner colors first. They tell you when to GTFO or set up an ambush.
Step-by-Step Guide
-
Read the room: scanner colors and engagement intent
- Spot a Blue scanner? It’s patrolling. Yellow means investigators—expect reinforcements. Red means full combat; don’t be polite.
- Stella Montis: assume +25% aggression in every engagement there.
-
Basic aerial threats: Wasp & Hornet
- Aim for thrusters. Wasps have four thrusters; Hornets have armored fronts—prioritize rear thrusters.
- Elevation management matters: fight from rooftops, cliffs, or interiors where their flight AI is disadvantaged.
-
Tight-space nuisances: Tick, Pop, Fireball
- Ticks cling to surfaces; use Raider Tool for silent kills to avoid alerting groups.
- Pops are suicide attackers—keep distance and line-of-sight control.
- Fireballs use flamethrowers; bait their arc, then flank while their cone is on cooldown.
-
Mid-tier: Sentinels & Turrets
- Sentinels: shoot yellow fuel tanks when you can flank; approach routes matter.
- Turrets: learn their scanning pattern and shoot during the vulnerability window between sweeps.
-
Leaper (advanced): use traps and timing
- Legs joints and central eye are the weak points.
- Best setup: Blaze Grenade Traps + Jolt Mines. Trigger their leap, let them land into the trap.
| Item | Effect | Where to Get |
|---|---|---|
| Blaze Trap + Jolt Mine | Cheap, high success vs Leaper | Crafting & trap vendors |
| Heavy Weapons Focus Fire | Direct DPS to kill before reposition | Mid/high-tier loot |
| Building Doorway Kiting | Low resource, relies on choke points | Use map geometry |
- Success rates: Blaze Trap + Jolt Mine = Low cost, ~95% success. Heavy weapons focus fire ~75% success. Doorway kiting ~60% but minimal resources.
-
Rocketeer: aerial heavy hitter
- Their rockets kill fast; use Anvil or equivalents from range.
- Focus a single thruster. Destroying two thrusters usually causes catastrophic failure and a fall kill.
- Never engage without cover—rocket splash reaches around corners.
-
Surveyor: fast and fragile
- Use Showstopper Grenades to stun, then Trigger Grenade for the finish.
- If you don’t have Showstoppers, wait for scanning windows where the core opens.
-
Massive threats: Bastion & Bombardier
- Bastion: rear yellow canister = unarmored weak point. Duo teams should alternate aggro and focus the canister. Solo players should pack Trigger or Impact Grenades.
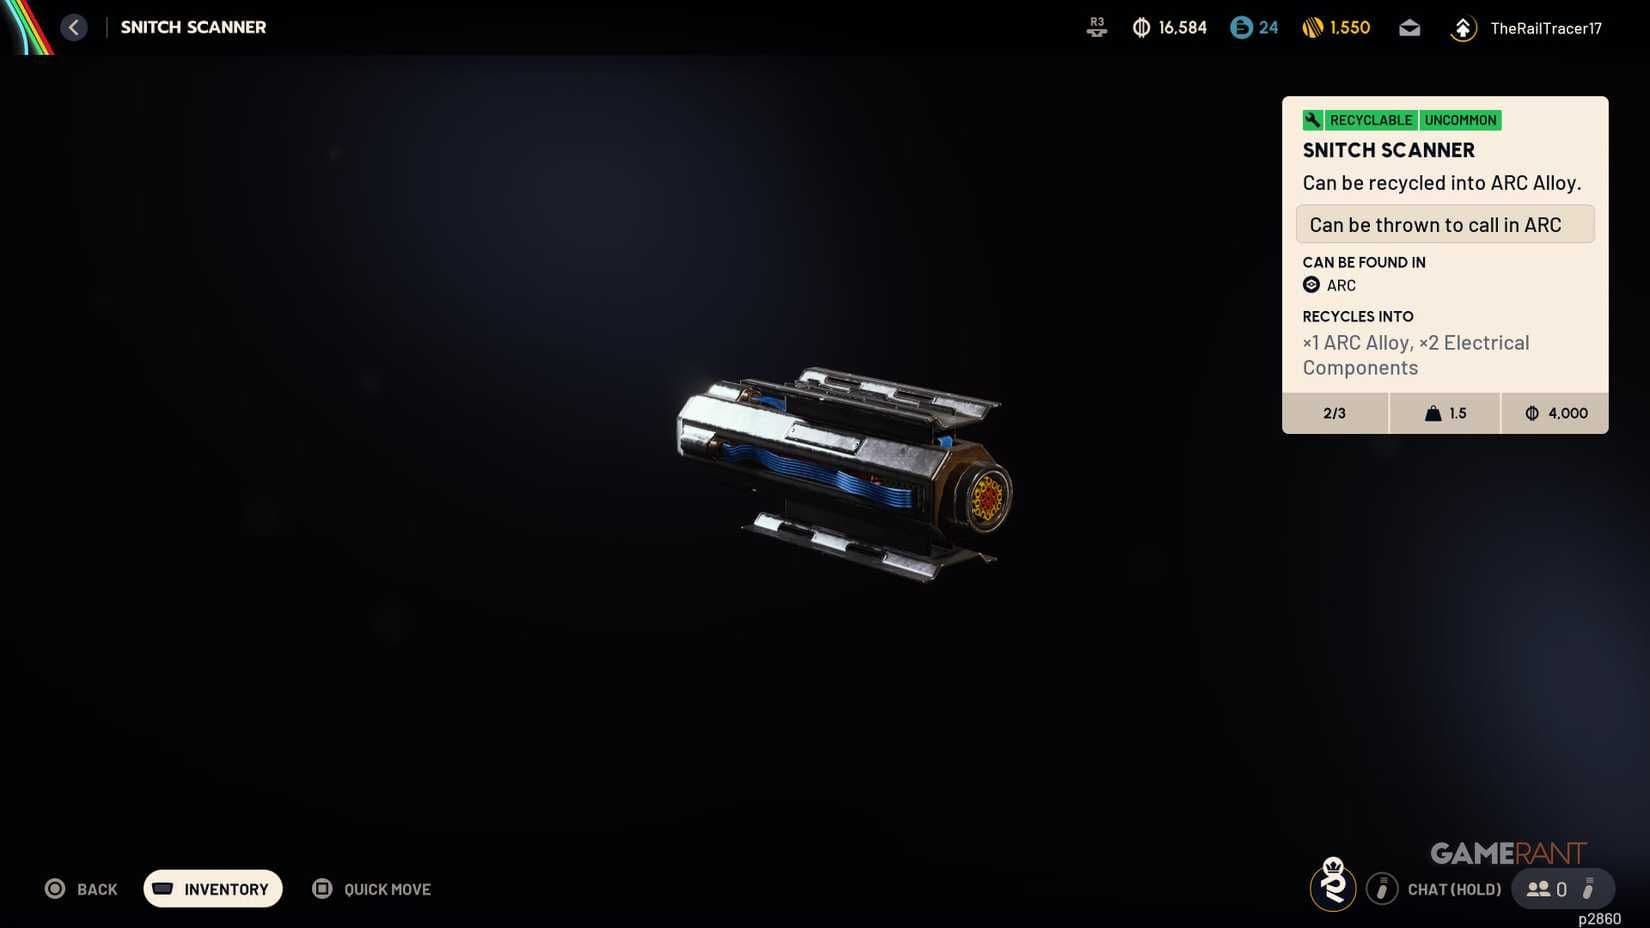
- Bombardier: mortar spam + Spotter drones. Kill Spotters first, then take overhead cover (underground, interiors, parking garages) while you throw grenades.
-
North Line exclusives: Shredder & Matriarch
- Shredder: close-range shotgun-style attacks. Keep distance and use medium/long-range weapons. They don’t have heavy plating—sustained accurate fire wins.
- Matriarch: boss fight. Expect Rocket Barrages, Gas Mortars, Energy Shield windows, Flashbangs, and ARC Summoning. Target the central glowing core when exposed; this is prolonged and resource-intensive.
| Item | Effect | Where to Get |
|---|---|---|
| Hullcracker Launcher | High single-target damage to core | High-tier drops/crafting |
| Wolfpack Grenades | Group burst damage for adds and core windows | High-tier crafting |
- Resource & loadout progression
- Early: light ammo + basic grenades for Wasps/Hornets.
- Mid: Anvil (heavy) for Rocketeers and Sentinels.
- Late: launchers and advanced explosives for Bastion, Bombardier, and Matriarch.
- Solo vs team and map adaptation
- Solo: focus stealth, traps, and explosive burst to avoid long fights.
- Team: use aggro management, callouts for weak points, and staggered ammo usage.
- Stella Montis: prefer elevated angles for sniping flying units and plan extraction routes ahead of elite fights.
Final note: ARC fights are puzzles, not brawls. Learn patterns, target weak points, and don’t be the guy who charges the Matriarch without Hullcrackers.
Pro Tips
- Use elevation as a weapon: rooftops and cliff edges neuter flying AI more than raw DPS does. If a Wasp swarm has you sweating, move up.
- Set trap corridors for Leapers: predictable paths + Blaze Trap + Jolt Mine = very low resource loss. Don’t cower in open fields—bait them to the trap.
- Conserve heavy ammo: don’t waste Anvil rounds on single Wasps. Save heavy for Rocketeer thrusters, Matriarch core windows, and Bastion canisters.
- Kill Spotters first vs Bombardier. Those drones correct mortar aim; remove them and the mortar spam gets far less accurate.
Common Mistakes to Avoid
- Rushing elite fights in Stella Montis without accounting for the +25% aggression modifier and extra reinforcements.
- Using heavy weapons on low-value targets (wasting Anvil rounds on Wasps/Hornets instead of saving for Rocketeers or Matriarch windows).
- Ignoring Spotter drones during Bombardier encounters and then wondering why every engagement becomes a mortar contest.