All 68 Blueprint Locations & Farming Guide
68 blueprints: locations, drop rates, farming routes and crafting for View All. Night runs, Security Lockers, Harvester events and quest rewards explained.
TL;DR
- There are 68 blueprints total — Security Lockers (Survive 36) are the best regular source; night missions boost spawn rates.
- Key locked lockers drop high-value blueprints but require keys and sometimes Free Loadout prevents key carrying.
- Harvester Events and Surveyor ARCs are high-yield opportunities for rare and legendary blueprints like Equalizer and Jupiter.
- Legendary blueprints need Gunsmith Level 3 and specific materials (e.g., Equalizer: 3x Magnetic Accelerator, 3x Complex Gun Parts, 1x Queen Reactor).
What You Need to Know First
Before you go blueprint hunting: know the requirements and where to prioritize time. Security Lockers are the highest-yield regular containers but they lock behind Survive 36. Night missions increase spawn rates across the board. Legendary weapons require Gunsmith Level 3 and rare components. Keys matter — if you're running the Free Loadout method you can't carry keys, so locked containers will be off-limits.
| Item | Effect | Where to Get |
|---|---|---|
| Total Blueprints (68) | All crafting recipes across Workshop | World spawns, quests, events |
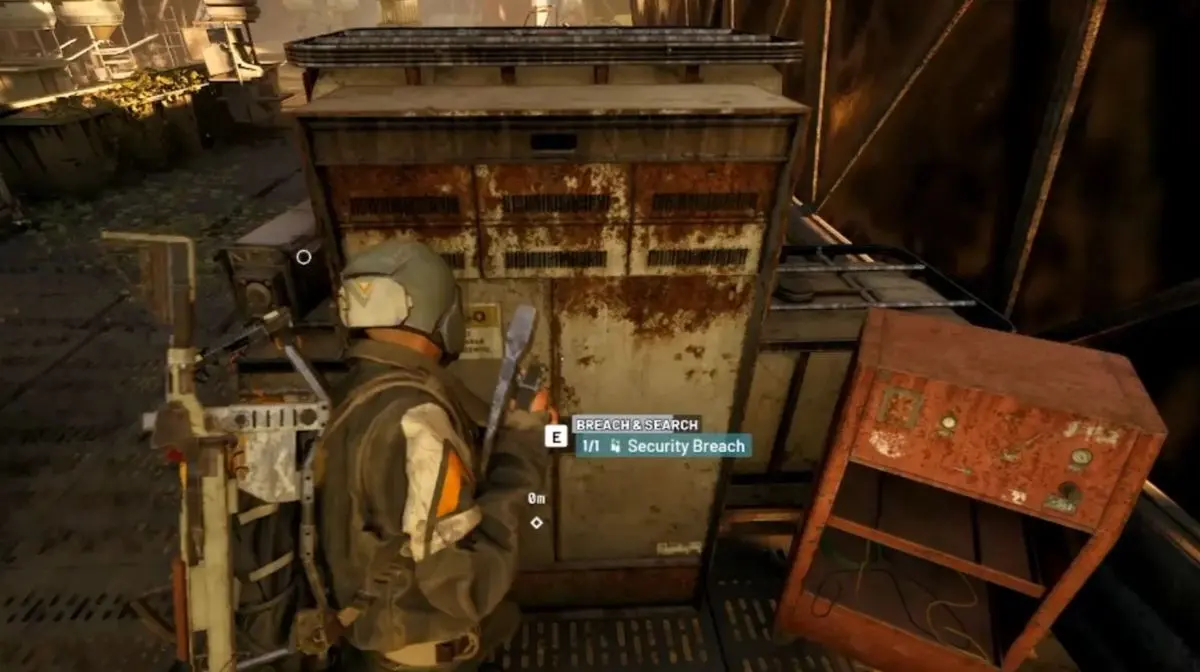
| Security Lockers (purple-tier) | Best blueprint drop rates; require Survive 36 | Dam Battlegrounds, Blue Gate, other zones |
| Night Missions | Increased blueprint spawn rate | Any map (night cycle) |
| Keys | Unlock high-value locked containers | Loot, traders, missions |
| Gunsmith Level 3 | Required for Legendary blueprints | Workshop progression |
| Harvester Events | Guaranteed rare blueprint opportunities | Limited-time world events |
| Surveyor ARCs | Drop rare blueprints when destroyed | Patrol all maps |
Quick note: Quest rewards give guaranteed blueprints tied to certain trader questlines — don't skip those if you're farming specific recipes.
Step-by-Step Guide
Follow this route and routine until you finish the list. Keep runs tight — grab, go, extract.
- Prep: Set guns, grenades, and inventory for fast looting. If you want keys, don't use Free Loadout.
- Time it: Schedule runs for night missions. The spawn tables favor blueprints at night despite higher ARC activity.
- Run priority areas: Start at Security Locker clusters, then sweep High-Value Loot Areas, finish with Surveyor/Harvester checks.
| Item | Effect | Where to Get |
|---|---|---|
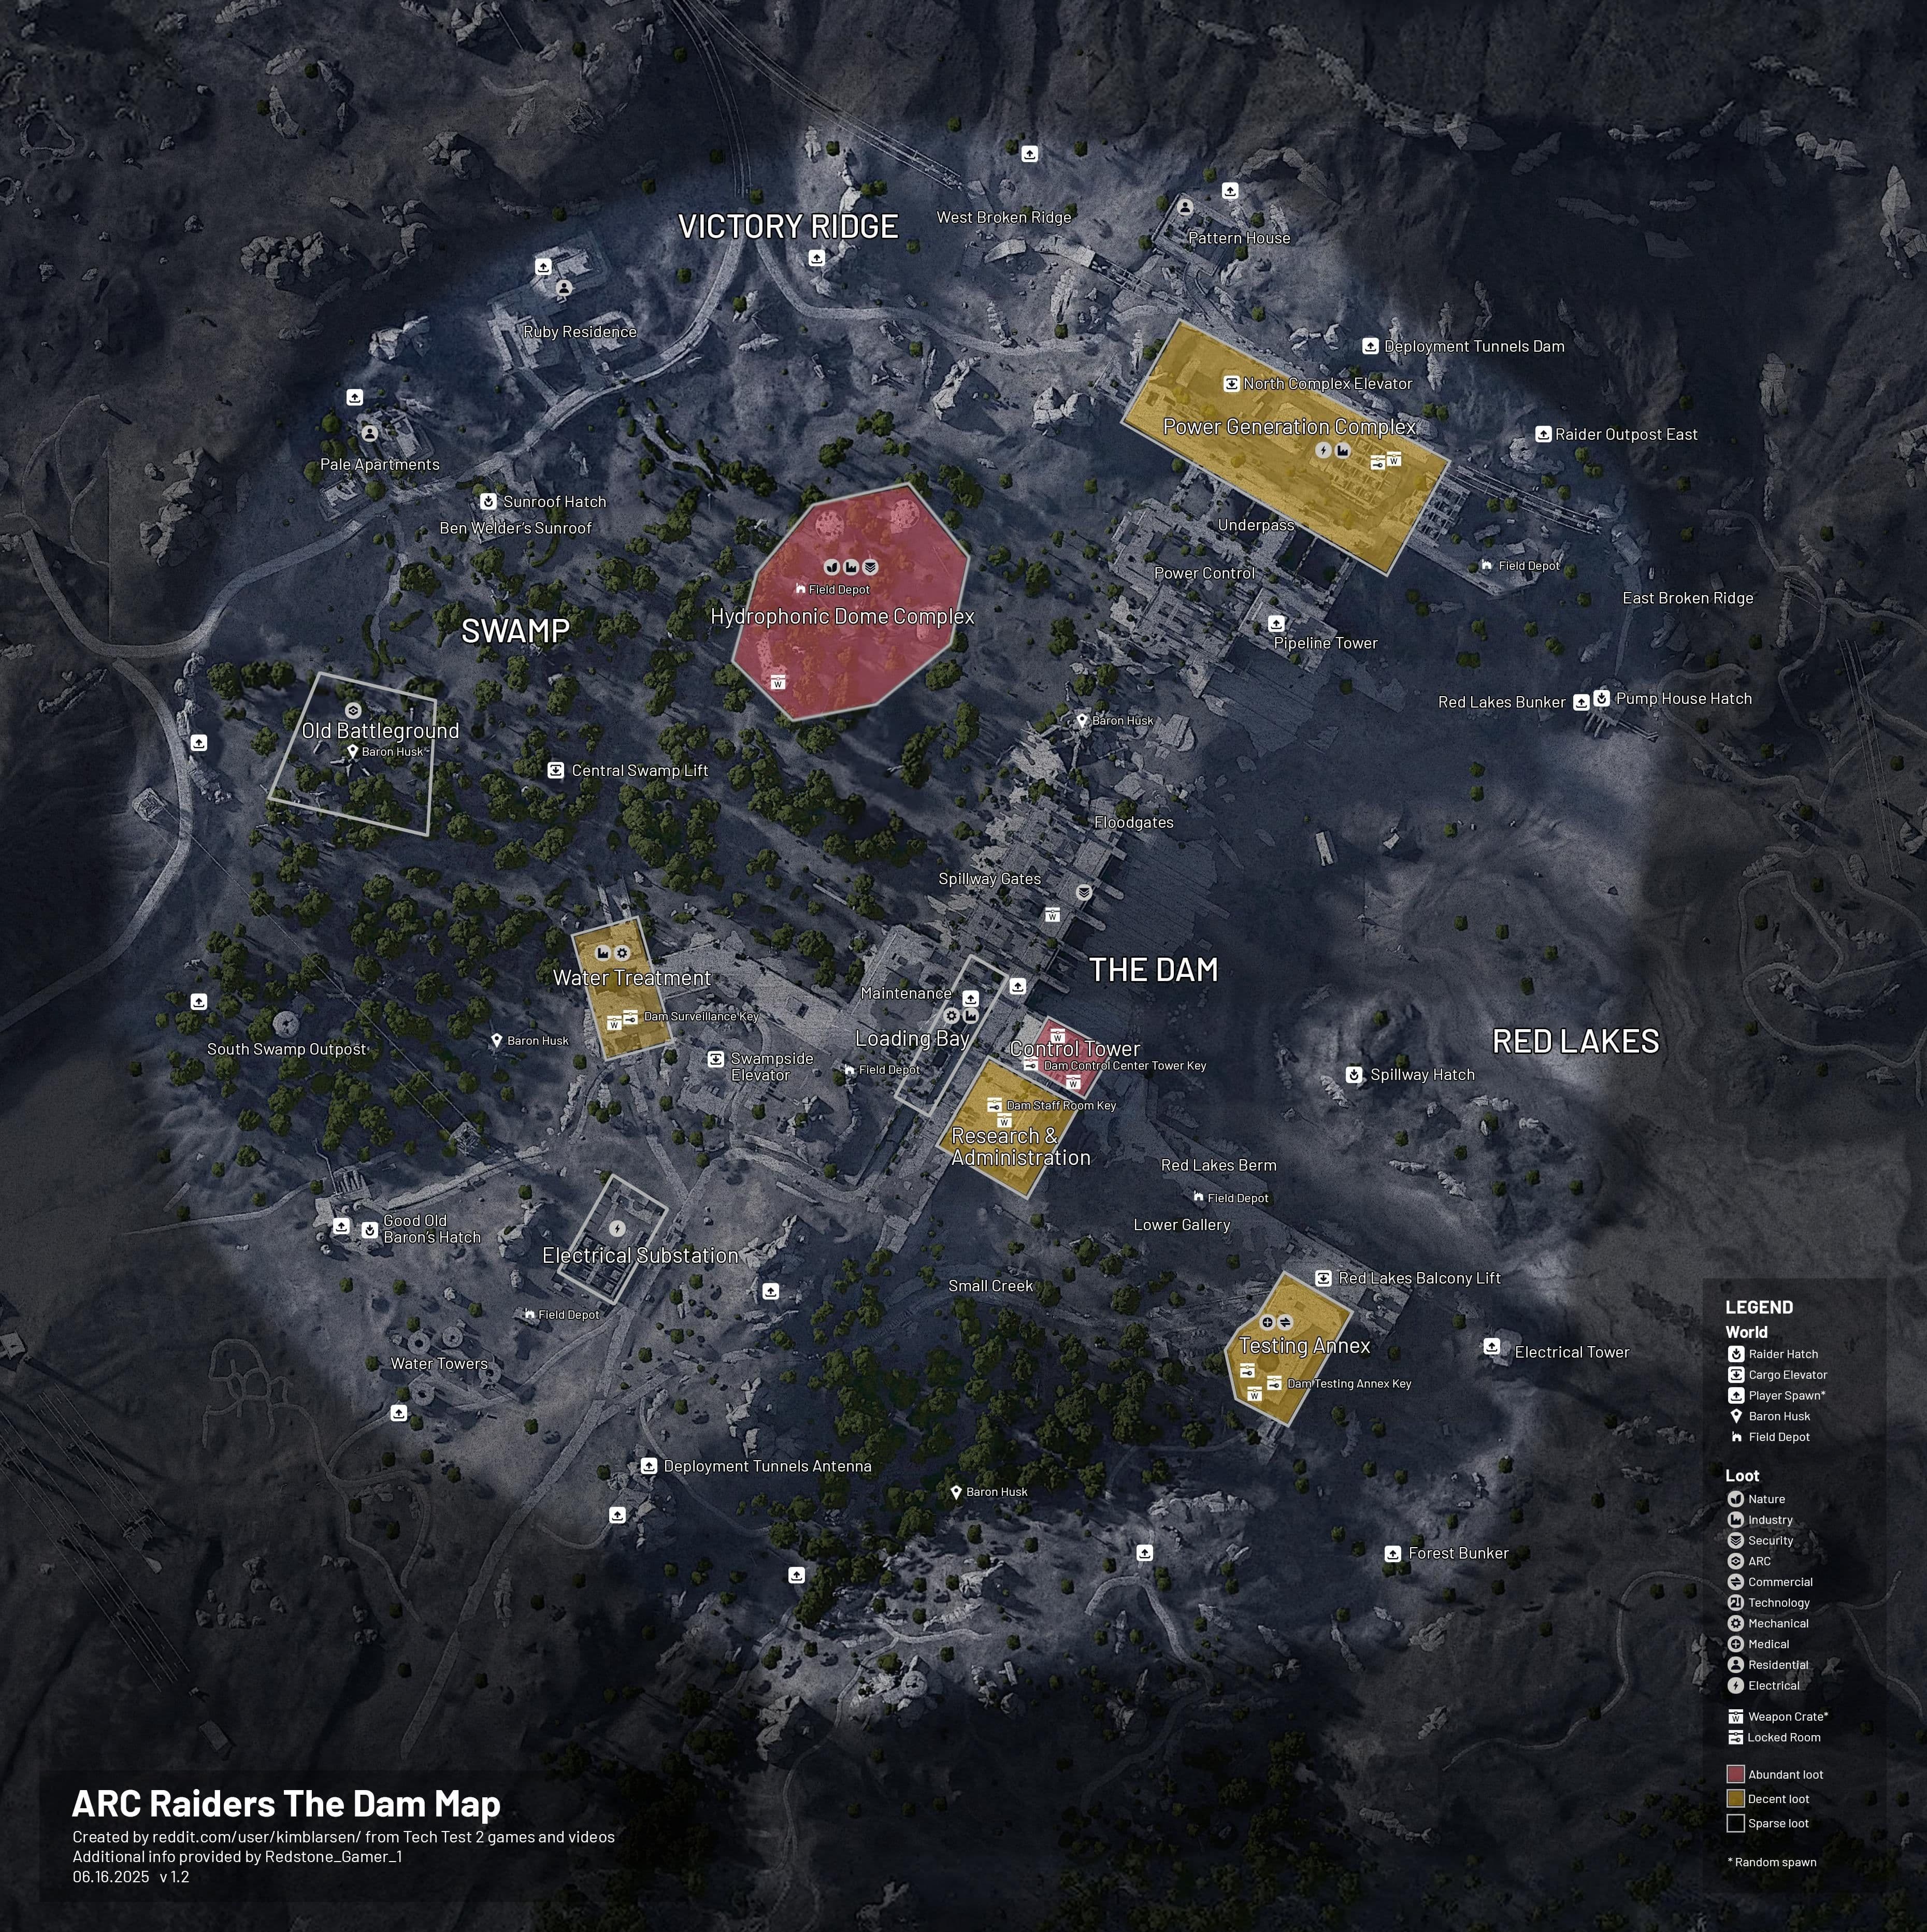
| Main Dam Structure (2 lockers) | High blueprint density | Dam Battlegrounds |
| Generator Building (1 locker) | Rare drops near turbine | Dam Battlegrounds |
| Outer Perimeter (3 lockers) | Scattered high-value lockers | Dam Battlegrounds |
| Underground Tunnels (1 locker) | Heavily guarded, often locked | Dam Battlegrounds |
| Central Command (2 lockers) | Frequent blueprint spawns | Blue Gate |
| Radar Station (1 locker) | Upper-level locker, watch for patrols | Blue Gate |
| Storage Depot (2 lockers) | Near weapon caches | Blue Gate |
| Maintenance Bay (1 locker) | Behind locked door | Blue Gate |
- Loot fast: Security Lockers and weapon crates are where you’ll get the most mileage. Avoid prolonged fights unless you need to clear keys.
- Extract on time: Don’t overstay — blueprint RNG rewards repetition more than risk. Repeat runs every 10–15 minutes.
- Event farming: When Harvester Events spawn, prioritize them with a squad — they can drop Equalizer and Jupiter recipes reliably.
- Solo pulls: Hunt Surveyor ARCs for decent blueprint-to-effort ratios if you’re running solo.
- Don’t ignore quests: Industrial Espionage, Buried City, Burletta, The Major's Footlocker, Hullcracker, Greasing Her Palms, and Sparks Fly have guaranteed blueprint rewards tied to trader questlines.
Legendary Weapon Blueprints (keep these materials handy):
| Item | Effect | Where to Get |
|---|---|---|
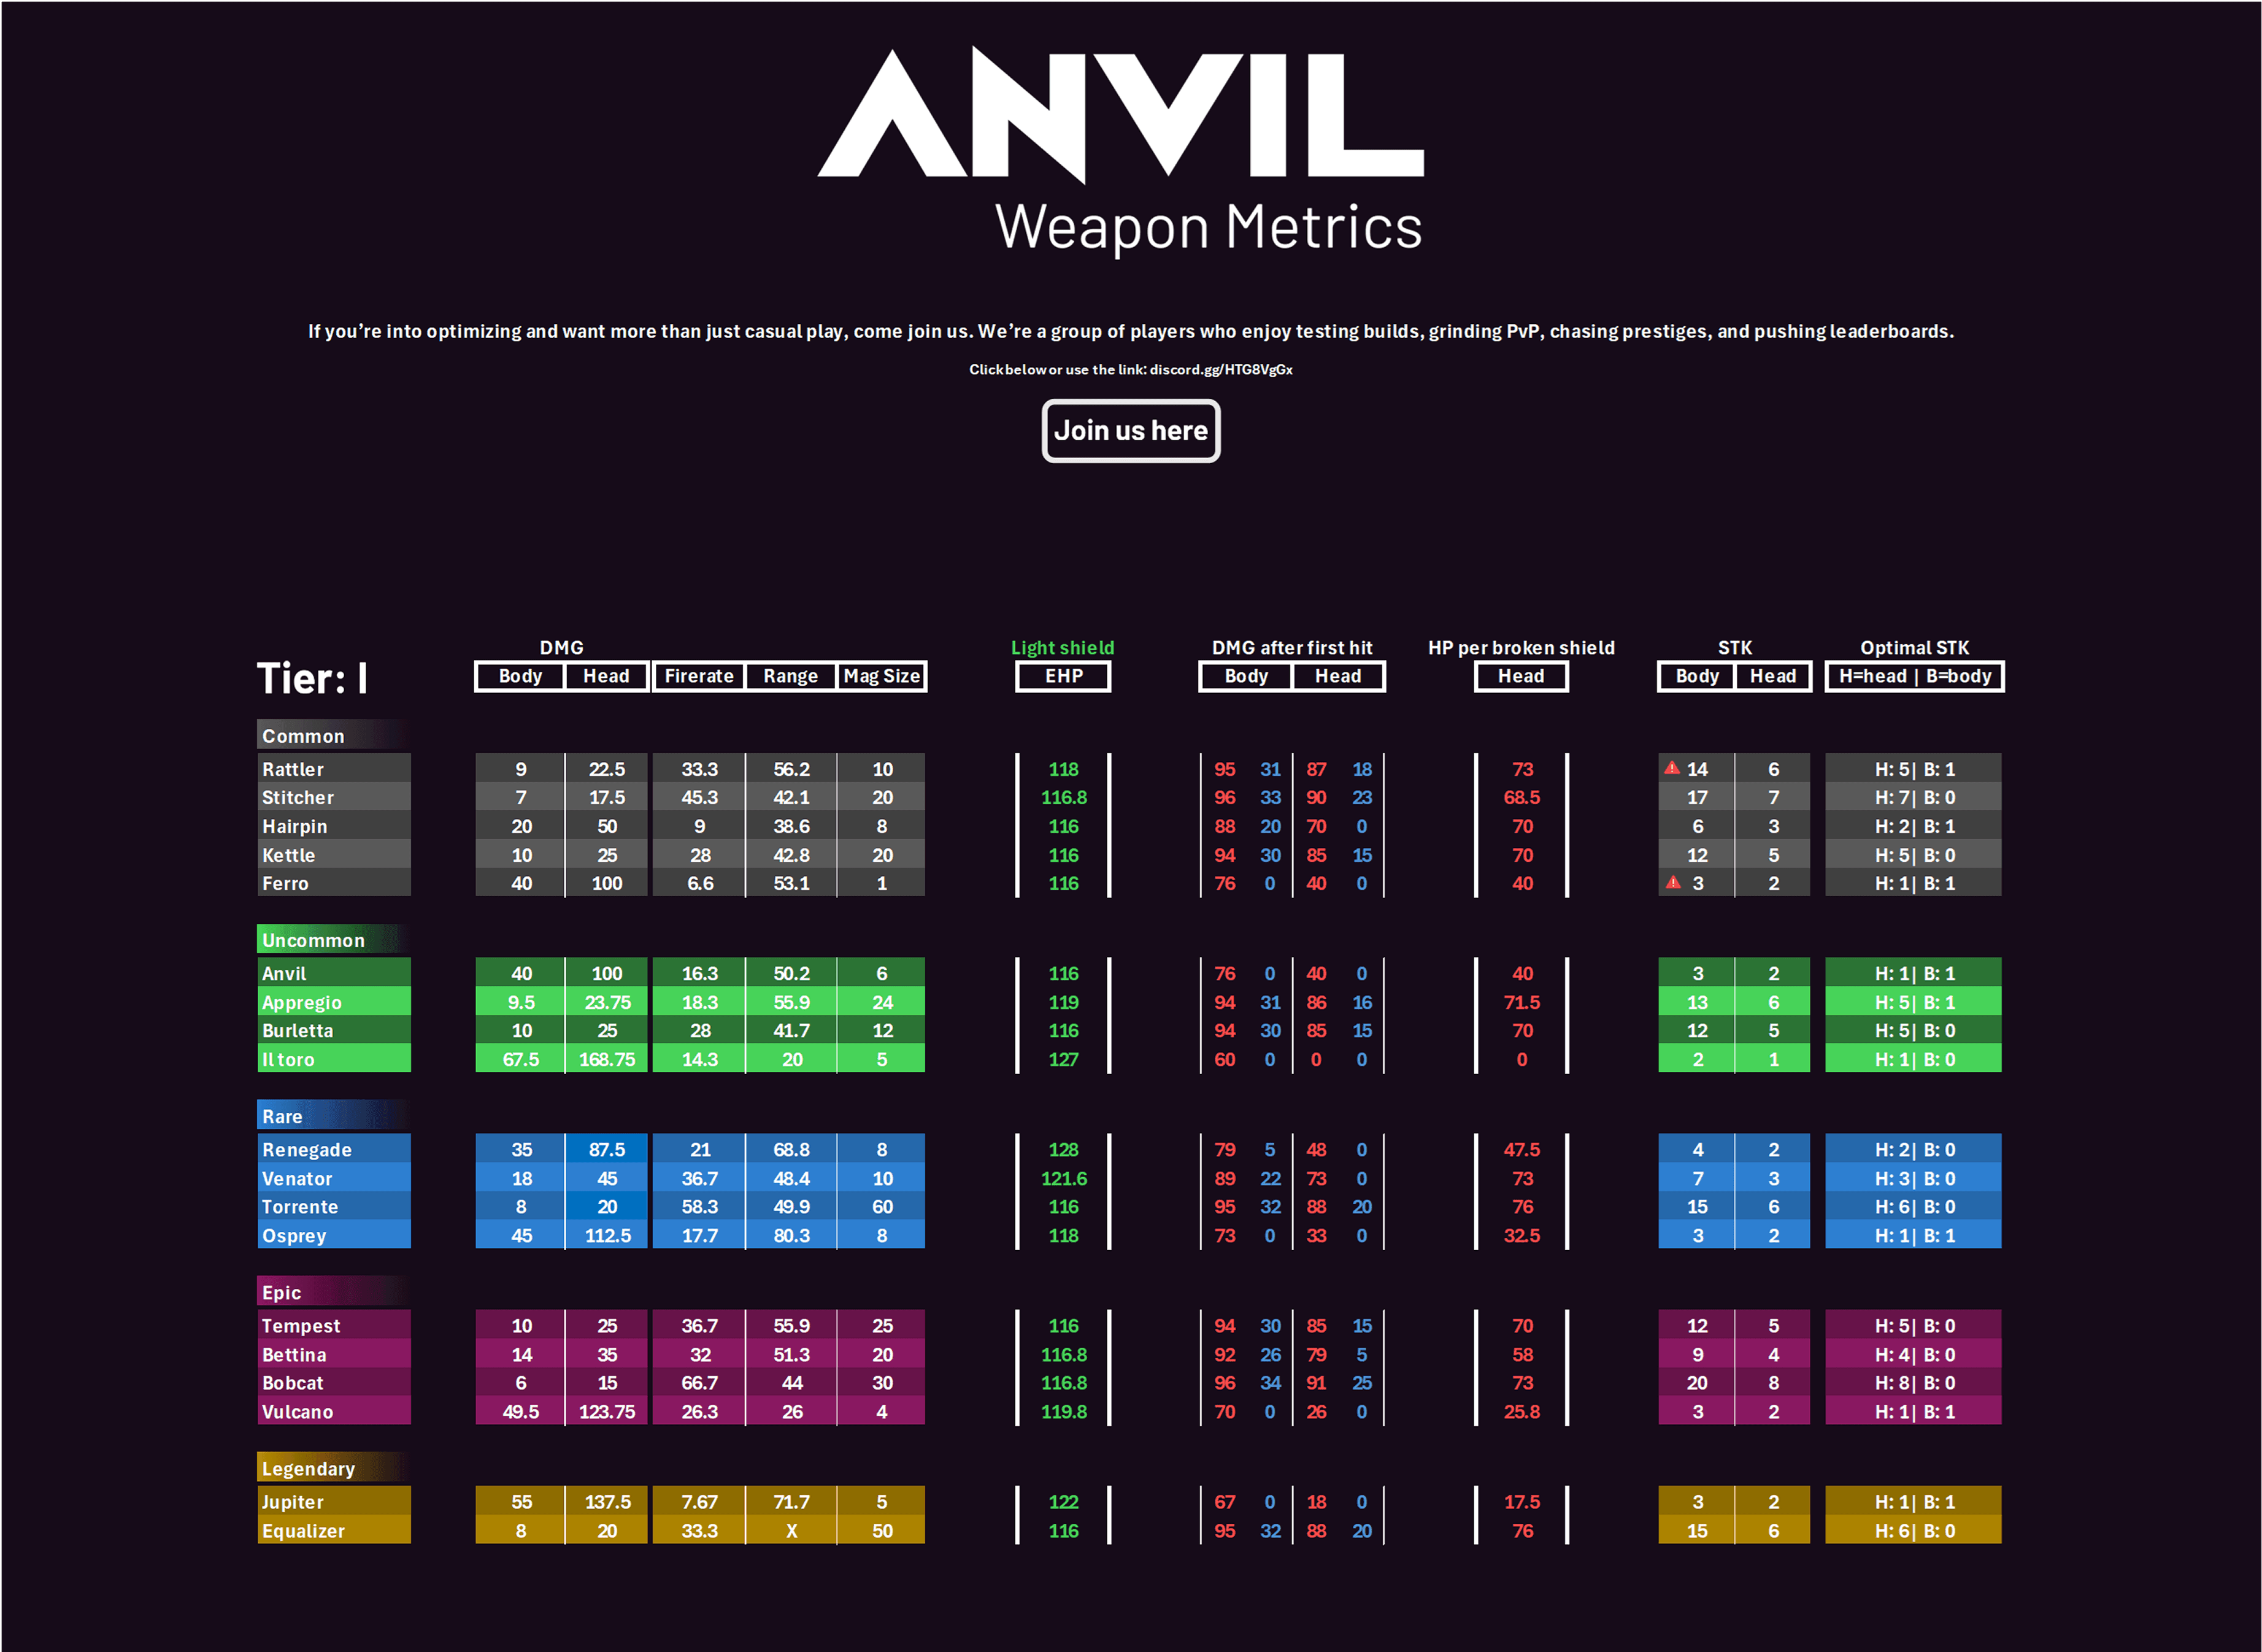
| Equalizer (Gunsmith 3) | Legendary weapon blueprint | 3x Magnetic Accelerator, 3x Complex Gun Parts, 1x Queen Reactor |
| Jupiter (Gunsmith 3) | Legendary weapon blueprint | 3x Magnetic Accelerator, 3x Complex Gun Parts, 1x Queen Reactor |
| Hullcracker (Gunsmith 3) | Legendary weapon blueprint | 1x Magnetic Accelerator, 3x Heavy Gun Parts, 1x Exodus Module |
Essential Weapon Modifications (fast combat power):
| Item | Effect | Where to Get |
|---|---|---|
| Extended Medium Magazine III (Gunsmith 3) | Magazine extension for medium weapons | 2x Mod Components, 5x Steel Spring |
| Silencer II (Gunsmith 3) | Suppresses weapon noise | 2x Mod Components, 8x Wires |
| Compensator III (Gunsmith 3) | Recoil control | 2x Mod Components, 8x Wires |
-
Crafting priorities: Magazine extensions and recoil control mods deliver immediate performance gains. If you can craft Equalizer or Jupiter, prioritize those materials when Harvester Events are active.
-
Track rarity and drop rates: Use the rarity breakdown to decide when to grind or switch targets.
| Item | Effect | Where to Get |
|---|---|---|
| Common Blueprints | 60% drop rate — mods, simple parts | Regular containers |
| Rare Blueprints | 25% drop rate — advanced weapons/mods | Security Lockers, events |
| Legendary Blueprints | 5% drop rate — Equalizer, Jupiter, Hullcracker | Harvester Events, high-tier locked containers |
Follow that loop and you’ll chip away at the 68 total blueprints without losing your mind. Treat Harvester Events like prime-time: coordinated teams shred the RNG.
Pro Tips
- Run night cycles on maps where multiple Security Locker clusters are close together. Two quick locker hubs are worth more than wandering every map.
- If you want locked-container blueprints, bring keys and avoid Free Loadout. Yep, Free Loadout is safe — but it blocks keys and therefore high-tier lockers.
- Queue Harvester Events with a consistent squad. The guaranteed rare drops make coordinated runs exponentially more efficient than solo hope-and-pray attempts.
- Prioritize crafting Extended Medium Magazine III and Compensator III early — the damage-per-second and accuracy gains boost your farming speed, which circles back into more blueprints.
- Surveyor ARCs are underrated for solo players. They patrol maps, are easy to kite, and their blueprint drops are a decent risk-to-reward for one-man runs.
Common Mistakes to Avoid
- Using Free Loadout while expecting to open locked Security Lockers — Free Loadout prevents carrying keys, so you'll miss locked-container blueprints.
- Overstaying in high-value zones to farm one extra container — extraction frequency beats greed; repeat runs increase total loot faster.
- Ignoring night missions — people skip them because ARC activity is higher, then wonder why their blueprint rate is low.
- Grinding random loot without tracking which blueprints you still need — duplicate farming is the fastest way to burn time.