Workshop Guide: Upgrade Every Crafting Station Fast
Upgrade your View All Workshop stations. Learn required materials, where to farm drivers and blueprints, Scrappy mechanics, and a step-by-step upgrade path.
TL;DR
- Gunsmith first — Level 2 unlocks Arpeggio I, Level 3 gives Jupiter sniper. Better guns = safer extracts.
- Use Refiner mid-game to convert common parts into Advanced Electrical/Mechanical Components and ARC Circuitry.
- Level Scrappy with food/pet items (lemons, apricots, dog collars) for passive deliveries of Chemicals and Rubber Parts.
- Always extract blueprints and store them in safe pockets; farm ARC unit drivers (Wasp, Hornet, Tick, Rocketeer, Snitch, Bombardier).
What You Need to Know First
Your Workshop is the loop: raid -> loot -> return to Raider Den in Speranza -> upgrade stations. Each specialized station caps at Level 3 and unlocks new recipes immediately on upgrade. Failed extractions lose materials and blueprints. If this sounds like mercy from The Sopranos, it's not — you lose the blueprint and someone else takes the loot.
Requirements at a glance (core drivers and unique drops):
| Item | Effect | Where to Get |
|---|---|---|
| Wasp Driver | Used by Gunsmith & Gear recipes | Wasp ARC units (industrial zones) |
| Hornet Driver | Gear Bench components | Hornet ARC units (patrol pairs near industrial zones) |
| Tick Pod | Medical Lab crafting ingredient | Tick ARC units (abandoned facilities) |
| Rocketeer Driver | Explosives Level 3 recipes | Rocketeer ARC units (high-threat events) |
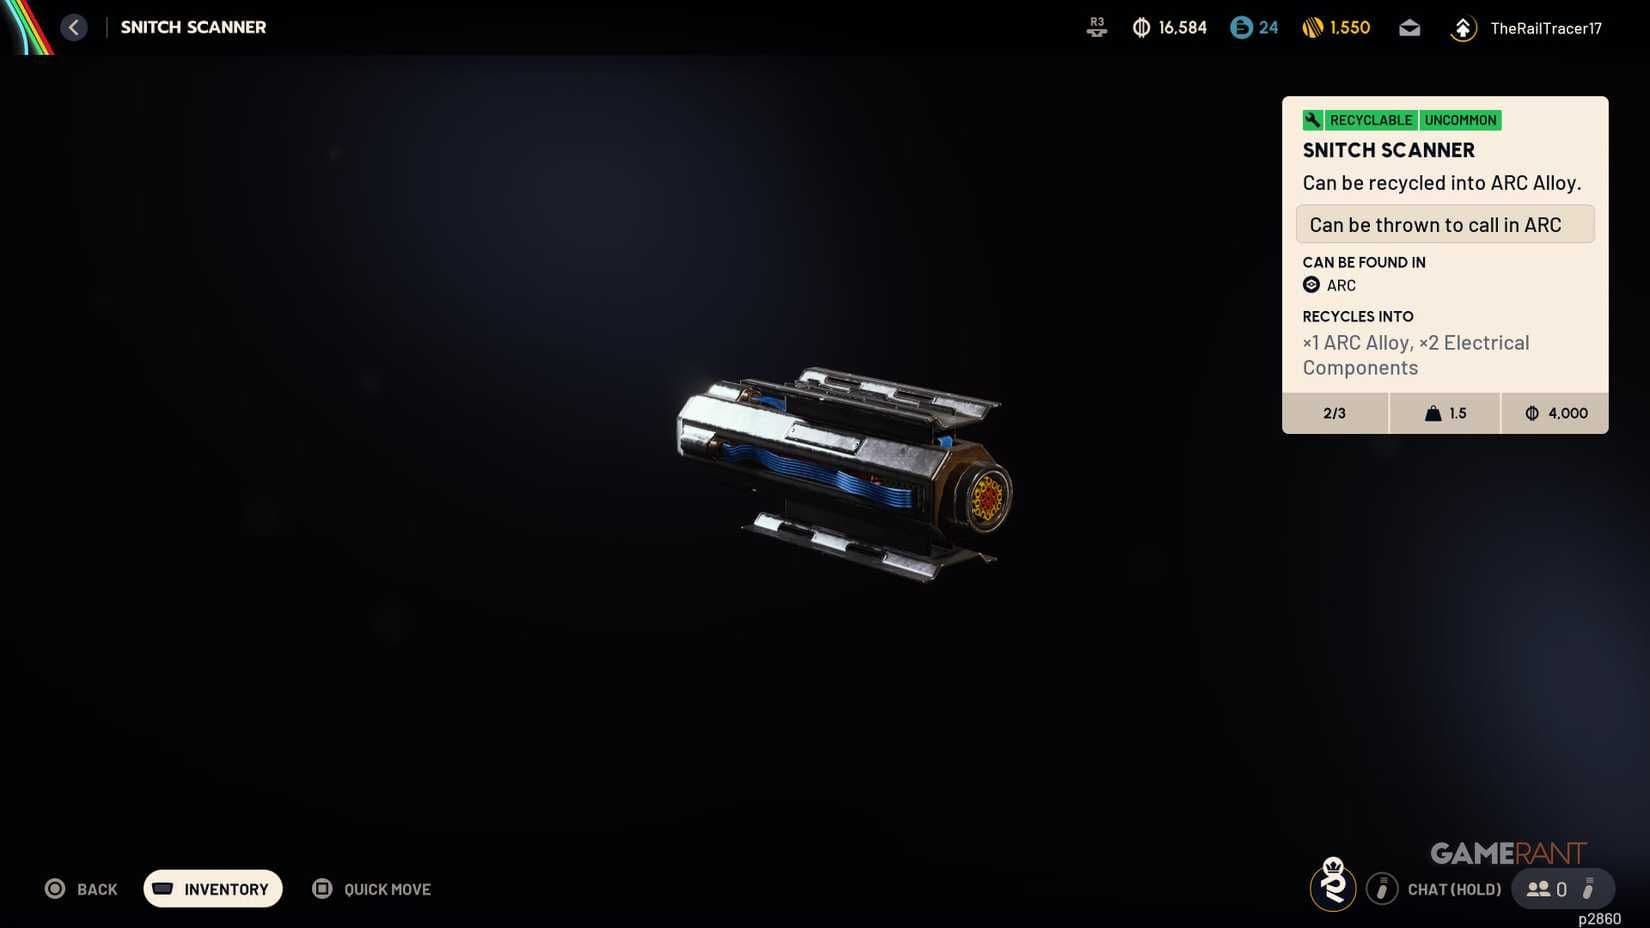
| Snitch Scanner | Utility Station gadgets | Snitch ARC units (surveillance drones near extraction zones) |
| Bombardier Cell | Refiner Level 3 materials | Bombardier ARC units (escalated threat spawns) |
Quick station checklist:
| Station | Primary Unlocks by Level | Why it matters |
|---|---|---|
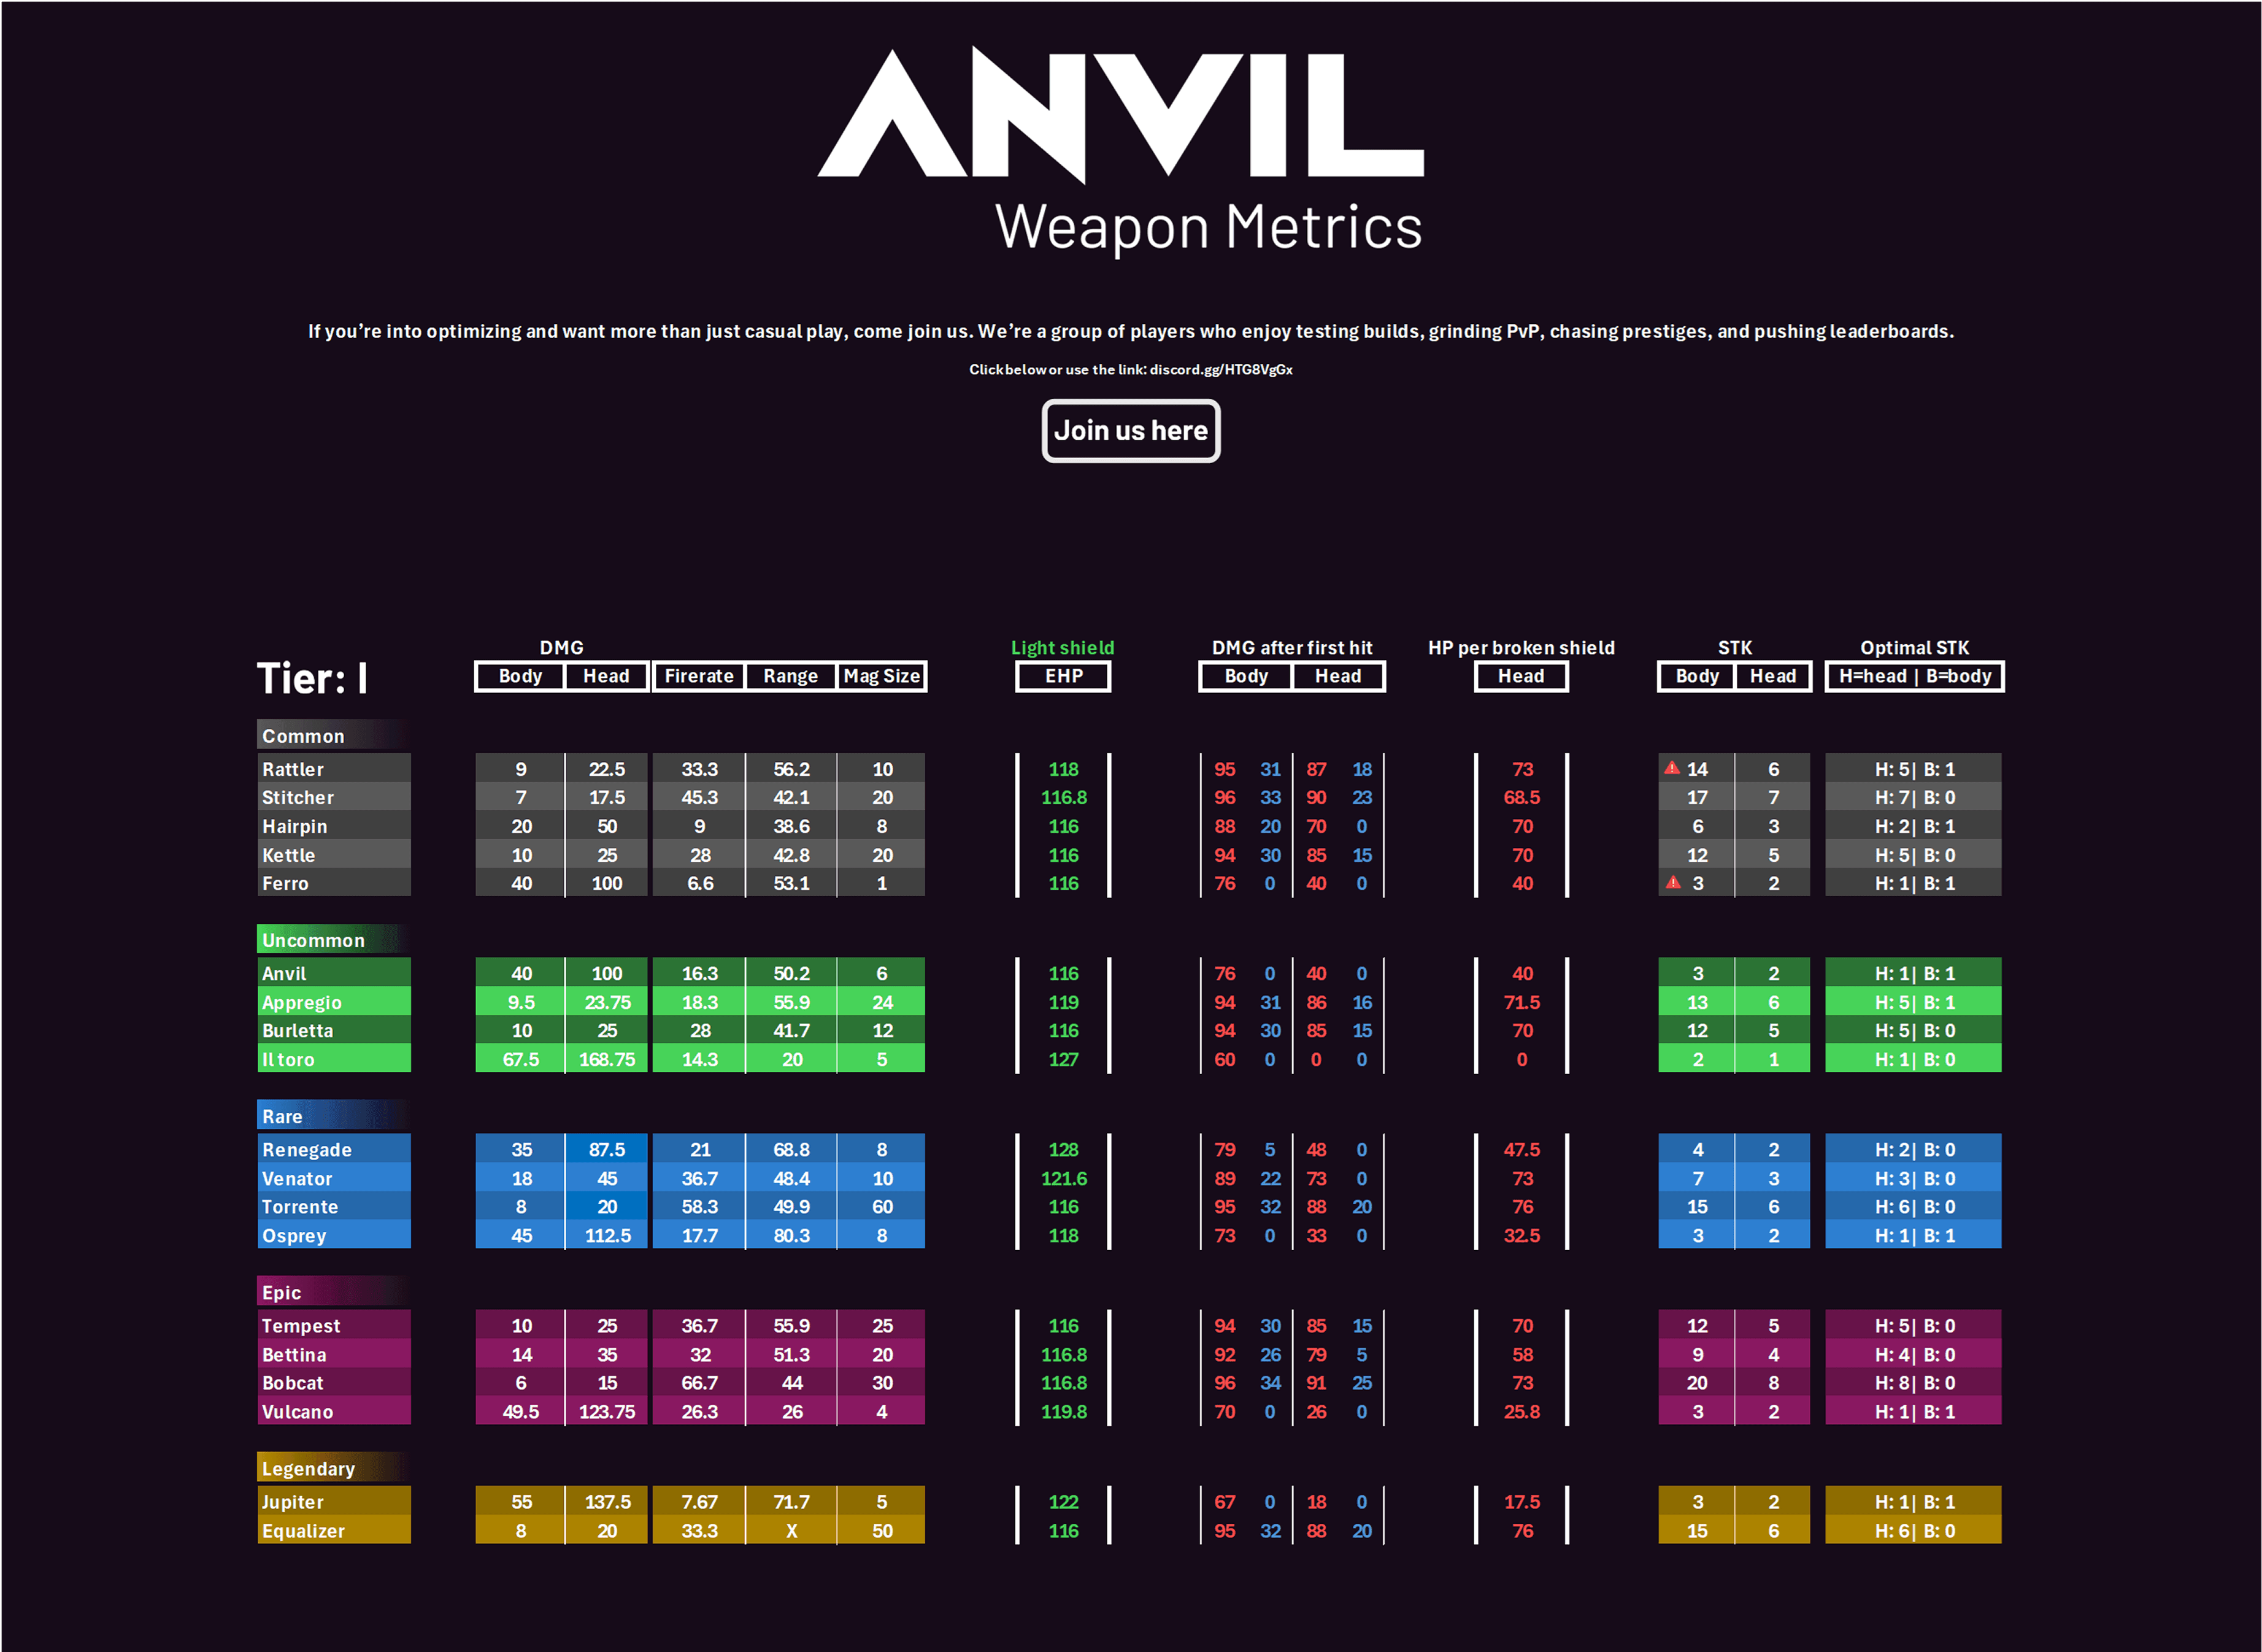
| Gunsmith | Arpeggio I (L2), Jupiter sniper (L3) | Damage and range — reduces raid time |
| Gear Bench | Heavy Shields, Mk.2 augments (L2), Looting Mk.3 (L3) | Survivability and loot capacity |
| Medical Lab | Vita Spray (L3) | Instant heals that let you keep fighting |
| Explosives | Blaze Grenade (L2), Heavy Fuze (L3) | Crowd control and area denial |
| Utility | Zipline (L2), Photoelectric Cloak (L3) | Mobility and stealth options |
| Refiner | Advanced Components, ARC Circuitry (L2-L3) | Fixes component bottlenecks |
| Scrappy (passive) | Increases material deliveries with food/pet items | Free steady materials between raids |
Minimum prerequisites: you must reach Raider Den access and have extraction runs that net the listed materials. The Basic Workbench stays at Level 1 and covers ammo, basic consumables, and starting augments — you’ll use it forever for ammo and bandages.
Step-by-Step Guide
Follow this progression if you want to stop running in circles and actually finish upgrades.
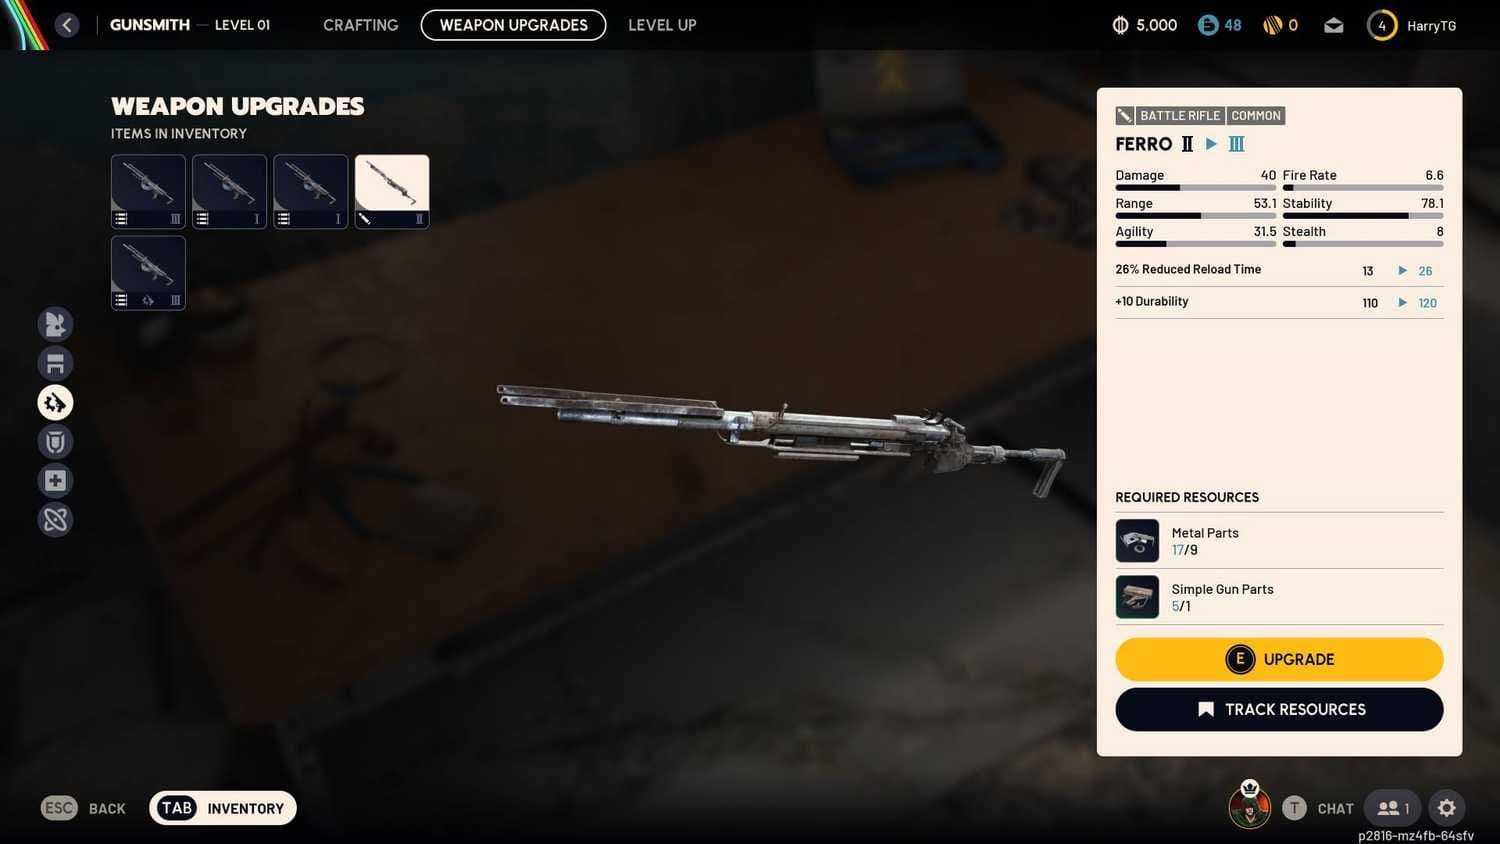
- Prioritize Gunsmith to Level 2, then 3.
- Why: Weapons directly reduce raid time and risk.
- How: Farm Metal Parts, Rubber Parts, Rusted Tools, Mechanical Components, Rusted Gear, Advanced Mechanical Components, Sentinel Firing Cores. Target Wasp ARC and Sentinel turrets for predictable drops.
| Level | Required Materials | Key Unlocks |
|---|---|---|
| 1 | 20× Metal Parts, 30× Rubber Parts | Basic weapon access |
| 2 | 3× Rusted Tools, 5× Mechanical Components, 8× Wasp Driver | Expanded weapon roster, Arpeggio I |
| 3 | 3× Rusted Gear, 5× Advanced Mechanical Components, 4× Sentinel Firing Core | Elite weapons, Jupiter sniper, tier-3 mods |
- Lock down the Gear Bench next.
- Shields and augments keep you alive while you clear drivers and Sentinels.
| Level | Required Materials | Shield / Augment Unlocks |
|---|---|---|
| 1 | 25× Plastic Parts, 30× Fabric | Light/Medium Shield, basic augments |
| 2 | 3× Power Cable, 5× Electrical Components, 5× Hornet Driver | Heavy Shield, Mk.2 augments |
| 3 | 3× Industrial Battery, 5× Advanced Electrical Components, 6× Bastion Cell | Looting Mk.3 (Cautious), advanced augments |
- Get the Medical Lab to Level 3 sooner than you think.
- Vita Spray (instant heal) changes how aggressively you can play. Farm Tick Pods and Cracked Bioscanners in abandoned facilities.
| Level | Required Materials | Notable Crafts |
|---|---|---|
| 1 | 50× Fabric, 6× ARC Alloy | Basic medical items |
| 2 | 2× Cracked Bioscanner, 5× Durable Cloth, 8× Tick Pod | Advanced items |
| 3 | 3× Rusted Shut Medical Kit, 8× Antiseptic, 5× Surveyor Vault | Vita Spray |
- Mid-game: unlock Refiner Level 2 and then 3.
- Refiner turns bulk Metal Parts into Advanced Electrical Components, Advanced Mechanical Components, and ARC Circuitry. This eliminates bottlenecks when upgrading other stations to Level 3.
| Level | Required Materials | Conversion Options |
|---|---|---|
| 1 | 60× Metal Parts, 5× ARC Powercell | Electrical Components, Crude Explosives |
| 2 | 3× Toaster, 5× ARC Motion Core, 8× Fireball Burner | Advanced components, ARC Circuitry |
| 3 | 3× Motor, 10× ARC Circuitry, 6× Bombardier Cell | Magnetic Accelerator, Mod Components |
-
Explosives and Utility are playstyle locks.
- Explosives L2 gives Blaze Grenade; L3 needs Rocketeer Drivers for Heavy Fuze. Use Blaze to deny chokepoints.
- Utility L3 Photoelectric Cloak + Zipline from L2 equals stealthy extractions — pair with safe zipline routes.
-
Scrappy progression is passive but important.
- Feed Scrappy the required items to boost delivery quality. Dog Collars, Lemons, Apricots, Prickly Pears, and pillows are the currency.
| Level | Required Items | Material Output |
|---|---|---|
| 1 - Fledgling | None | Metal Parts, Fabric, Plastic Parts |
| 2 - Forager | 1× Dog Collar | Increased delivery rate |
| 3 - Scavenger | 3× Lemon, 3× Apricot | Adds Chemicals, Rubber Parts |
| 4 - Treasure Hunter | 6× Prickly Pear, 6× Olives, 1× Cat Bed | Higher quality materials |
| 5 - Master Hoarder | 12× Mushroom, 12× Apricot, 3× Very Comfortable Pillow | Premium components |
-
Blueprints: extract and stash.
- Blueprints must be extracted to be permanent. Put them in safe pockets if you plan risky runs. Prioritize weapon and Vita Spray blueprints if you play aggressive, utility/zipline/photoelectric if you prefer stealth, or Looting Mk.3 and Refiner recipes if you’re the scavenger.
-
Route planning: pick raid zones by material.
- Spaceport = Electrical Components, ARC Circuitry
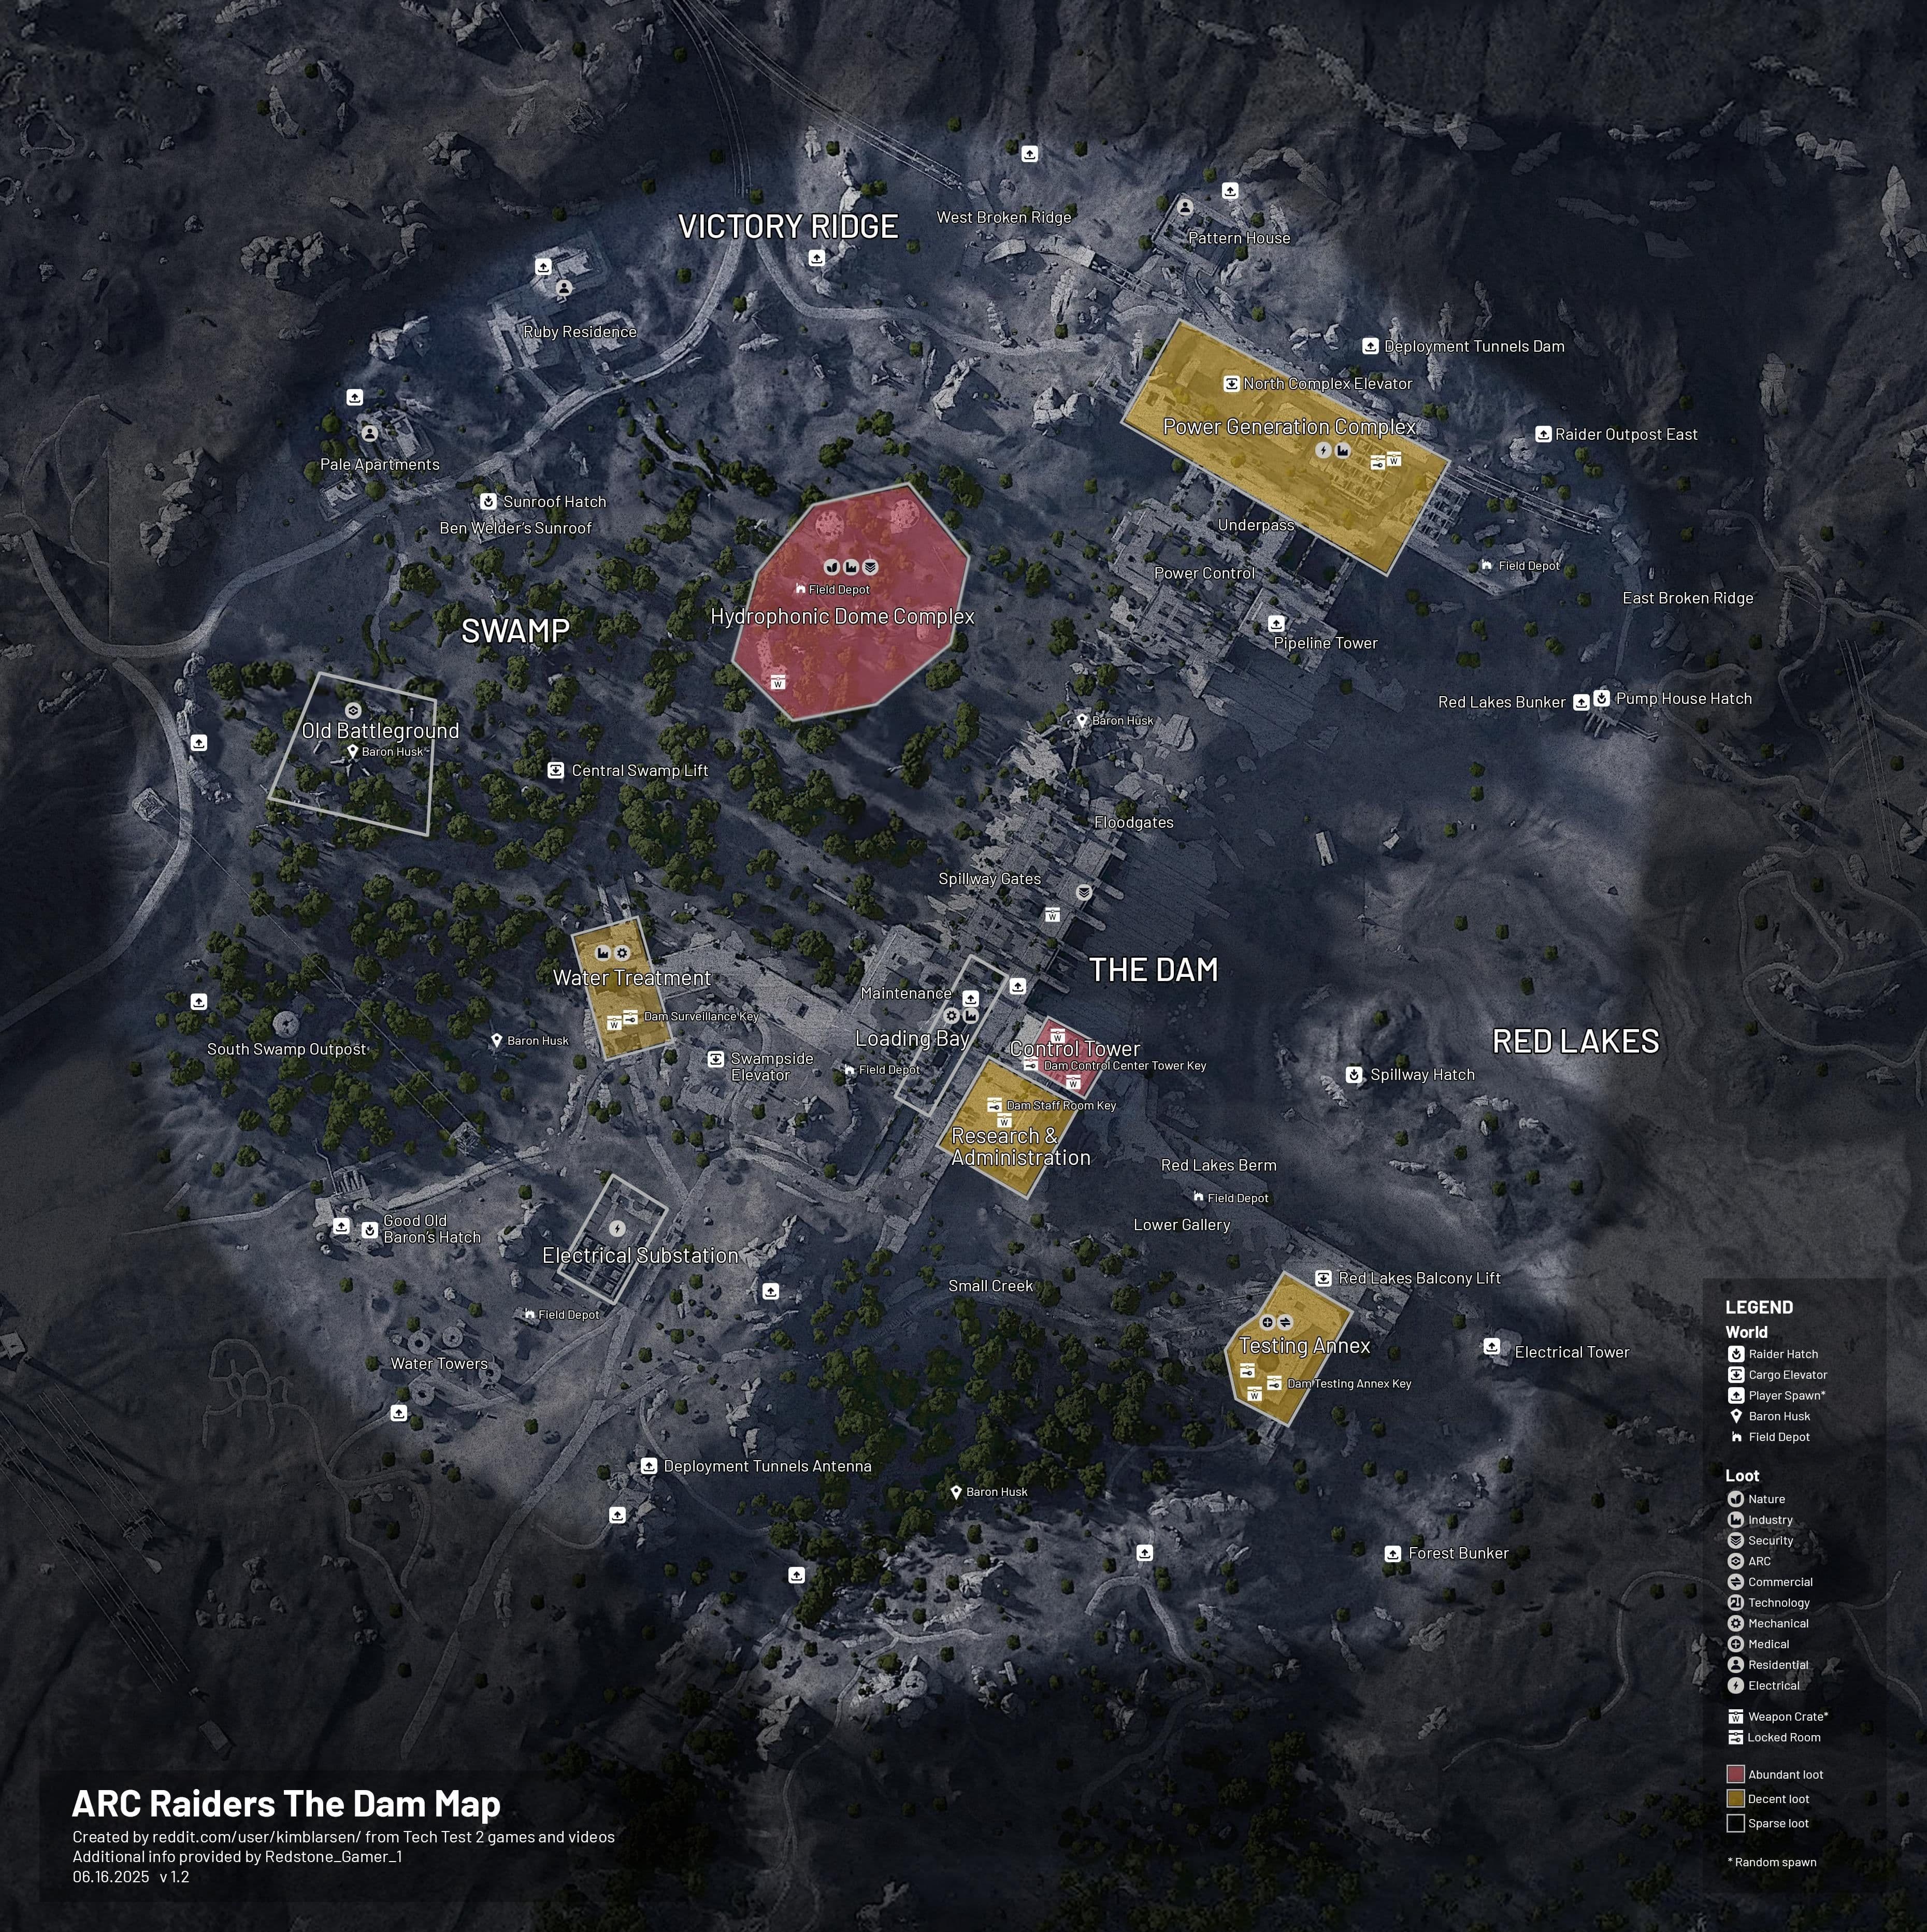
- Dam Battlegrounds = Mechanical Components, Metal Parts
- Marano Park = Fabric, Chemicals, fruit for Scrappy
- Abandoned Facilities = mixed materials and ARC unit spawns
Follow this progression, and the Workshop stops feeling like a second job.
Pro Tips
- Extract blueprints first, always. If you die and someone grabs your bag, it’s gone. Store them in safe pockets before the exit rush.
- When farming specific drivers, pick low-threat windows: Hornet pairs and Wasps patrol predictable lanes. Stealth runs with Zipline (L2 Utility) reduce PvP fights.
- Use Refiner outputs to craft Advanced Electrical/Mechanical Components rather than farming rare nodes. One Refiner L2 run covers many Level 3 station needs.
- Scrappy’s food items are cheap downtime investments—farm lemons/apricots in Marano Park during calm raids. The passive stream offsets grind by weeks.
- Don’t ignore Looting Mk.3 (Cautious). If you’re a scavenger, the inventory bonus pays for itself, but accept the combat drawback and play around it.
Common Mistakes to Avoid
- Rushing all stations at once and running out of Advanced Components — focus on Gunsmith, Refiner, then defensive stations.
- Leaving blueprints in your inventory during high-extraction runs — they’re lost on failed extractions.
- Underfeeding Scrappy early and expecting premium drops — he needs those food/pet items to scale.
- Dumping materials into Explosives early if you never use grenades — match station upgrades to playstyle.