Arc Raiders Week 5 Trials — Expert Completion Guide
Master Arc Raiders Week 5 trials in View All: Rocketeers, Hidden Bunker, First Wave husks, Snitches, ground ARC enemies. Loadouts, spawn timing, strategies.

TL;DR
- Prioritize maps with 2x multipliers (Night Raids, Electromagnetic Storm, Hidden Bunker) for double points.
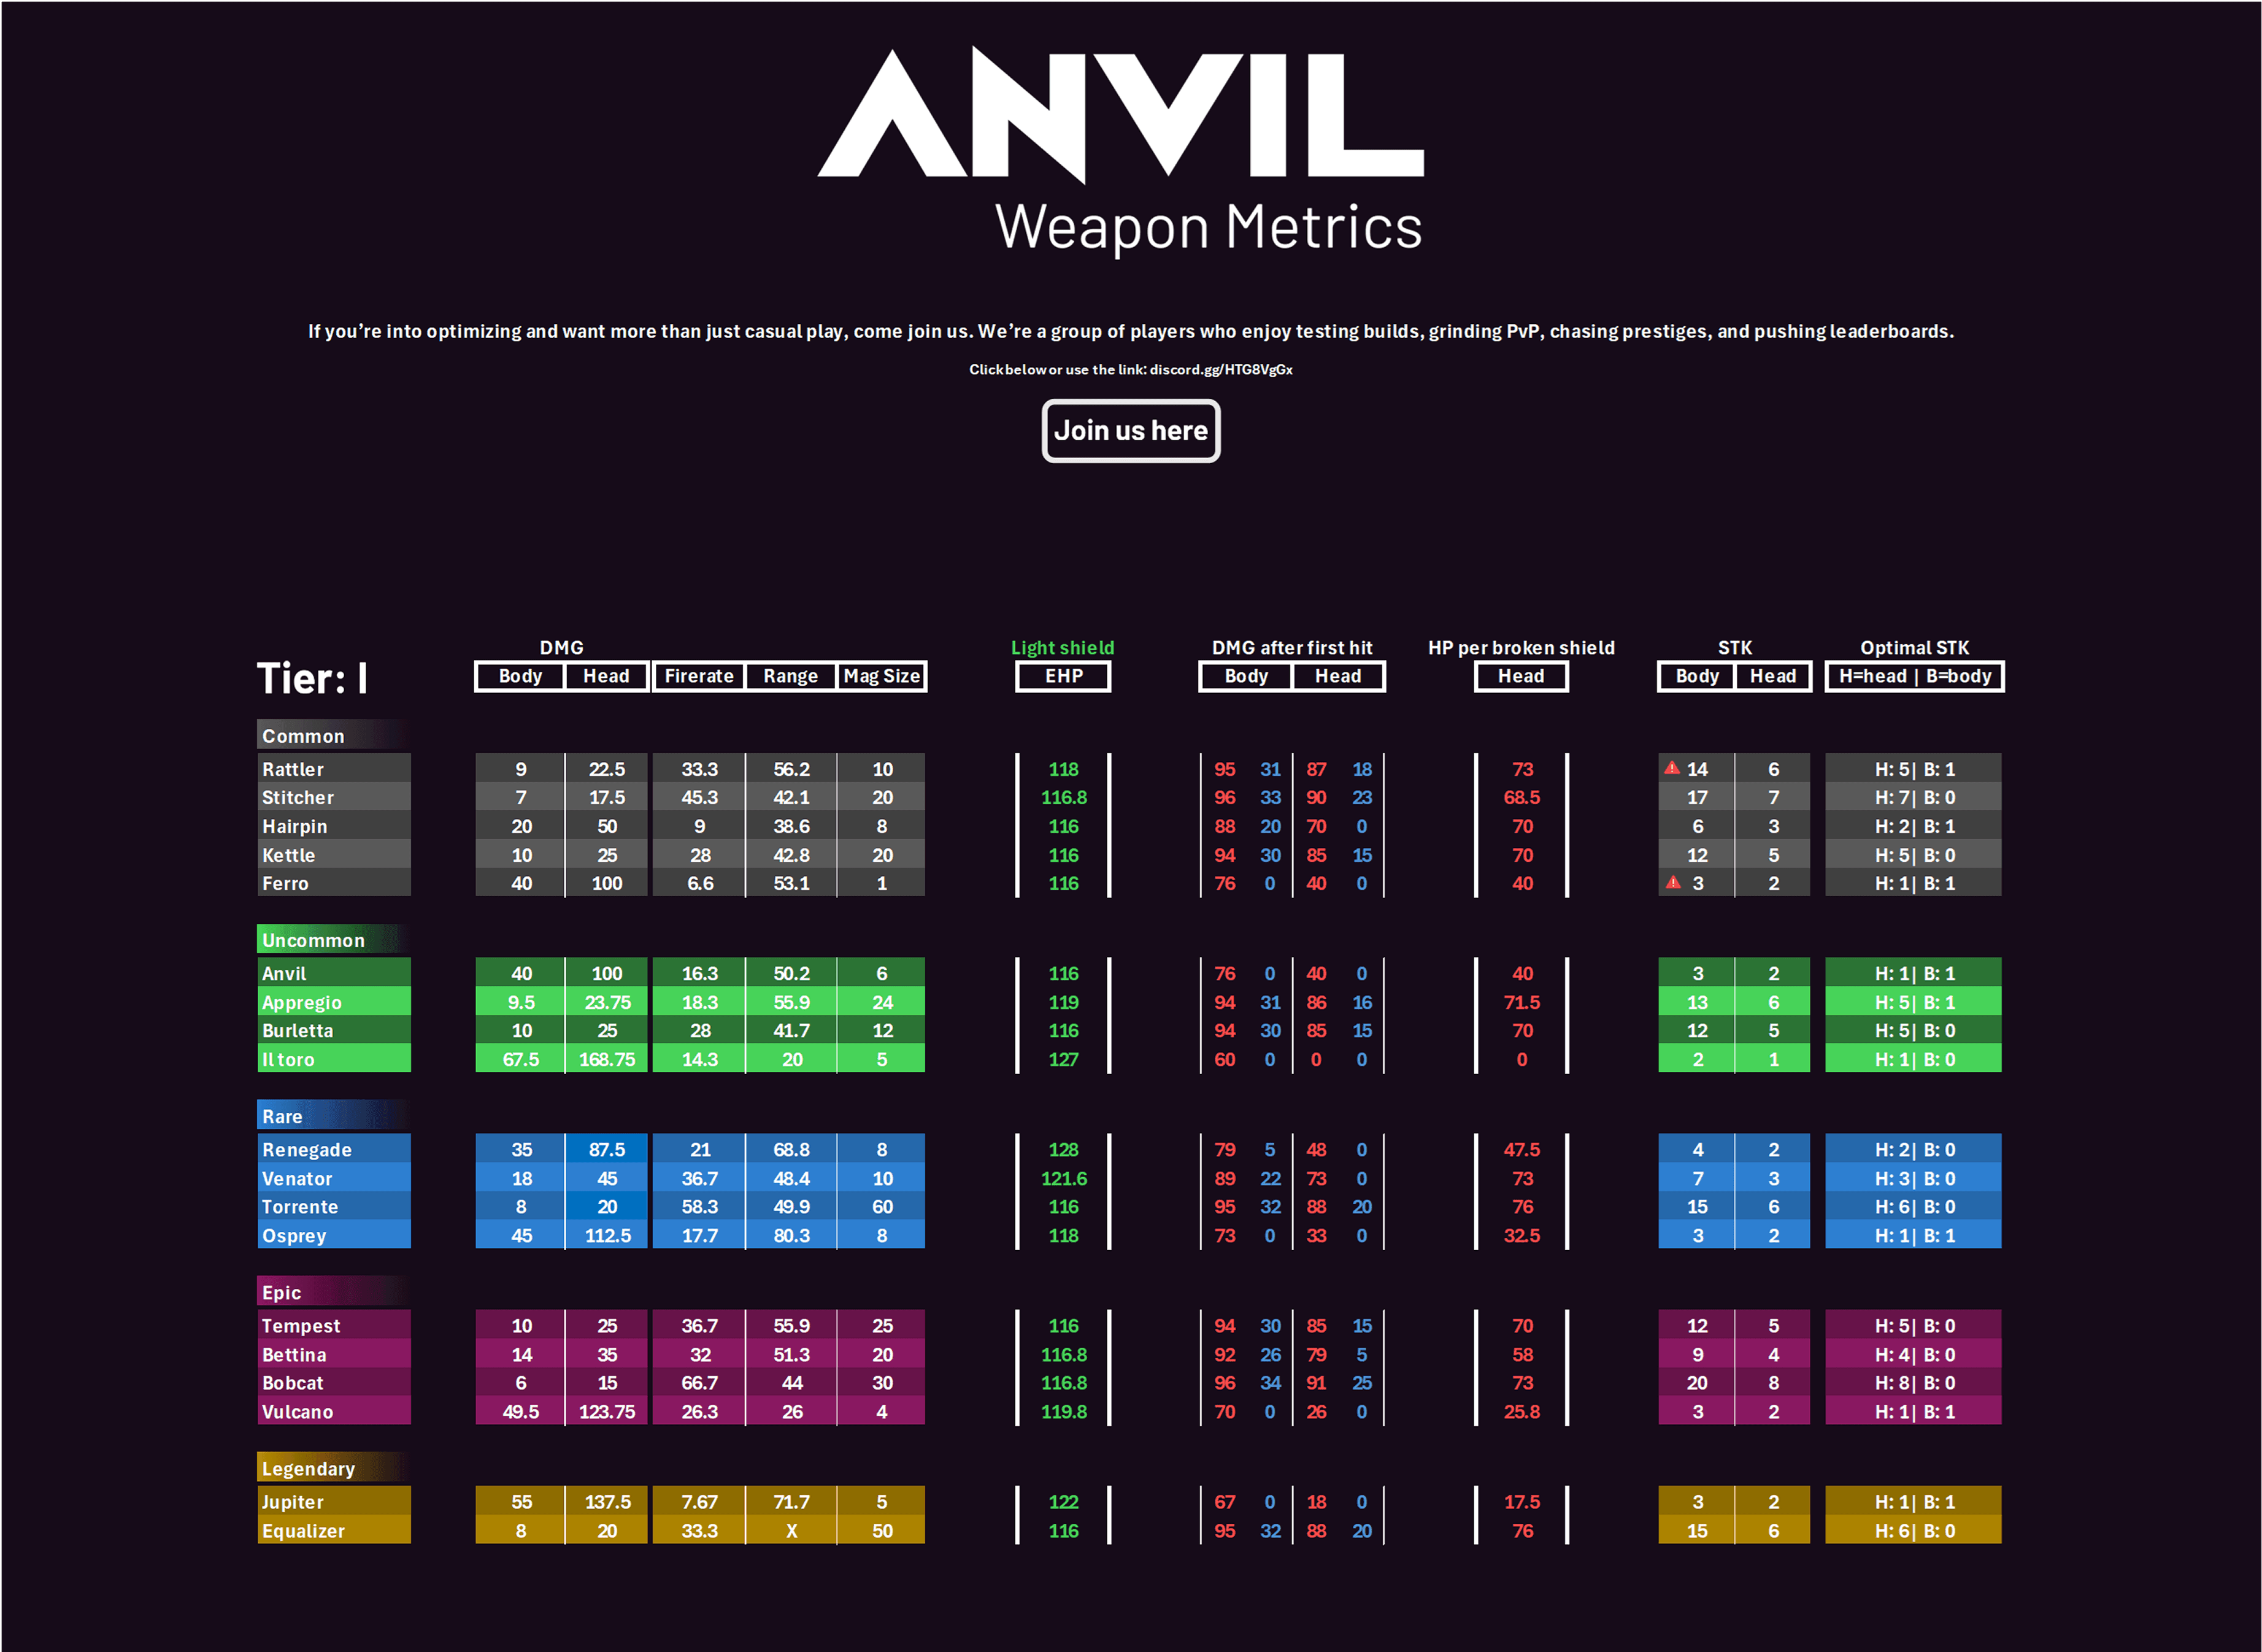
- Rocketeers: heavy weapons (Hullcracker, Jupiter), hit armor panel, two kills ≈ three-star.
- Hidden Bunker: grab green terminals, wait near entrances; 8 terminals × 800 pts = 6,400 max.
- Ground ARCs: focus Bastions/Bombardiers/Leapers; camp spawns, use Wolfpack grenades and Hullcracker.
What You Need to Know First
Requirements and quick reference. Read this like you would a job sheet — skip it and you’ll regret it.
| Item | Effect | Where to Get |
|---|---|---|
| 2x Map Multipliers | Double point gains (critical) | Night Raids, Electromagnetic Storm, Hidden Bunker events |
| Hullcracker | High armor penetration for big ARC targets | Vendor / loot caches |
| Jupiter | Heavy weapon option for Rocketeers | Vendor / blueprints |
| Wolfpack grenades | Fast multi-target eliminations | Vendor / crafting |
| Snap hooks, Ziplines | Positioning and elevation control | Vendor / map pickups |
| Adrenaline shots | Movement boost, clutch timing | Consumable vendors |
| Osprey, Renegade (snipers) | Snitch and long-range picks | Vendor / loot |
| Mines, Deadline mines | Defensive holds around terminals/positions | Crafting / vendor |
| Hive knowledge | ARC spawn timers and priority targets | Experience + this guide |
Minimum goals and numbers to remember:
- Rocketeers: ~2,600 points per kill — two kills usually secures three-star.
- Hidden Bunker: 8 terminals × 800 points = 6,400 points maximum.
- First Wave husks: 800 points each.
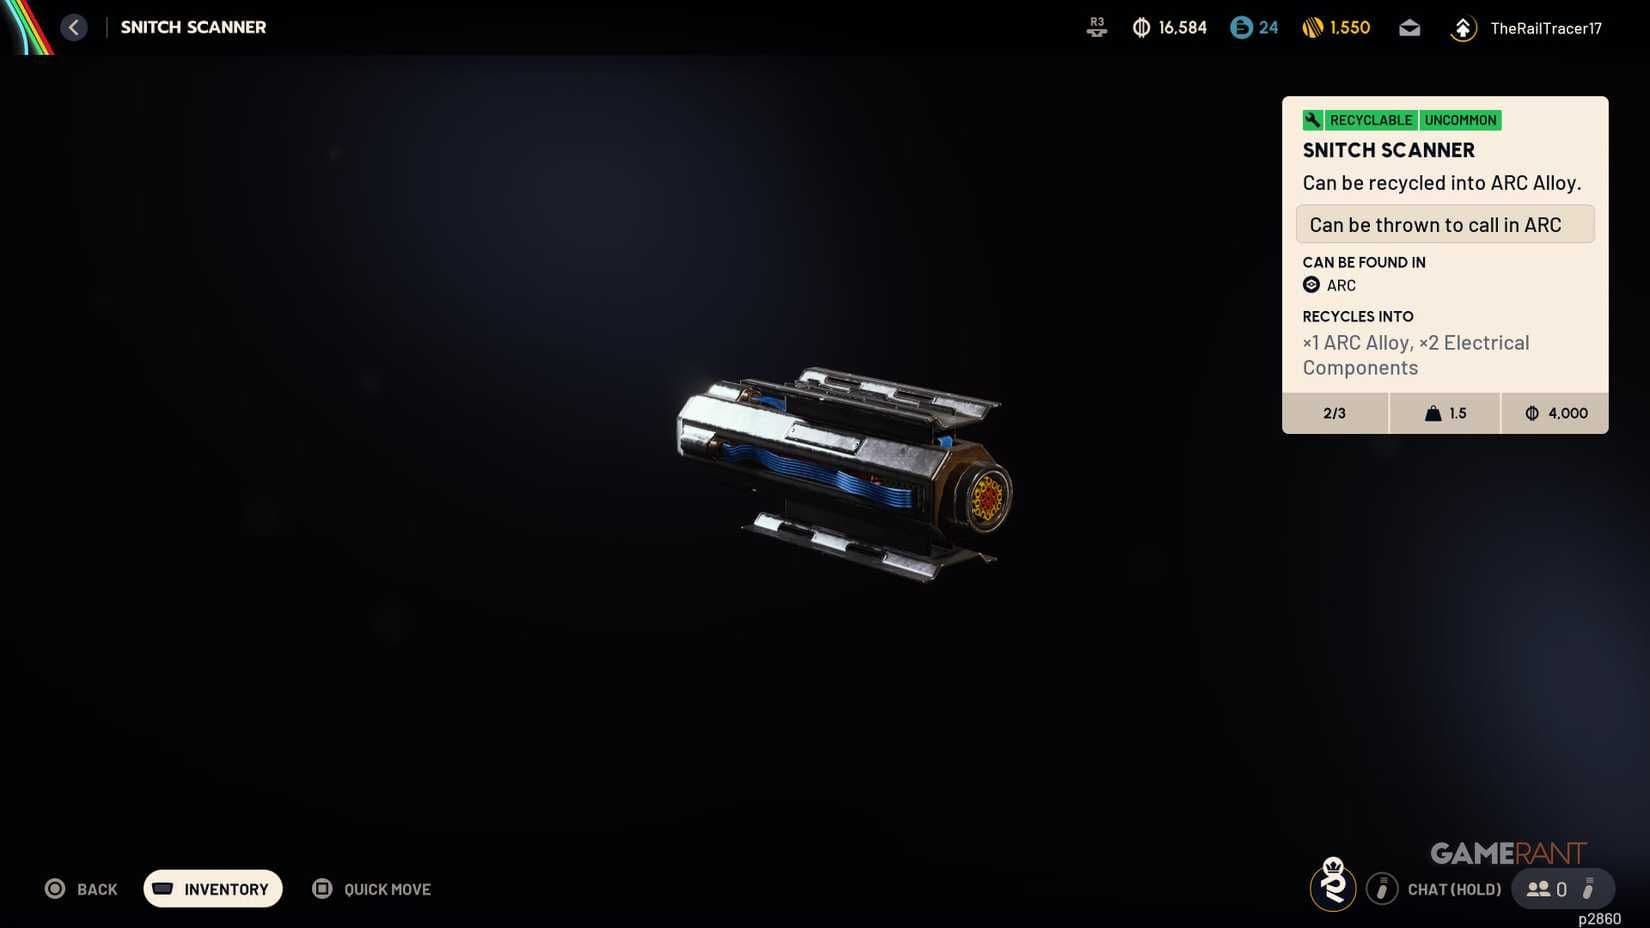
- Snitches: 600 points each — seven needed for three-star.
- Ground ARCs: you receive 80% of total XP as trial points; prioritize high-HP targets.
Map callouts you’ll use most: Spaceport (Hidden Bunker windows), Blue Gate (Pilgrim's Peak), Dam Battlegrounds (ground ARC spawns). If you don’t pick maps with the 2x multiplier, you’re nerfing yourself on purpose.
Step-by-Step Guide
Follow these steps per trial. Treat each like a shift: know your role, stack gear, execute.
-
General setup before any raid
- Check the map modifiers. If you don’t have a 2x multiplier, swap out.
- Loadouts: bring at least one heavy weapon (Hullcracker/Jupiter), Wolfpack grenades, mines, and mobility tools (Snap hooks/Ziplines).
- Split responsibilities in squad: one timer manager (starts respawns), one extractor guard, 1–2 killers.
-
Trial 1 — Damage Rocketeers
- Objective: Kill Rocketeers (≈2,600 pts each). Two kills generally = three-star.
- Loadout table:
| Item | Effect | Where to Get |
|---|---|---|
| Hullcracker | Armor penetration | Vendor/blueprints |
| Jupiter | Heavy burst damage | Vendor/loot |
| Wolfpack grenades | Quick elimination of grouped Rocketeers | Vendor/crafting |
| Snap hooks/Ziplines | High-ground control | Vendor/map |
- Strategy: Position midway up launch towers (Spaceport) or Pilgrim's Peak. Aim for the armor panel over the central eye — break it, then unload. Start the timer early: the first kill begins respawn cycles.
-
Trial 2 — Download Data from Hidden Bunker
- Objective: Secure downloads from 8 terminals (800 pts each).
- Mechanics: Four antennas activate the bunker; inside, terminals show lights: Yellow = downloading, Green = ready (10–15s pickup window), Red = 2–3min lockout.
| Item | Effect | Where to Get |
|---|---|---|
| Mines/Barricades | Defend terminal during download | Crafting/vendor |
| Adrenaline shots | Fast getaways and movement | Consumable vendor |
- Strategy: Don’t trigger every terminal. Let impatient players start downloads, then steal green windows from cover near entrances. If you must start one, fortify the site with mines and barricades and be ready to extract fast.
-
Trial 3 — Search First Wave Husks
-
Objective: Search First Wave husks for 800 pts each.
-
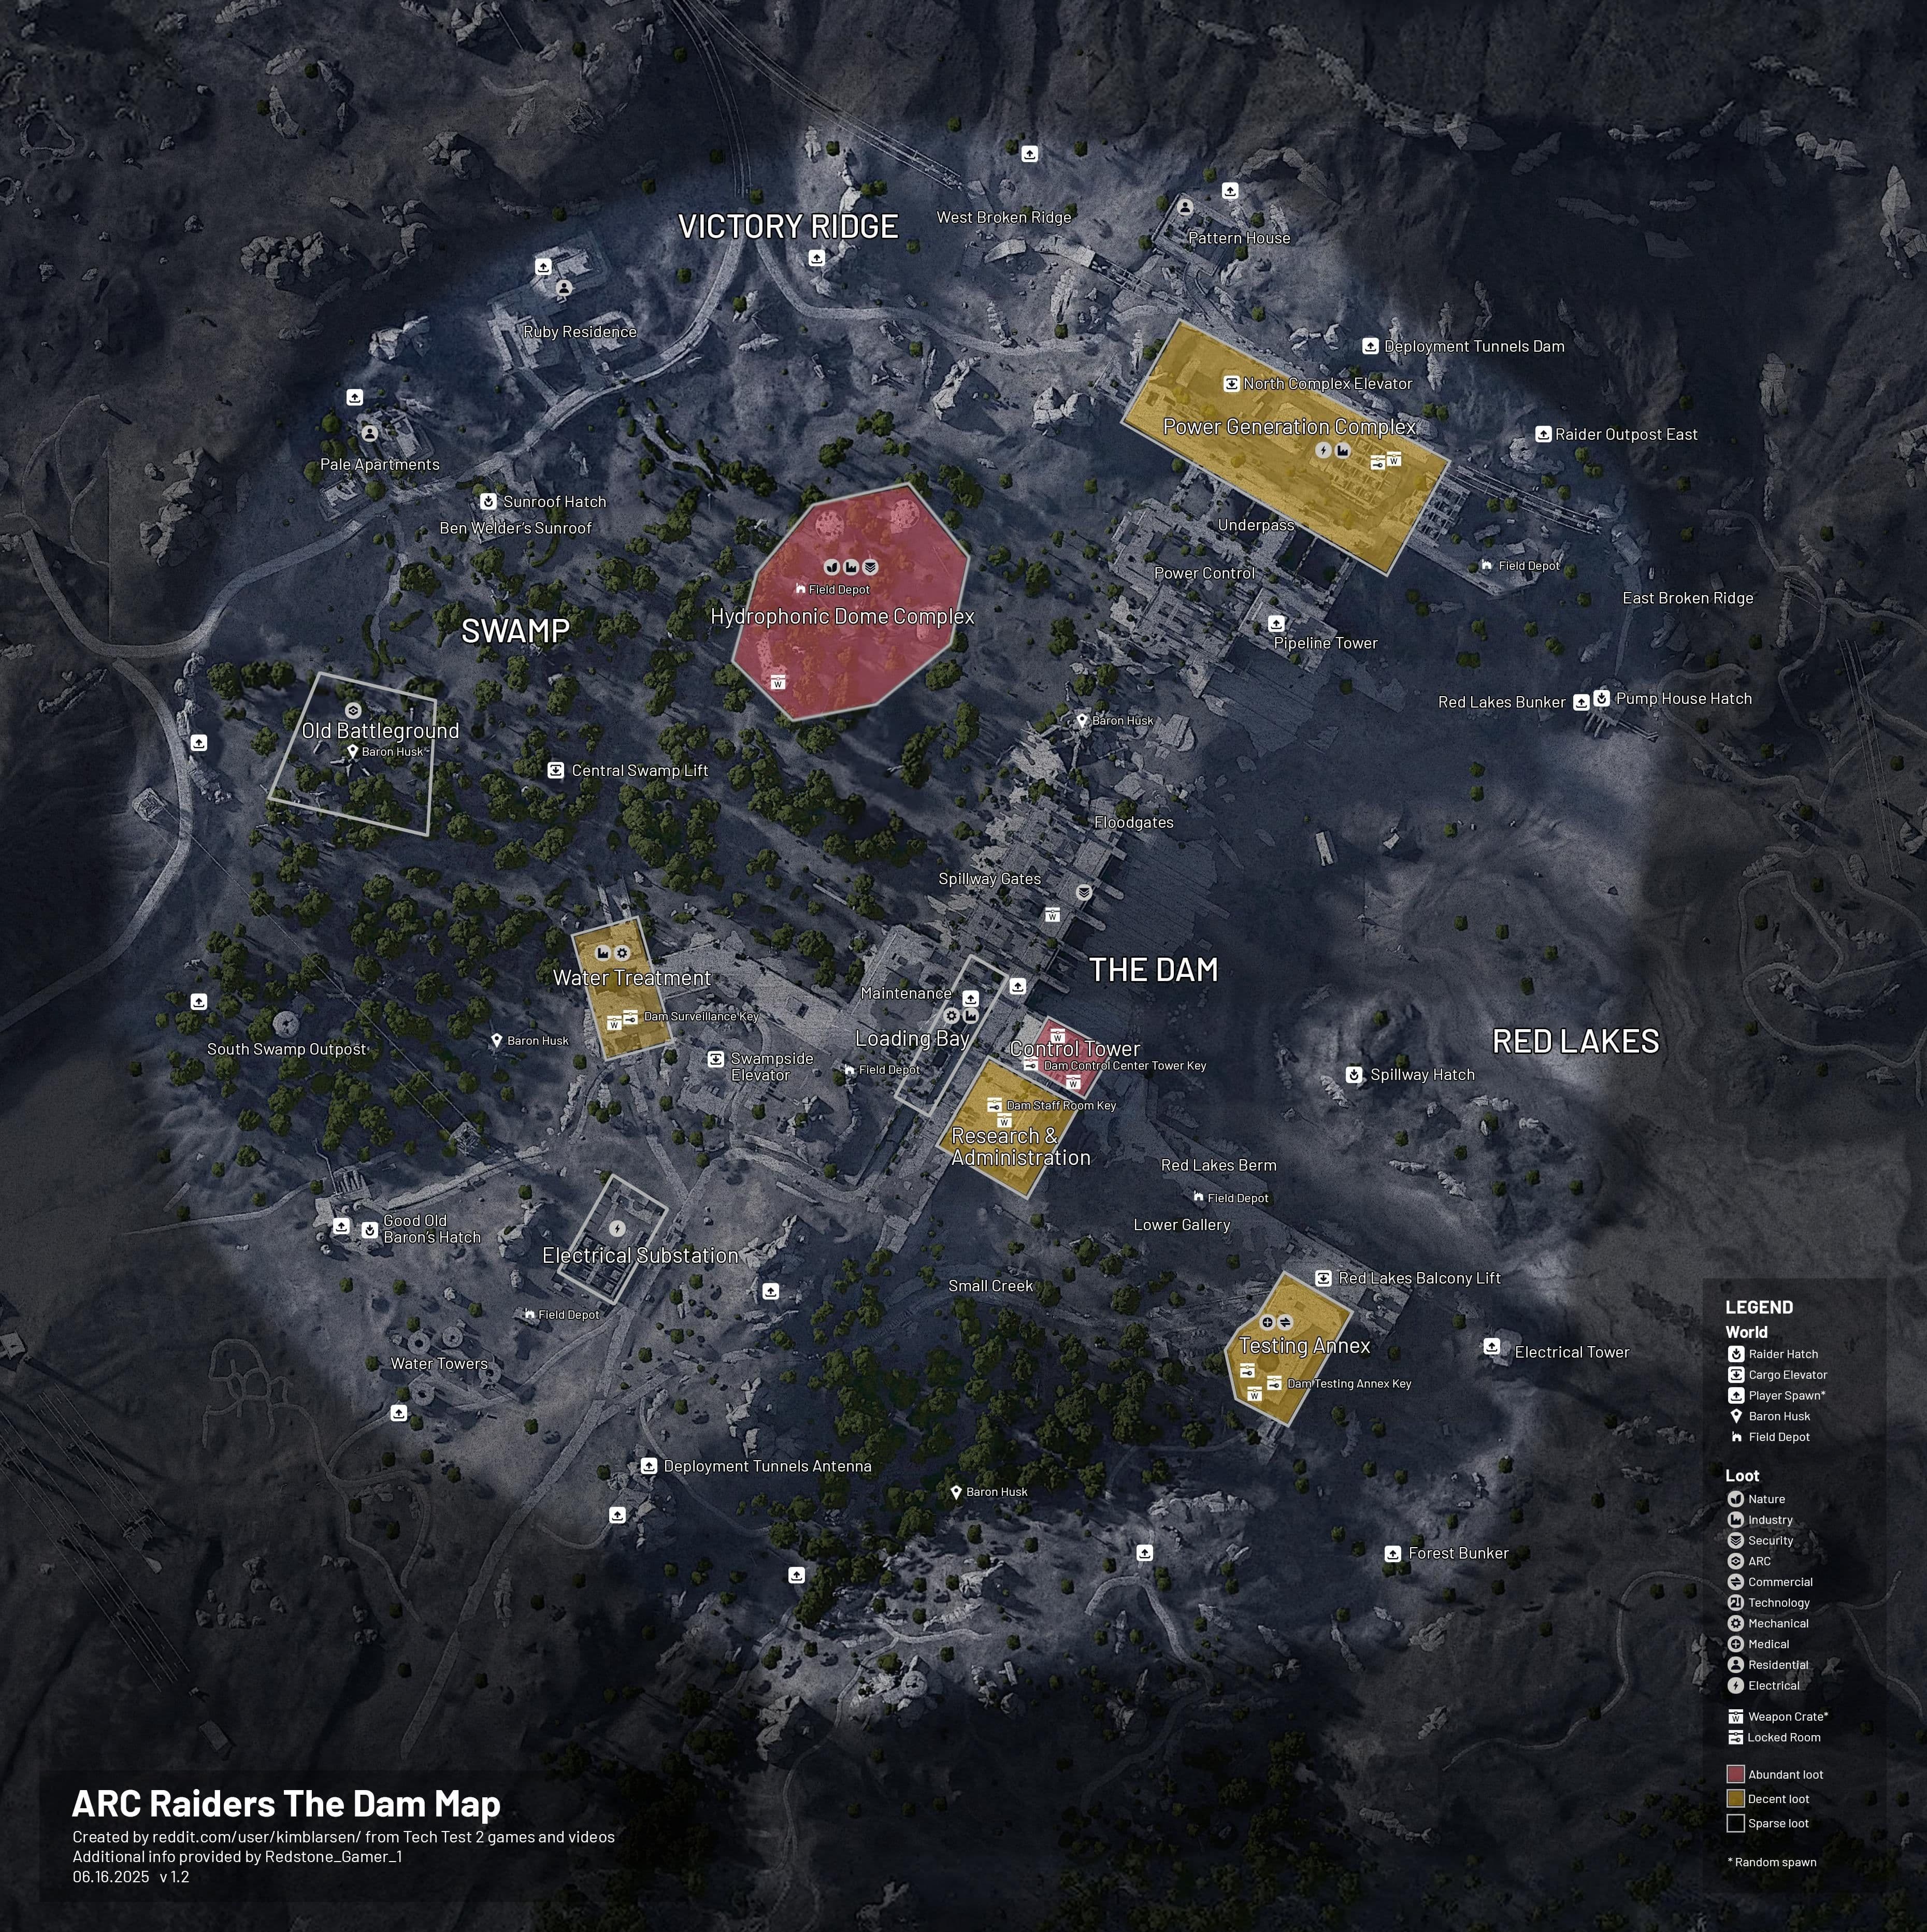
Hotspots: Spaceport has ~31 Baron husk spawn locations; Dam Battlegrounds has dense swamp clusters near Hydroponic.
-
Strategy: Plan a route toward your intended extractor to avoid backtracking. Minimal gear — Adrenaline shots and basic healing — is usually enough. Husks are safe, reliable points when you want low-risk progression.
-
-
Trial 4 — Damage Snitches
- Objective: Eliminate Snitches (600 pts each). Seven needed for three-star.
- Loadout table:
| Item | Effect | Where to Get |
|---|---|---|
| Osprey / Renegade | Sniper picks at range | Vendor/loot |
| Jupiter / Hullcracker | Instant kills if close enough | Vendor/blueprints |
| Mines | Defensive perimeter | Crafting/vendor |
- Strategy: High elevation wins. Launch towers on Spaceport or Pilgrim's Peak are prime. Snitches respawn quickly; in Hidden Bunker events the 40-minute timer increases cycles. Use sniper rifles for clean pulls, or explosives for instant deletes.
-
Trial 5 — Damage Ground-Based ARC Enemies
- Objective: Prioritize Bastions, Bombardiers, Leapers, Queens/Matriarchs. Small ARCs (Pops, Fireballs, Ticks) are not worth your ammo.
| Location | High-Value Spawn |
|---|---|
| Dam Battlegrounds - Primary Facility | Bombardier near control tower |
| Dam Battlegrounds - Hydroponic | Bastion spawn |
| Pipeline Tower | Secondary Bastion |
| Water Treatment, Breach, Red Lake, Testing Annex | Leaper spawns |
- Strategy: Split your team to start multiple spawn timers. Use Wolfpack grenades and Hullcracker to delete targets and immediately start respawn clocks. Remember: trial points are 80% of XP, so kill the big ones.
-
Raid economy and leaderboard pushes
- Don’t half-commit. Equipment like Wolfpack, Deadline mines, Lure and Blaze grenades are expensive but necessary for serious pushing.
- Choose maps with 2x multipliers. Daily modifiers that remove 2x rarely pay off.
Priority order when running Week 5: Hidden Bunker (time-limited) → Damage Rocketeers → Search First Wave Husks → Damage Snitches → Ground ARCs. That order minimizes downtime and maximizes point throughput.
Pro Tips
- If you’re solo on Rocketeers, use Snap hooks/Ziplines to create predictable engagement windows; break the armor panel then bait a brief retreat so you can reset and chain kills.
- Hidden Bunker terminal play is 70% psychology. Watch who flanks you and steal green windows; the person who activates is the one most likely to get naded.
- When camping ground ARC spawns, rotate pressure every 8–12 minutes so you reuse timers without burning airspace or attracting too many players.
- For Snitches, pop a long-range suppression (or use Jupiter) only after you’ve identified where the cluster is heading; wasteful shots draw attention and cost respawn cycles.
- Buy consumables in bulk before a push. Running out of Wolfpack grenades mid-push will feel exactly like The Sopranos running out of sauce at a family dinner — messy and regrettable.
Common Mistakes to Avoid
- Ignoring map multipliers and farming on non-2x maps — doubles are non-negotiable for efficient progression.
- Activating all Hidden Bunker terminals yourself instead of stealing green windows; you expose yourself to prolonged PvP during downloads.
- Wasting ammo on small ARC fodder (Pops, Fireballs, Ticks) instead of focusing Bastions/Bombardiers/Leapers for better point-per-resource value.