Trials Guide: Maps, Spawns, Loadouts & 2x Multipliers
Master View All trials: map choices, spawn timers, 2x multipliers, and loadouts to climb weekly leaderboards. Practical routes, role splits, boss tips.
TL;DR
- Prioritize 2x multipliers: Night Raids, Electromagnetic Storm, Hidden Bunker — they beat extra spawns for leaderboard points.
- Go all-in on loadouts: Renegade, Hole Cracker, wolf packs, lure grenades, blaze grenades, Adrenaline shot stems.
- Learn respawn timers: leapers spawn in Water Treatment Control, Hydroponic, Blood Lake area, Testing Annex.
- Use map routes: Spaceport for Hidden Bunker/Prospecting Probes, Damn Battlegrounds for Harvesting/ground spawns, Buried City for solo loops.
What You Need to Know First
Requirements and quick checklist
| Item | Effect | Where to Get |
|---|---|---|
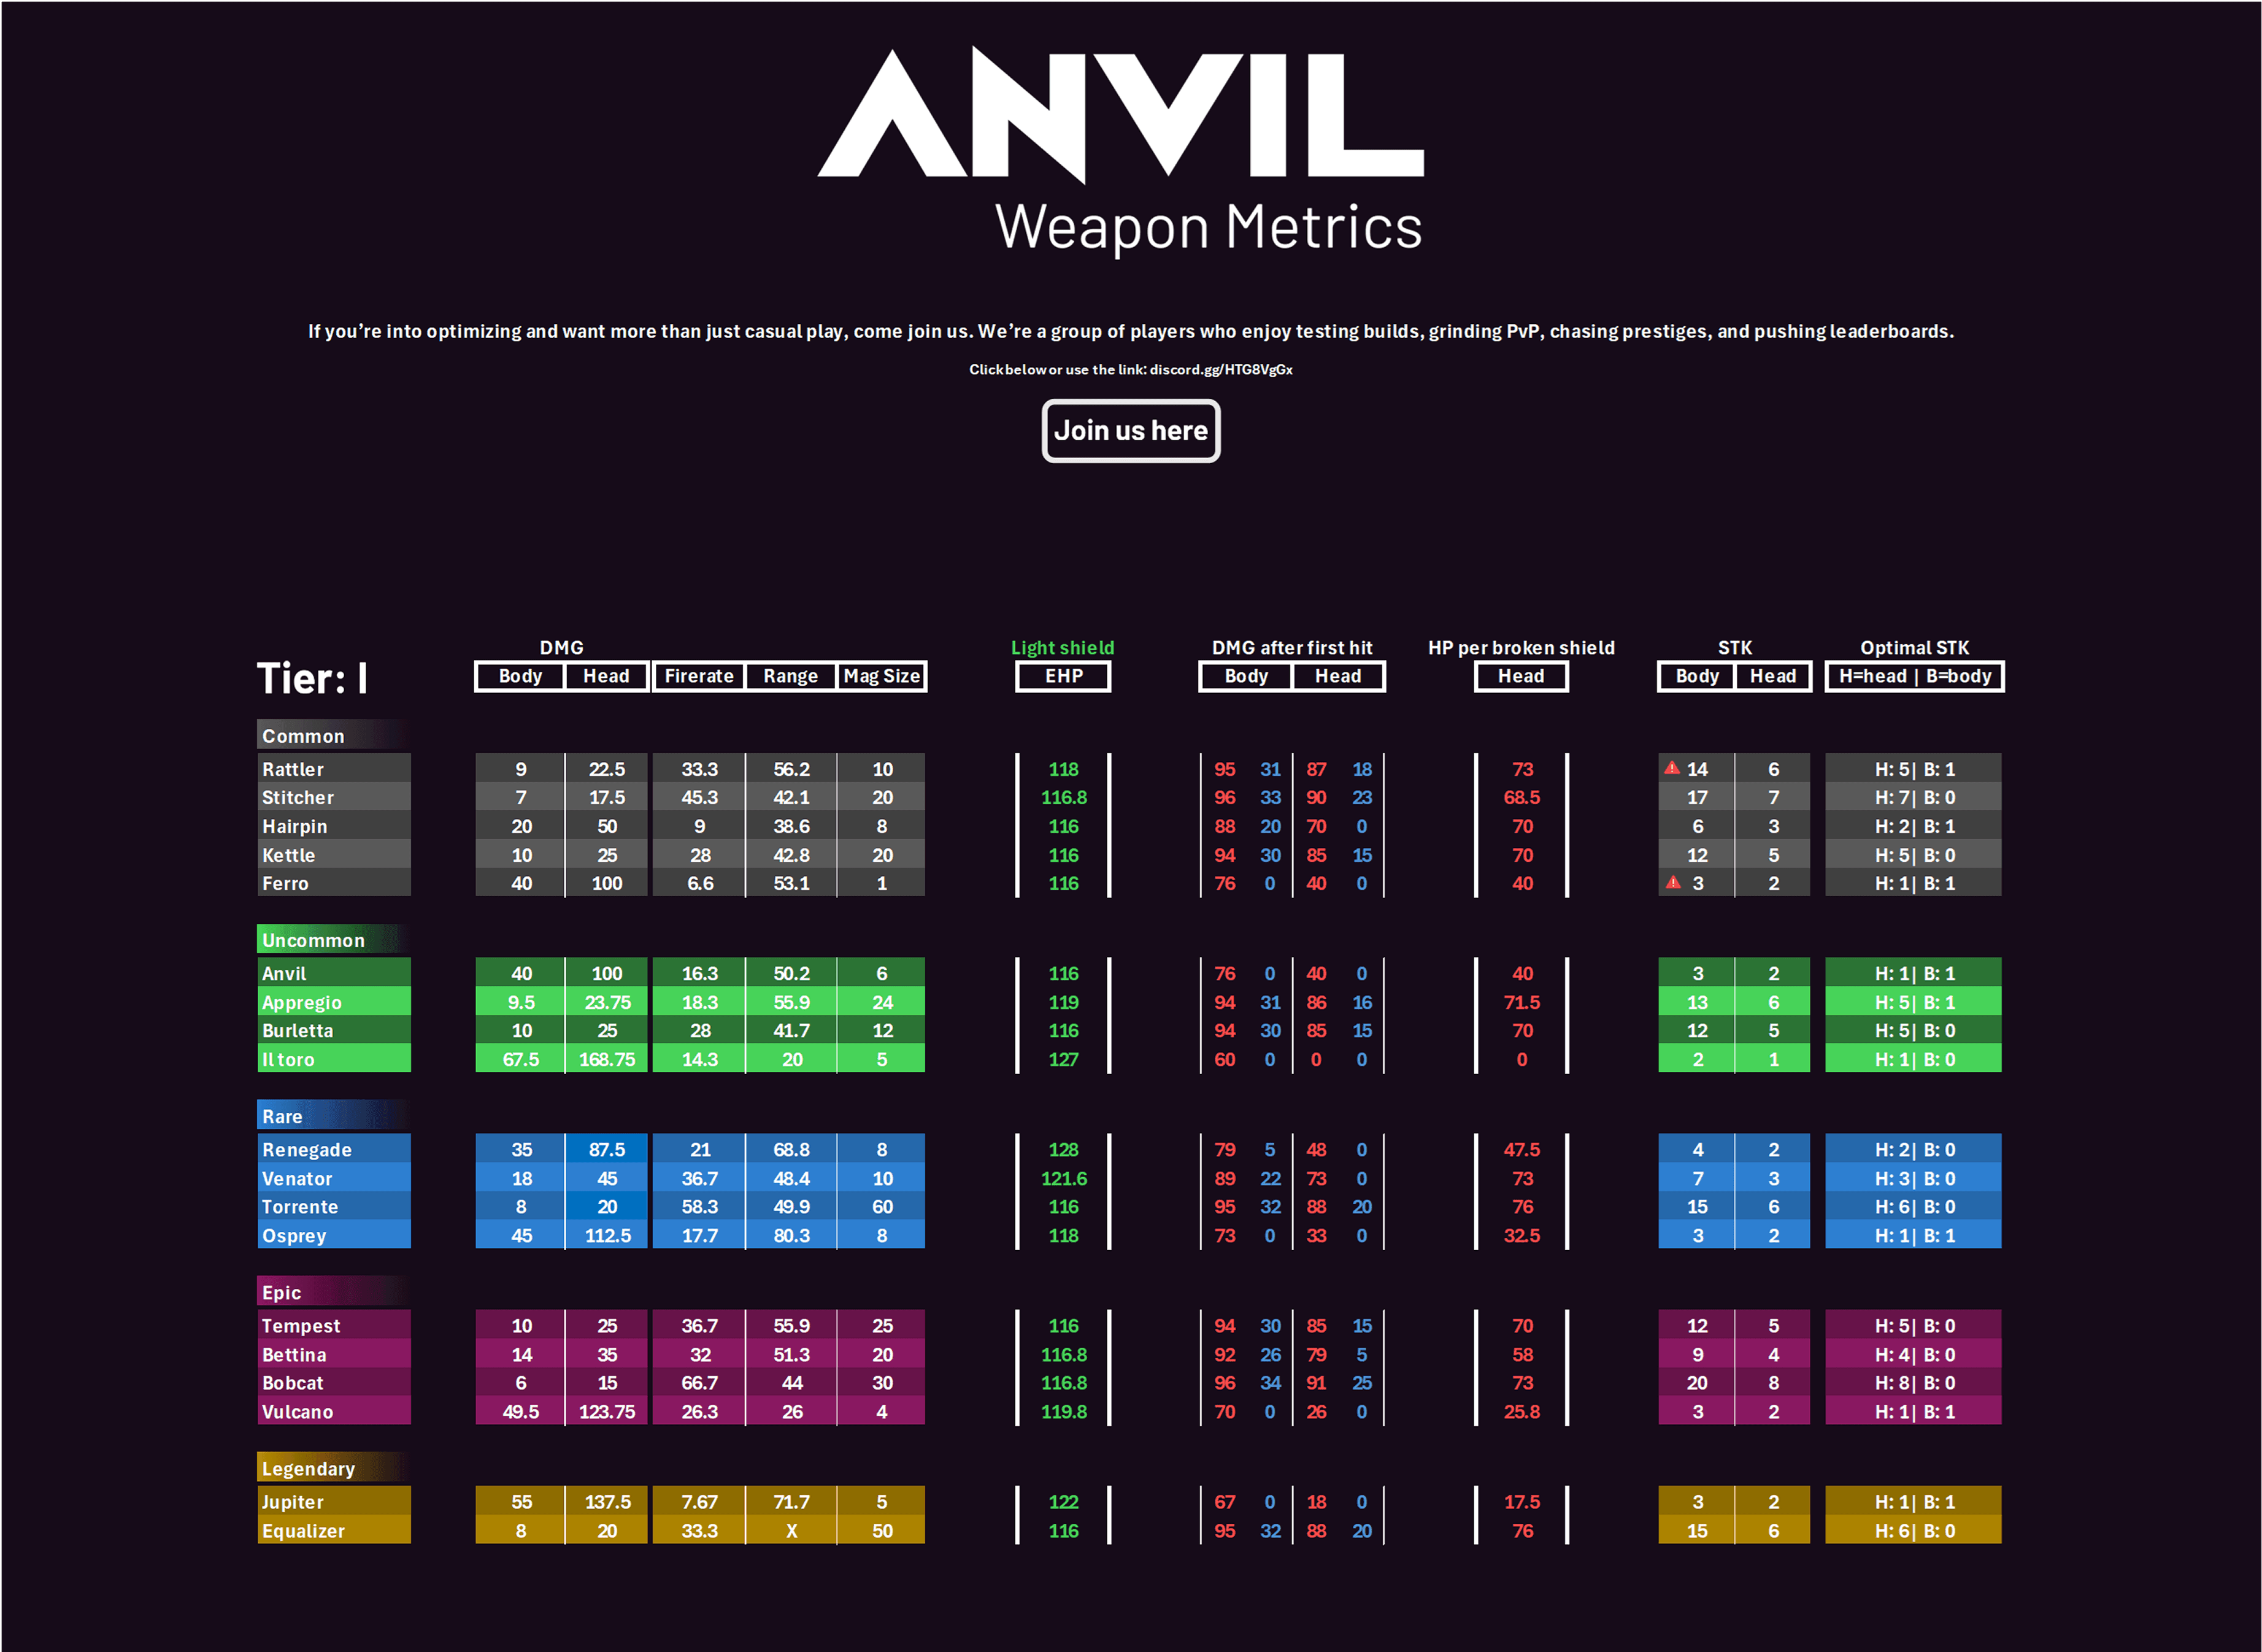
| Renegade | Fast-firing weapon for clearing regular targets | Loot, vendor rolls |
| Hole Cracker | Heavy weapon ideal vs shielded enemies | Crafting, high-tier drops |
| Wolf packs | High-damage explosives for majors/bosses | Vendor or crafting |
| Adrenaline shot stems | Movement/utility to hit multiple spawns fast | Med vendor, crafting |
| Lure grenades / Blaze grenades | Spawn grouping and area denial | Crafting |
| Metaphorge | Spawn detection tool for First Wave Husks | Event rewards / vendor |
| Zip lines / Snap hooks | Vertical mobility for rooftops | Crafting |
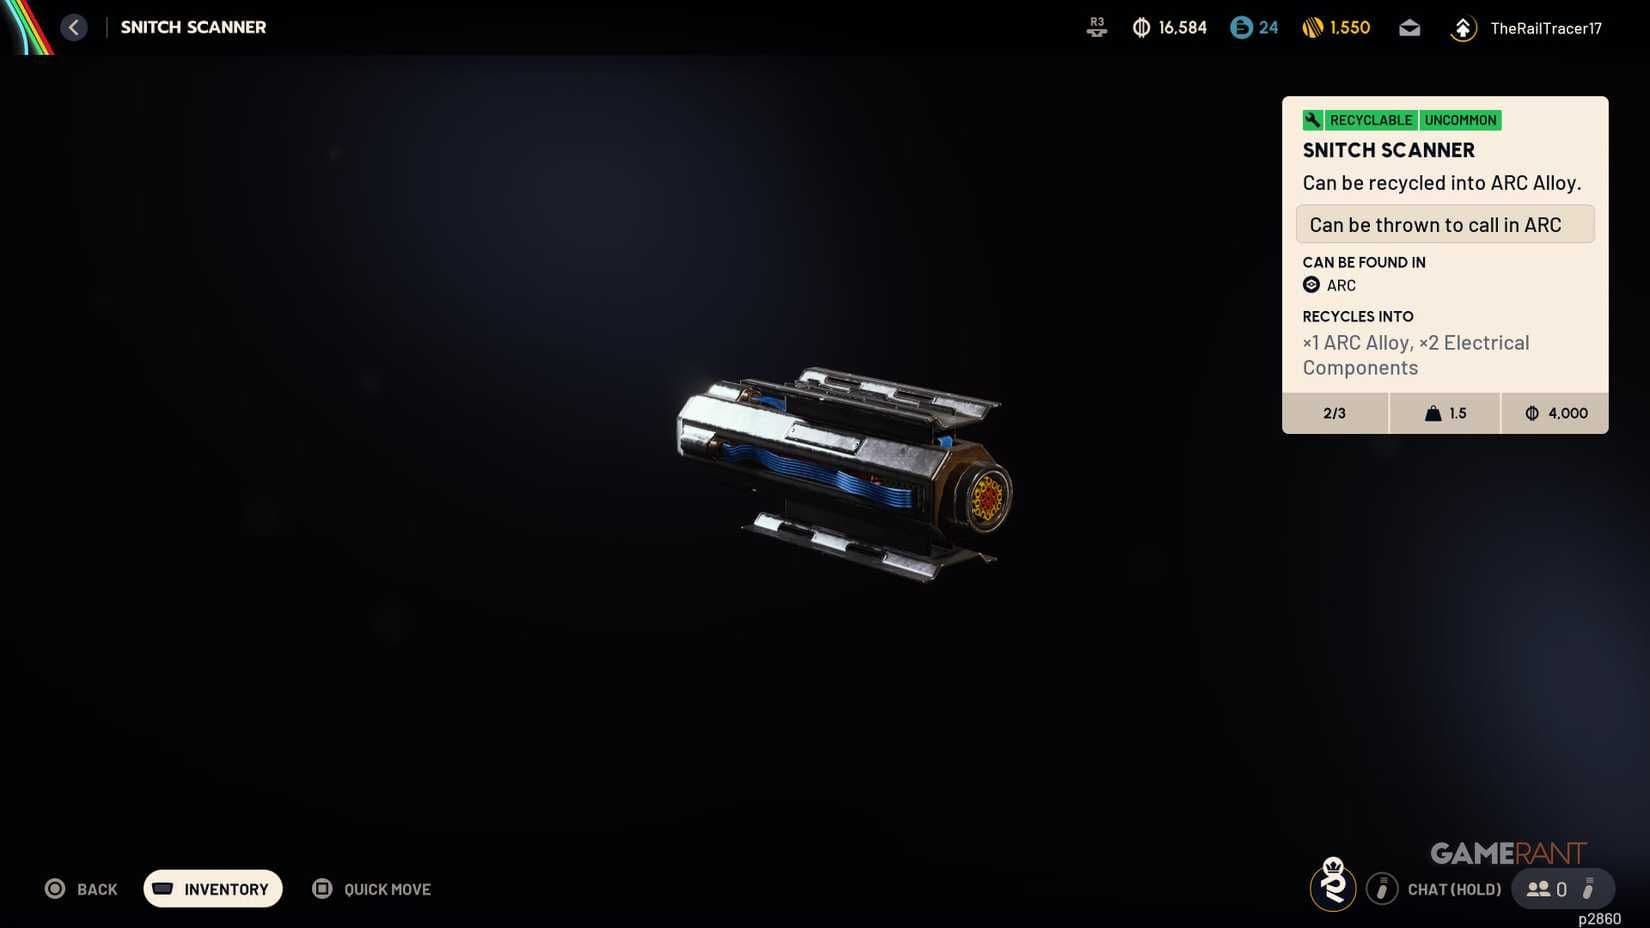
| Snitch scanners | Improves flying enemy detection | Vendor / loot |
| Deadline mines | Area denial; less effective vs Queen | Crafting |
Mandatory context
- Team size: 3 is the standard for coordinated runs. Solo works for a few trials (Damage Snitches, some Harvesting routes) but expect lower ceiling.
- Recommended approach: treat every trial like a miniraid — commit fast, clear clean, and burn timers early.
- Points to remember: Hidden Bunker runs can hit up to 6,400 points if you hit all objectives clean; Harvesting tops near 47,000 points with an optimized loop; Queen boss theoretical max damage per run ~16,000 points when focused correctly.
Maps to prioritize
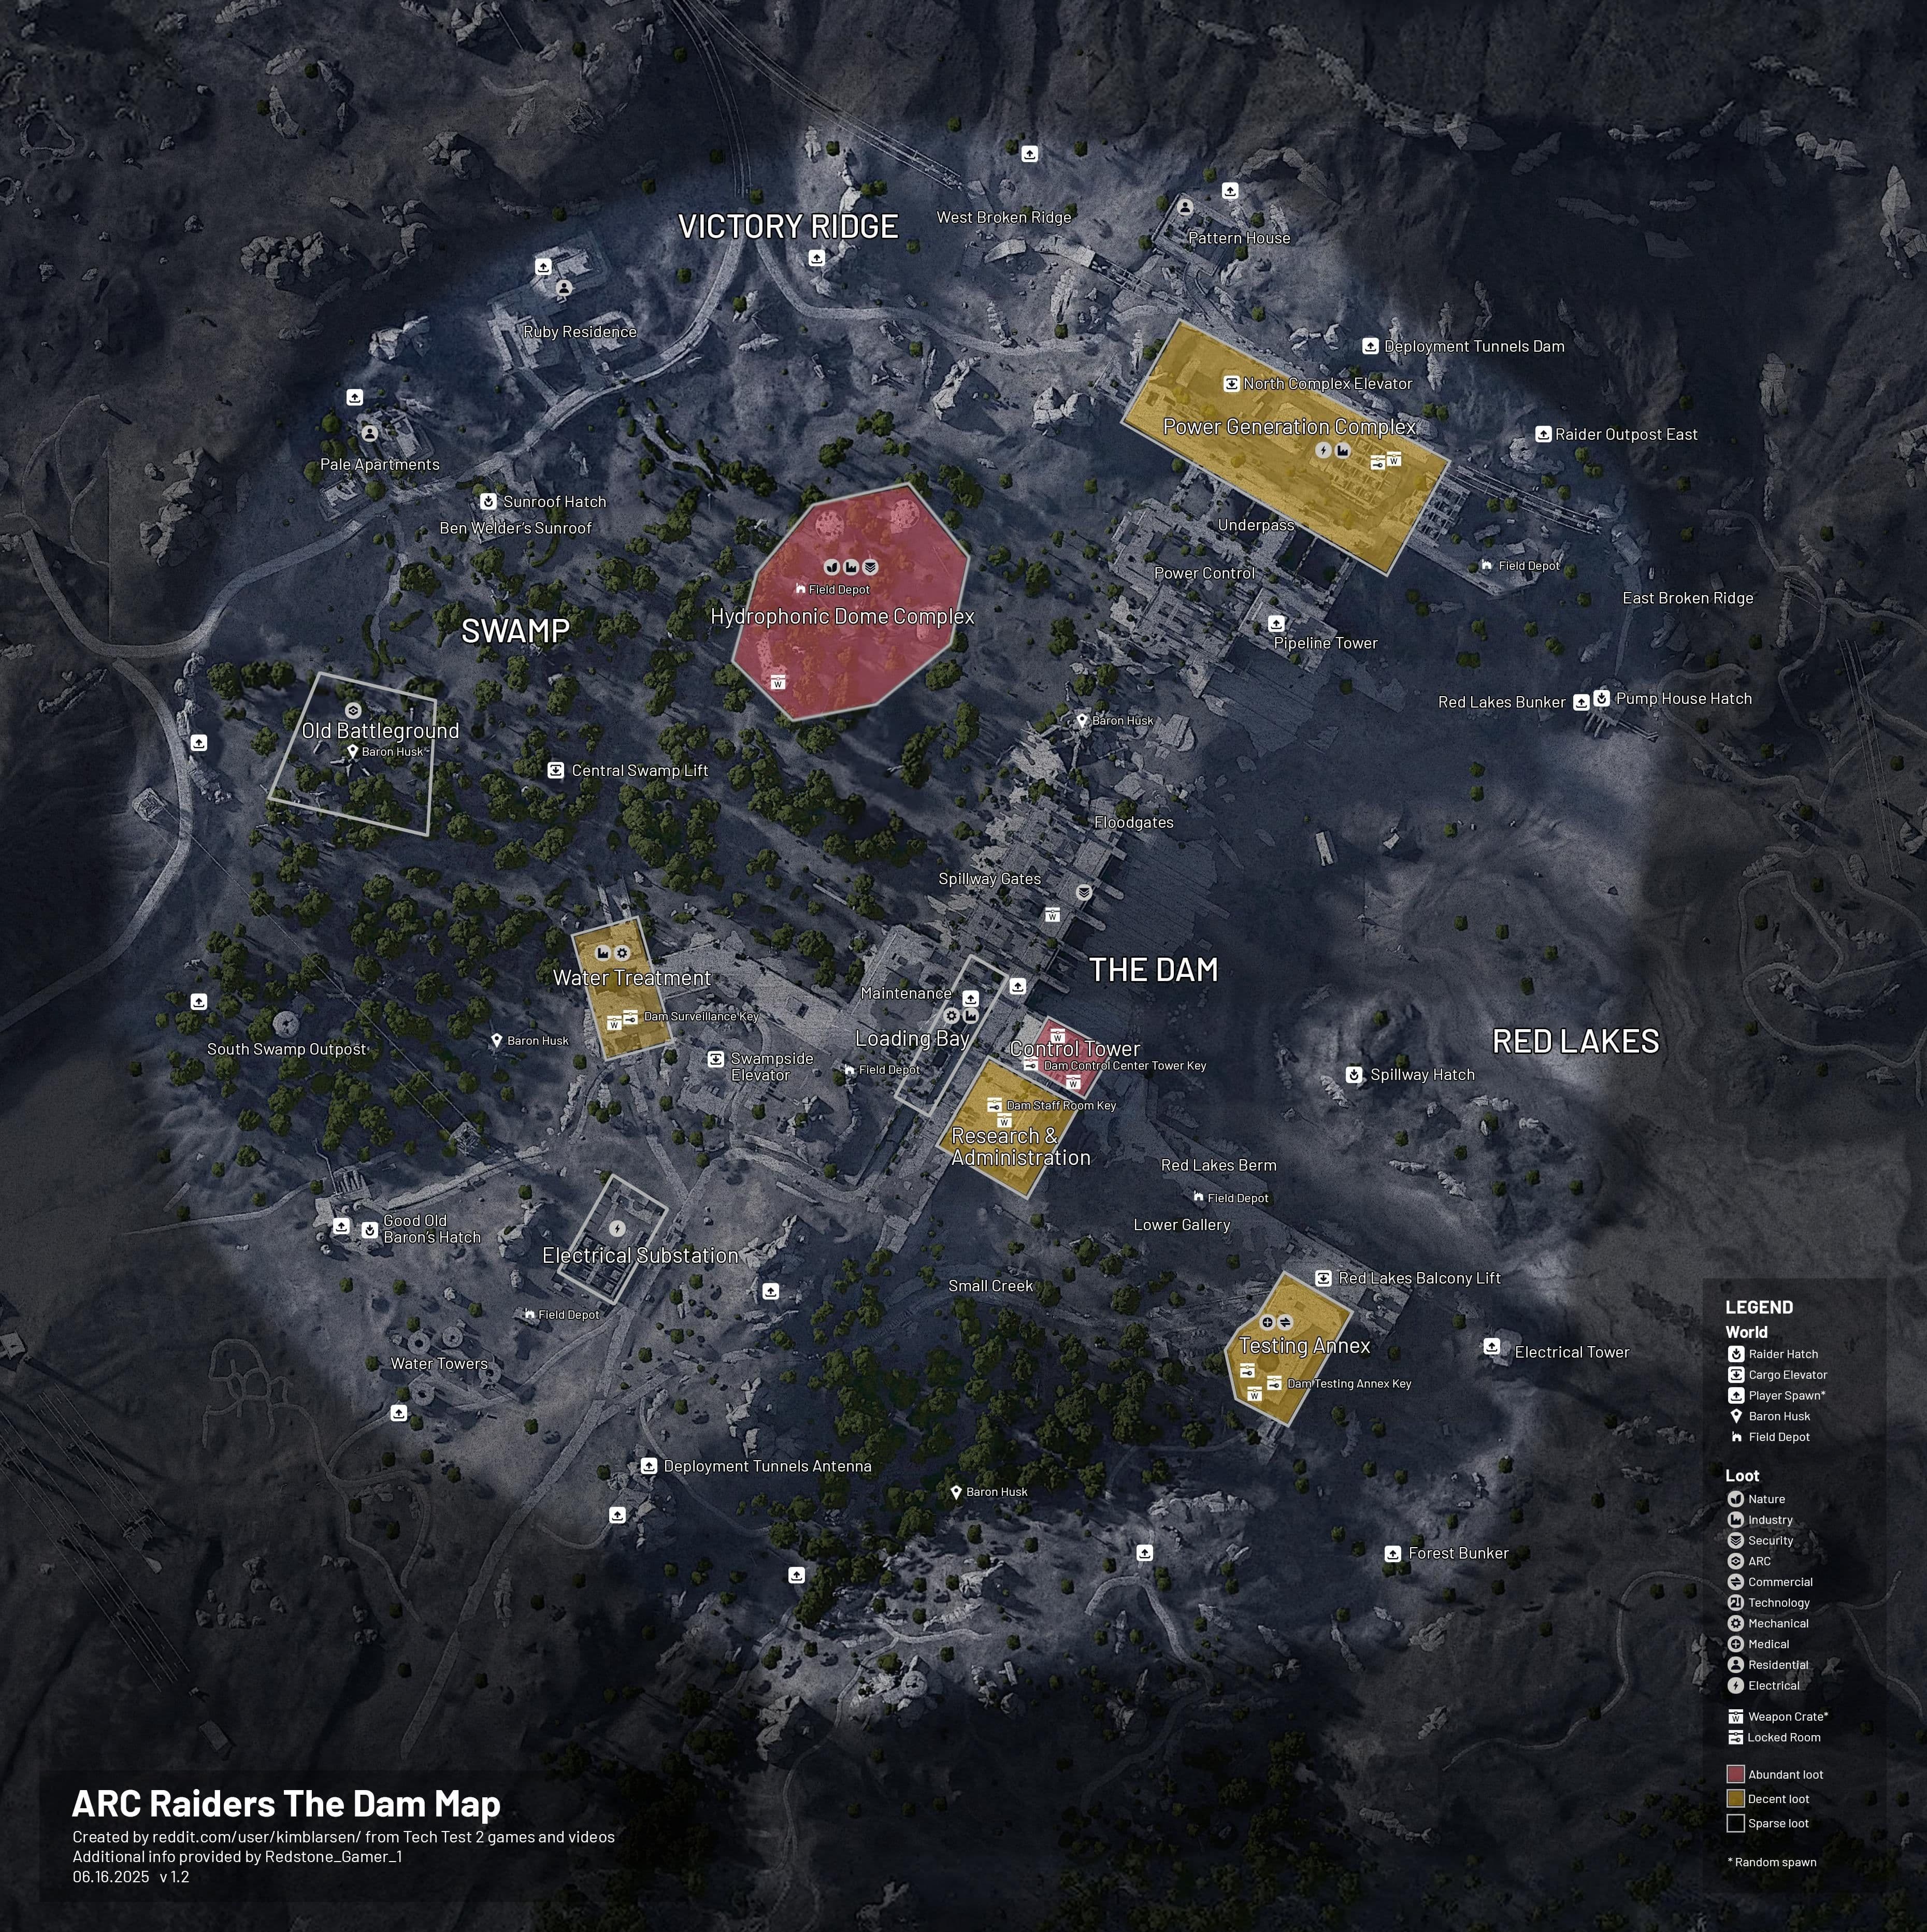
- Spaceport: Best for Hidden Bunker and Prospecting Probes. Rooftop mobility matters.
- Damn Battlegrounds: Great for ground-based spawns, Harvesting (Hydroponic), and coordinated leaper/bastion management.
- Buried City: Works for solo-friendly objectives but watch PvP traffic.
If you already know the basics (movement, extraction, and how to revive teammates), you have the only real prerequisite: willingness to spend good consumables every run. Half-measures cost more time than they save.
Step-by-Step Guide
-
Pick the right trial and check multipliers
- Before jumping, check the weekly modifiers. 2x multipliers (Night Raids, Electromagnetic Storm, Hidden Bunker) are your primary targets. Extra spawns or minor bonuses rarely beat a multiplier for leaderboard math.
-
Loadout checklist (table)
| Item | Role | Notes |
|---|---|---|
| Renegade | Clear regular mobs | Fast fire rate = steady points per second |
| Hole Cracker | Shielded targets | Use for Bastions and shielded husks |
| Wolf packs | Boss / major damage | Bring multiple for sequence burst |
| Adrenaline shot stems | Mobility | Key to reach multiple spawns before timers hit |
| Lure / Blaze grenades | Control | Group spawns and protect rooftops |
| Snitch scanners | Flying enemy trials | Stack for Hidden Bunker and North Trench Tower setups |
-
Early-run plan: start the respawn clocks
- As soon as the trial opens, sprint to the earliest major spawn you can reliably clear. Killing a major enemy starts its fixed respawn timer; the earlier you start that timer, the more total encounters you can force during a single raid.
- Example: Damn Battlegrounds leapers have four fixed spawns: Water Treatment Control, Hydroponic, Blood Lake area, and Testing Annex. Hit one fast, rotate, and you can loop back for the second spawn while the first is respawning.
-
Role split and routing
- Typical 3-player split: one rotates between two leaper/bombarder points, one holds bastion/rocketeer lane, third handles support and objectives (downloads, harvest zones, or roof sniping).
- Keep one player on Adrenaline shot stems and zip lines to stitch the route together; mobility decisions win runs.
-
Objective-specific steps
-
Hidden Bunker (Spaceport): Activate all four satellites before dropping. Inside, interact with all eight computers. Stay at each terminal until download completes — leaving interrupts progress. Proper routing can hit the 6,400 points ceiling.
-
First Wave Husks (Spaceport / Damn Battlegrounds during Electromagnetic Storm): Use Metaphorge to tag clusters. Split to cover high-density zones; clear fast and rotate to trigger new spawns.
-
Damage Snitches (Spaceport, Buried City): This is often a solo or small-group loop. Target hospital, library, and parking garage routes. Use Renegade for rate of fire and Hole Cracker on shielded snitches.
-
Harvesting (Damn Battlegrounds Hydroponic / Spaceport): Plan a circular route through moss/mushroom nodes to avoid backtracking. With steady movement you can reach the 47,000 points bracket.
-
Prospecting Probes (Spaceport during Electromagnetic Storm): Zip lines and snap hooks make rooftop coverage laughably easier. Spread out but stay in rescue range.
-
-
Boss handling
- Queen vs Matriarch: Queen is the preferred target — more total health and less disruptive mechanics. Aim at legs and armor first; ignoring the central hole yields better sustained damage. Deadline mines underperform here; use high-precision, high-damage tools and coordinated wolf pack bursts.
-
Extraction planning
- Know your exit before you start. Trials are won or lost on wasted seconds. If PvP ramps up, take the safer extraction for a guaranteed score rather than risking the top spot and losing everything.
-
Post-run: evaluate and iterate
- Check which spawn timers you hit and which you missed. Tweak routes, swap a Grenade type, or move someone to roofs. Small changes compound over multiple runs.
Pro Tips
- Treat a 2x trial as a consumption sink: bring extra Adrenaline shot stems and wolf packs. The math favors spending consumables on a confirmed multiplier run.
- Use rooftops on Spaceport not to hide but to pressure map control. Zip lines and snap hooks let you contest Prospecting Probes and reach satellites faster than people who camp stairs.
- For leaper/bastion runs, stagger your kills to keep multiple respawn timers cycling. If you kill everything at once you get a boring downtime; staggered kills equal steady points.
- Queen fights: ignore deadline mines and focus on leg/armor burst windows. Save wolf packs for staggered health phases where you get uninterrupted hits.
- When PvP spikes, swap one player to a defensive kit with barricades and mines. Holding a single secure node while two players farm spawns gives more reliable point income than fighting for contested ground.
Common Mistakes to Avoid
- Going for every spawn: spread-out extra spawns sound good on paper but waste time without a plan.
- Underequipping runs: half-geared runs cost more time than good consumables do. Bring full loadouts.
- Skipping early spawn kills: failing to start respawn timers early kills your ceiling for the whole run.
- Not planning extraction: wandering at the end wastes points and invites PvP losses.