ARC Raiders Expedition Requirements (Complete)
Complete ARC Raiders Expedition checklist for View All: stage-by-stage item lists, farm locations, coin totals, reset consequences, and practical saving tips.
TL;DR
- ARC Raiders Expedition runs six stages; every material you hand in is permanently consumed and the final departure triggers a full reset.
- Stages 1–4 ask for specific parts (Metal Parts, Rubber Parts, ARC Alloy, etc.); Stage 5 needs 830,000 Coins total in categorized items.
- Stage 3 gates progression with the Exodus Module; don’t recycle electrical parts or sell rare modules until you finish the Expedition.
- Rewards are permanent account upgrades, cosmetics, and cycle buffs—worth it if you want long-term progression, but plan and hoard early.
What You Need to Know First
Prerequisites
| Item | Effect | Where to Get |
|---|---|---|
| Minimum Level 20 | Allows Expedition preparation window and access to endgame missions | Reach Level 20 through standard progression |
| Storage discipline | You must hoard materials and high-value loot; items are consumed on submission | Your personal inventory / stash |
| 830,000 Coins (total by category) | Required coin value for Stage 5 (Loading Phase) | Earn via bounties, raids, outposts, trading |
Core rules to accept before you start
- Items contributed to your Expedition Project are permanently consumed. Plan resource allocation carefully before committing.
- The Expedition is split into six phases. Stages 1–4 are material and crafting heavy. Stage 5 converts to coin-value requirements across categories. Stage 6 is departure—no new inputs.
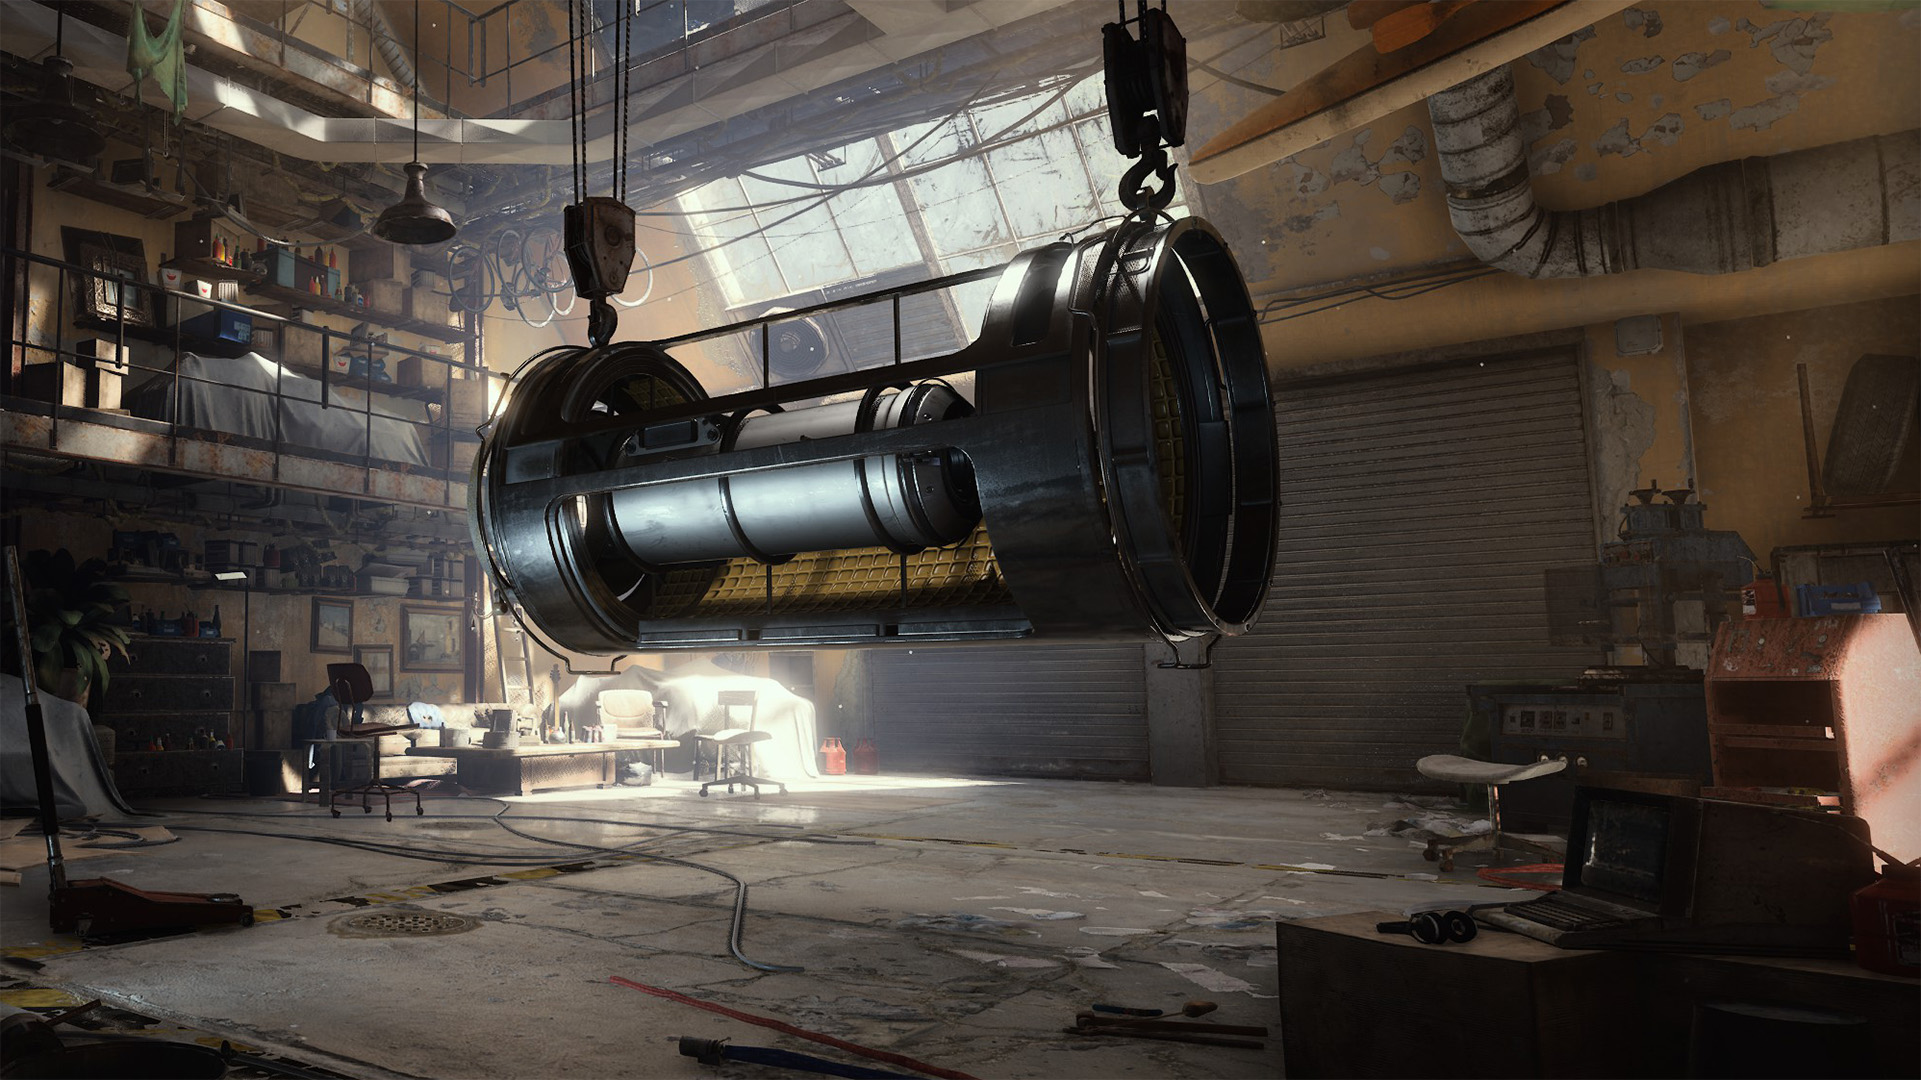
- The Exodus Module in Stage 3 is a progression gate. It’s rare and often requires endgame content or trading for acquisition.
Quick inventory: What you should stash now
| Item | Effect | Where to Get |
|---|---|---|
| Metal Parts (×150) | Foundation material | Dismantling weapons, industrial areas |
| Rubber Parts (×200) | Foundation material | Vehicle components, abandoned settlements |
| ARC Alloy (×80) | High-tier foundation material | High-value loot zones, boss encounters |
| Durable Cloth (×35) | Core Systems material | Residential areas, fabric caches |
| Wires (×30) | Core Systems material | Control panels, scrap electronics |
| Electrical Components (×30) | Core Systems material | ARC drones, power stations |
If you’re a hoarder by habit: congratulations, you were right. If you sell or recycle now, go make amends and start farming again.
Step-by-Step Guide
Step 1 — Stage 1: Foundation
- Clear industrial zones and dismantle everything you can. Prioritize quantity runs to hit metal and rubber targets.
| Item | Effect | Where to Get |
|---|---|---|
| Metal Parts (150) | Base construction | Dismantling weapons, industrial areas |
| Rubber Parts (200) | Base construction | Vehicle components, abandoned settlements |
| ARC Alloy (80) | High-tier material | High-value loot zones, boss encounters |
| Steel Springs (15) | Mechanical assemblies | Mechanical debris piles, workshop areas |
Tips: ARC Alloy is rare—reserve high-difficulty missions and boss runs specifically for it. Don’t recycle Steel Springs; they’re small but required.
Step 2 — Stage 2: Core Systems
- Switch to urban and tech zones. Loot control panels, power stations, and residential caches. Don’t recycle electronics.
| Item | Effect | Where to Get |
|---|---|---|
| Durable Cloth (35) | Fabric and insulation | Residential areas, fabric supply caches |
| Wires (30) | Wiring and cabling | Control panels, scrap electronics |
| Electrical Components (30) | Power systems | ARC drones, power stations |
| Cooling Fan (5) | Heat dissipation | Tech facilities, rare trader stock |
Notes: Durable Cloth is a bottleneck; multiple settlement clears may be necessary. Cooling Fans are often cheaper to buy than to farm.
Step 3 — Stage 3: Framework
- Prepare for combat-heavy runs. You now need more mechanical parts and the Exodus Module.
| Item | Effect | Where to Get |
|---|---|---|
| Lightbulb (5) | Basic electronics | Abandoned houses, residential areas |
| Battery (30) | Power storage | Drones, power facilities |
| Sensors (20) | Detection arrays | Radar installations, tech outposts |
| Exodus Module (1) | Expedition progression gate | High-tier expedition reward or rare trade item |
Notes: The Exodus Module isn’t a common drop. Target advanced Expedition content or high-tier merchants with trade routes.
Step 4 — Stage 4: Outfitting
- Farm elite enemies and focused event spawns for advanced mechanical parts. This is the final materials push.
| Item | Effect | Where to Get |
|---|---|---|
| Humidifier (5) | Environmental systems | Survival caches, traders |
| Advanced Electrical Components (5) | High-tier circuitry | Crafted from lower-tier components |
| Magnetic Accelerators (3) | Precision hardware | Elite ARC enemy drops |
| Leaper Pulse Units (3) | Specialty modules | Leaper-class ARC bosses |
Notes: Advanced Electrical Components require crafting—don’t burn the intermediate parts.
Step 5 — Stage 5: Loading Phase (Coins)
- Convert farming into coin value. You don’t hand in specific items anymore; you need item categories whose combined value equals 830,000 Coins.
| Item | Effect | Where to Get |
|---|---|---|
| Combat Items (250,000 Coins) | Weapons, ammo, grenades | Loot, traders, raid rewards |
| Survival Items (100,000 Coins) | Medical, shields, tools | Traders, caches |
| Provisions (180,000 Coins) | Food, water, keys, valuables | Loot, vendors |
| Materials (300,000 Coins) | Crafting components, recyclables | Farming, recycling, trading |
Notes: Total required: 830,000 Coins. Highest-value farming comes from repeatable raids, outpost contracts, and selling duplicates. Don’t sell Expedition-stage materials—those are consumed, not turned into coin for this stage.
Step 6 — Stage 6: Departure
- Finish Stage 5, schedule your departure window, then wait. Departure usually occurs the next monthly window. You’ll see the reset and reap persistent bonuses.
What you lose vs. what you keep
| Item | Effect | Where to Get |
|---|---|---|
| Complete Reset Items (examples) | All Stash upgrades, inventory, Blueprints, coin balance, player level back to Level 1, spent Skill Points, Raider Den progress, Workshop upgrades, Quest completion status | Reset on departure |
| Permanent Retention (examples) | Unlocked maps, Workshop stations discovered, Codex entries, Raider Tokens and Cred currency, Cosmetics, Active leaderboard standings, Bonus Skill Points from expeditions, Extra Stash Slots from expeditions | Persist after reset |
Final word: Expedition is a long, sometimes dull spreadsheet of loot. But do it right and the permanent gains are real—if you enjoy long-cycle progression, this is for you.
Pro Tips
- Start hoarding immediately once you hit Level 20. The easiest time to collect is before you realize you need 200+ Rubber Parts.
- Label a stash or chest specifically for Expedition components. If you mix materials with sellable junk, you will accidentally liquidate something vital.
- Rotate a group of friends through boss runs dedicated to ARC Alloy and Leaper Pulse Units. Specialized queues are faster than solo churn.
- Track market/trader windows for Cooling Fans and Exodus Modules. Sometimes buying one saves dozens of hours of bad RNG.
- For Stage 5 coin targets, convert duplicates and non-expedition gear only after you confirm you won’t need those parts later.
Common Mistakes to Avoid
- Recycling or selling Electrical Components and Durable Cloth early — these become bottlenecks in Stage 2.
- Assuming the Exodus Module drops like normal loot. It’s often merchant-bound or tied to high-tier expedition content.
- Using all high-value loot for quick cash instead of allocating coin categories for Stage 5; you’ll regret fast-selling during Week 7.
- Underestimating ARC Alloy and Magnetic Accelerators—save elite runs specifically to farm them rather than hoping for luck.