Pokémon Legends Z-A Walkthrough — All Missions & Side Quests
Full Pokémon Legends: Z-A walkthrough - all story missions, Rogue Mega hunts, Promotion matches, late-game strategy for Lumiose City, items and team builds.
TL;DR
- Missions 1–10 teach the core loop: pick your starter, escape Battle Zones, open Wild Zone 1, and get TM Rock Smash.
- After Mission 10 you unlock branching Rogue Mega hunts — clear clusters in any order (Mega Slowbro, Mega Camerupt, Mega Victreebel, etc.).
- Rank up through Promotion Matches (Zach, Xavi, Rintaro...). Mega-evolve before the opponent's final Pokémon to avoid timing delays.
- Endgame (Missions 31–41) introduces Mega Dragonite, Mega Tyranitar, Mega Starmie and the Infinite Z-A Royale post-credits.
What You Need to Know First
Requirements and quick control notes before you run off into Lumiose City.
| Item | Effect | Where to Get |
|---|---|---|
| Starter Pokémon | Your first party member for early missions | Chosen at Mission 1 |
| TM Rock Smash | Breaks boulders to access hidden areas | Reward from Mission 3 |
| Plus (+) + X | Open map and view current goals | System UI — press Plus (+) then X |
| Right analog stick (hold) | Shows target locations on the map | Map screen — hold the right stick |
| Mega Evolution stones | Allow Mega Evolution for compatible Pokémon | Obtain through missions, wild finds, and shop drops |
| Minimum starting level | Typical starting level for Mission 1 | Level 4 (Mission 1 required) |
Short primer: Missions 1–3 are tutorial-heavy. Mission 3 gives TM Rock Smash, which you actually need if you like exploring every nook of Wild Zone 1. The interface shows objectives via Plus (+) then X; hold the right analog stick to ping targets on the map so you stop wandering like someone who missed the bus.
Step-by-Step Guide
Follow this progression to keep your momentum and avoid getting stuck on rank gates.
-
Early Game (Missions 1–3): Learn the basics.
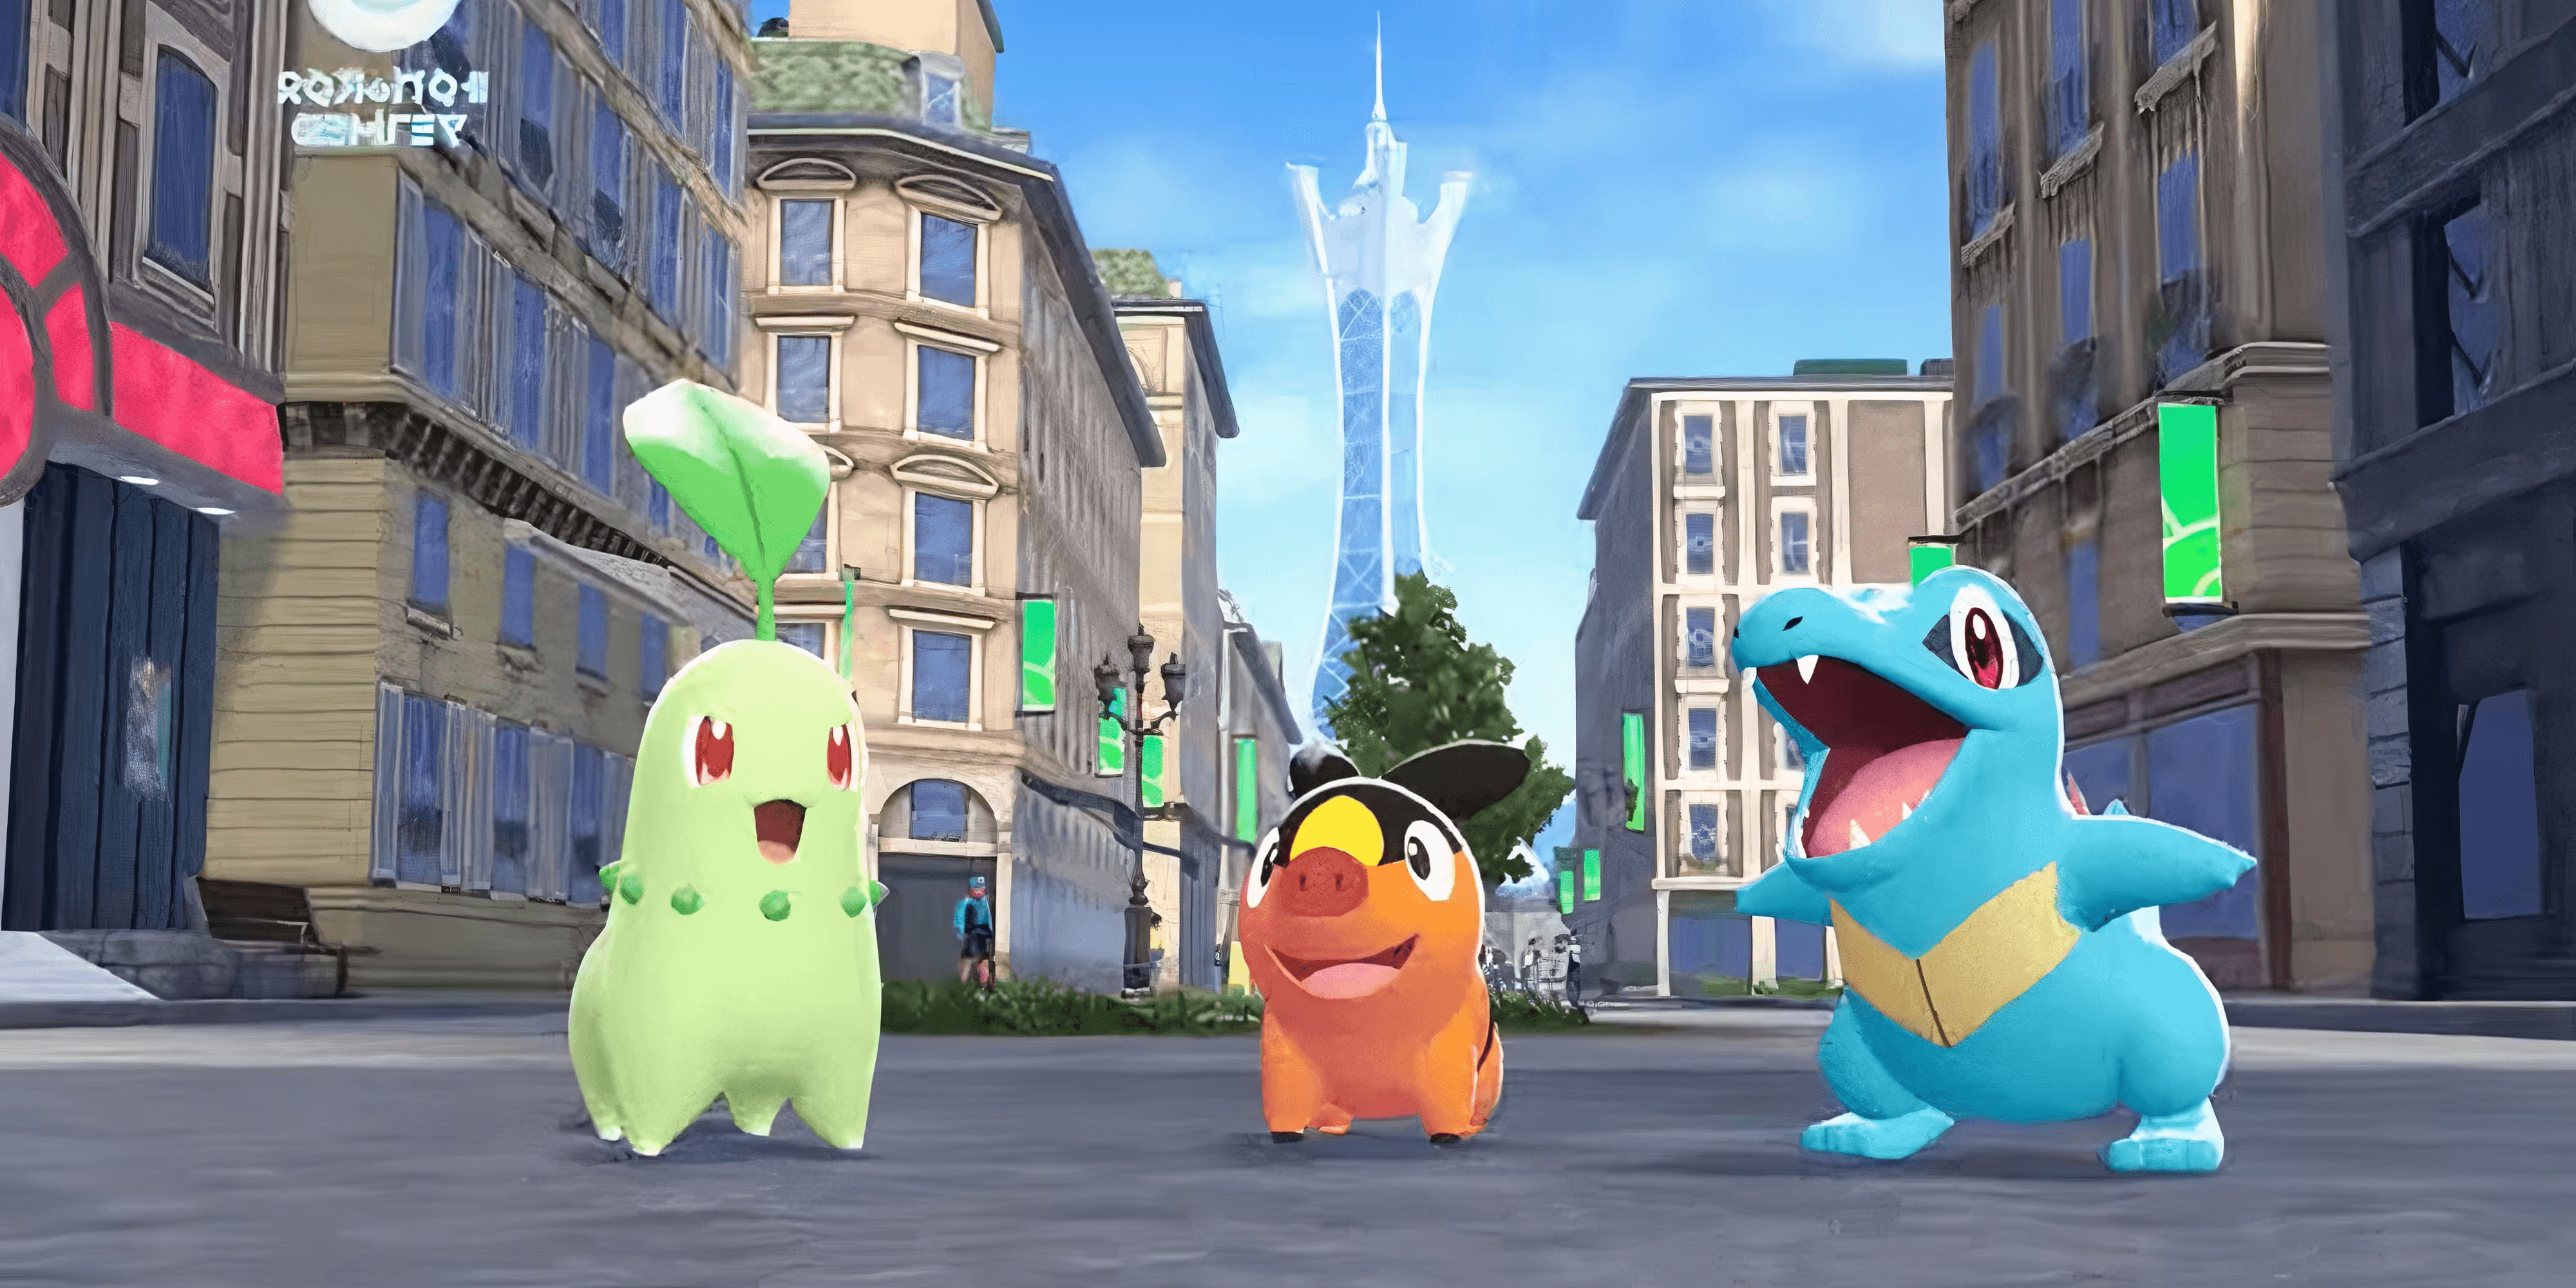
- Mission 1: Get Your Travel Bag Back! — choose your starter at level 4.
- Mission 2: Battle Zone escape mechanics.
- Mission 3: Opens Wild Zone 1 and gives TM Rock Smash.
-
Z-A Royale introduction (Missions 4–5): The loop locks in.
- Mission 4 teaches Z-A Royale and gives your first rank promotion to Rank Y.
- Mission 5 unlocks Side Missions and full map exploration.
-
Mid Game Rank Push (Missions 6–10): Promotion Matches and story beats.
| Item | Effect | Where to Get |
|---|---|---|
| Rank X: Zach | Promotion Match opponent for Rank X | Mission 6 |
| Rank W: Xavi | Promotion Match opponent for Rank W | Mission 7 |
| Rank V: Rintaro | Promotion Match opponent for Rank V | Mission 8 |
- Tip: From Rank F onwards, opponents Mega Evolve their final Pokémon. Mega-evolve one of yours before the opponent's last Pokémon appears to avoid awkward timing.
- First Rogue Mega Cluster (Missions 11–13): Pick your order.
| Item | Effect | Where to Get |
|---|---|---|
| Mega Slowbro | Psychic/Water Rogue Mega to hunt | Mission 11 |
| Mega Camerupt | Fire/Ground Rogue Mega to hunt | Mission 12 |
| Mega Victreebel | Grass/Poison Rogue Mega to hunt | Mission 13 |
- These are branch missions: you can clear them in any order. Handle type counters first — Mega Camerupt hates Water and Ground resists.
- Continue progression (Missions 14–30): Promotion matches get harder.
| Item | Effect | Where to Get |
|---|---|---|
| Rank E: Canari | Promotion match with quiz prerequisite | Rank gate (mid-game) |
| Rank D: Ivor | Promotion match with Ice Beam fountain puzzle | Rank gate |
| Rank C: Corbeau | Advanced tactics required | Rank gate |
| Rank B: Jacinthe | Elite-level strategy required | Rank gate |
- Team building here matters: diversity, Mega Evolution stones for your glass cannons, and status management for prolonged fights.
- Second Rogue Cluster (Missions 16–18) and beyond:
| Item | Effect | Where to Get |
|---|---|---|
| Mega Beedrill | Bug/Poison Rogue Mega | Mission 16 |
| Mega Hawlucha | Fighting/Flying Rogue Mega | Mission 17 |
| Mega Banette | Ghost Rogue Mega | Mission 18 |
- Late Game & Endgame (Missions 31–41): Expect spikes.
| Item | Effect | Where to Get |
|---|---|---|
| Mega Dragonite | Dragon/Flying endgame Rogue Mega | Late game |
| Mega Tyranitar | Rock/Dark endgame Rogue Mega | Late game |
| Mega Starmie | Water/Psychic endgame Rogue Mega | Late game |
- Mission 37: Operation Protect Lumiose opens post-credit content. Mission 39 is the Infinite Z-A Royale. Missions 40–41 are narrative pins: "One That Gives" and "One That Takes." Treat those like boss gauntlets.
Extras and optimization:
- Health items have cooldowns in real-time battle sections — time your heals.
- Z-A Royale is the best XP loop, so use it to flatten level curves.
- Stealth catches sometimes work better than weakening if you need a specific Pokémon fast.
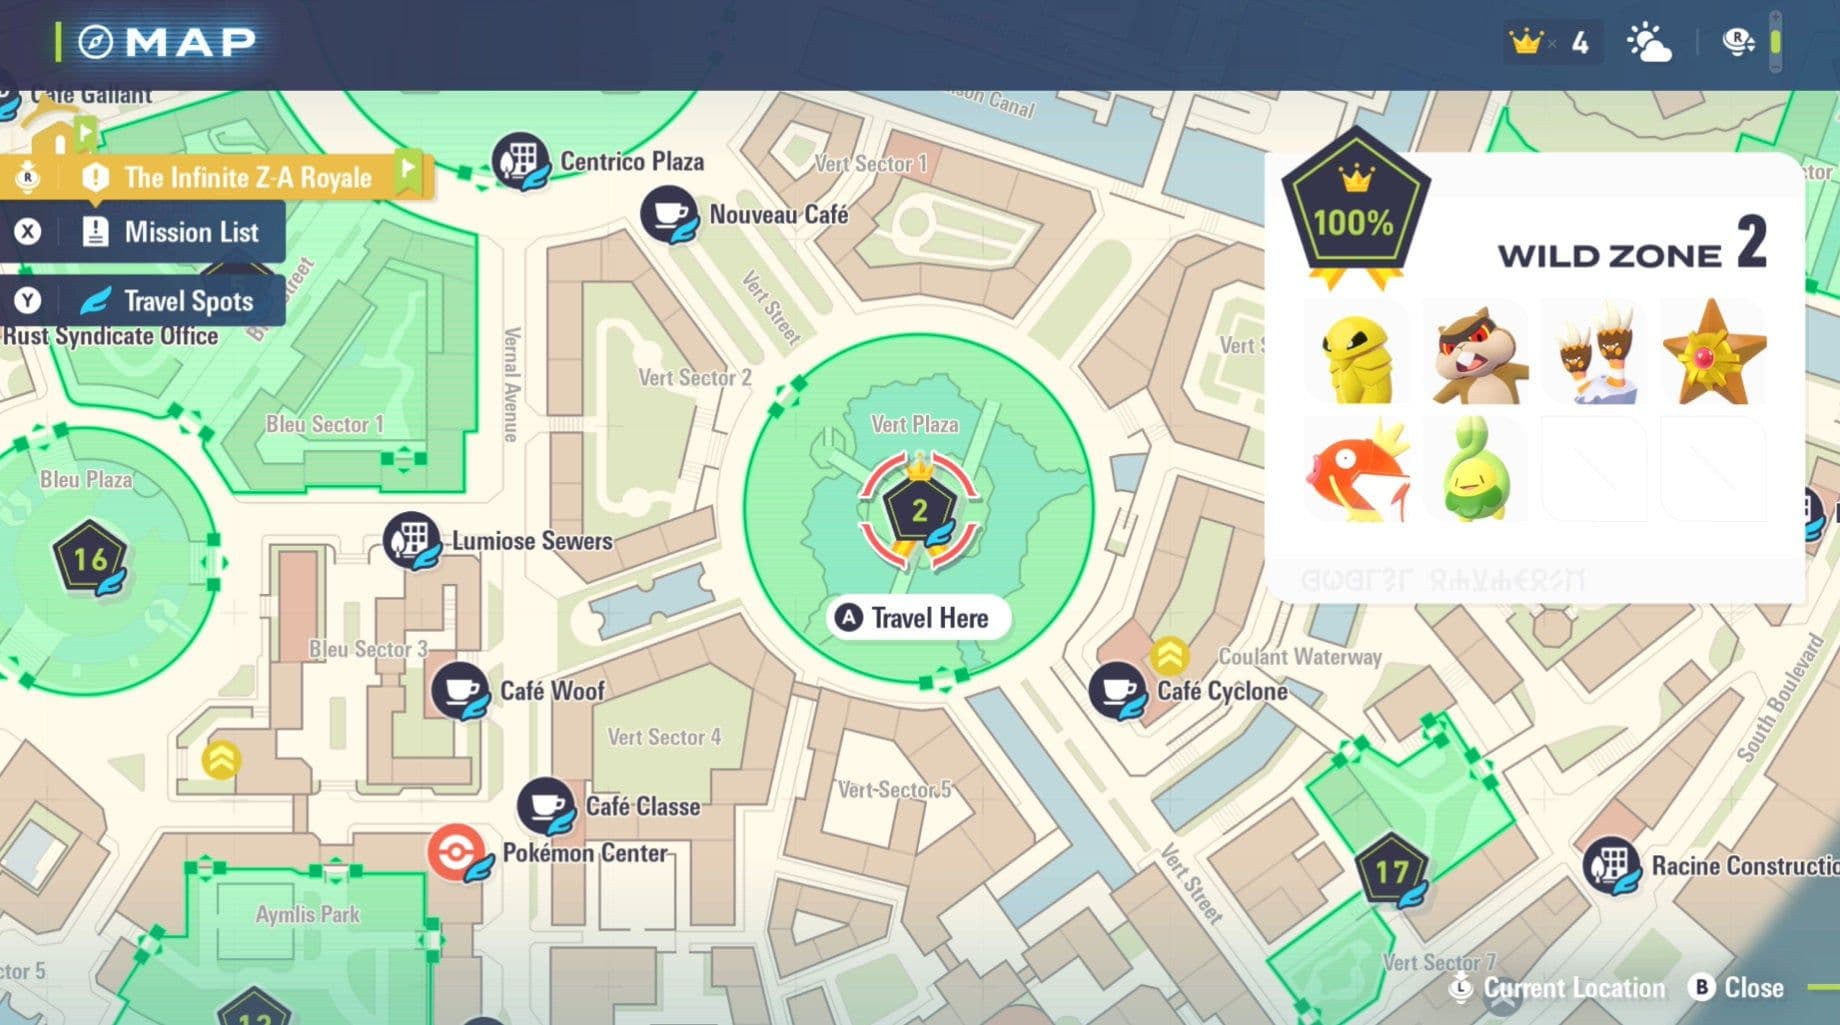
- Use rooftops and ladders in Wild Zones to find hidden sections and Colorful Screws; exchange screws at Racine Construction for bonuses.
- Money tip: sell Treasure inventory items immediately; they don't do anything else. Also, talk to the man in blue outside Pokémon Centers to recover lost Poké Balls.
This path keeps story pushes and optional hunts tidy. If you like structure, clear promotion gates as soon as they appear; if you like chaos, clear Rogue clusters in the order that suits your team.
Pro Tips
- Bring at least one reliable Mega-evolver and keep a spare Mega Evolution stone in inventory so you can respond to opponent surprises.
- For Promotion Matches, scout your opponent's line-up during the match and swap to resist their final Pokémon — don't commit your Mega to an obvious counter.
- Use TM Rock Smash early to access side caches; many useful items and rare encounters sit behind boulders in Wild Zone 1.
- If a Rogue Mega has a predictable pattern (charge, buff, then nuke), bait the buff with a status inflictor then punish with a priority move.
- Save at cafés and unlock fast travel points before long sorties — Lumiose City is big and wasting time is the fastest route to mid-game fatigue.
Common Mistakes to Avoid
- Not Mega-evolving before the opponent's last Pokémon appears, leading to costly timing delays in Promotion Matches.
- Ignoring TM Rock Smash early and missing boulder-hidden items and routes in Wild Zone 1.
- Running into late-game Rogue Megas with a mono-type team — diversity beats brute force here.
- Selling useful upgrade materials because they looked like junk; keep a modest stock until you're sure they're worthless.