NBA 2K26: Best Builds for Every Position (Full Stats & Roles)
Best NBA 2K26 builds for every position: point guard to center. Exact attribute caps and role notes so you can pick, tweak, and stop making trash builds.
TL;DR
- Use the listed builds as templates: two point guards, two wings, two forwards, and two centers cover most metas.
- Keep exact attribute caps: key stats like Driving Dunk 93 or Offensive Rebound 99 are intentional for animations and role fit.
- Match builds to mode: Iso Sniper and Middy-Slashing Cleaner shine in Park; Triple-Double Threat and Inside-Out Crasher live in Pro-Am/5v5.
- Don’t copy everything blindly—adjust wingspan and badges to your playstyle; a perfect stat line doesn’t fix bad spacing.
What You Need to Know First
Before you start pouring VC and practice into a MyPLAYER, get the essentials sorted. Below is a quick requirements table for these templates.
| Item | Effect | Where to Get |
|---|---|---|
| VC | Attribute upgrades, badge upgrades | MyCAREER reward, VC packs |
| Height & Wingspan | Affects animations, contest windows | Build creator (at creation) |
| Badges | Unlocks playstyle strengths (HOF/Diamond) | Badge upgrade through XP |
| Game Mode Fit | Park/Pro-Am/5v5 determines usefulness | Choose in mode menu |
Minimum practical requirements:
- Recommended Level: 40+ to afford most badge tiers and attribute caps on these templates.
- VC Needed: Varies by build; expect higher VC cost for taller builds and maxing Shooting/Playmaking badges.
- Playtime: These templates assume you know basic shot timing, spacing, and how to read help defense.
If you like precision: keep the exact stat numbers listed in the next section. They control animations and what includes contact dunk/animation sets.
Step-by-Step Guide
Follow these steps to create, test, and refine each build. After the steps are tables listing builds and their key attributes.
- Pick your role and primary game mode. Park and Pro-Am reward different tradeoffs—speed and handles for Park, positional defense and passing for 5v5.
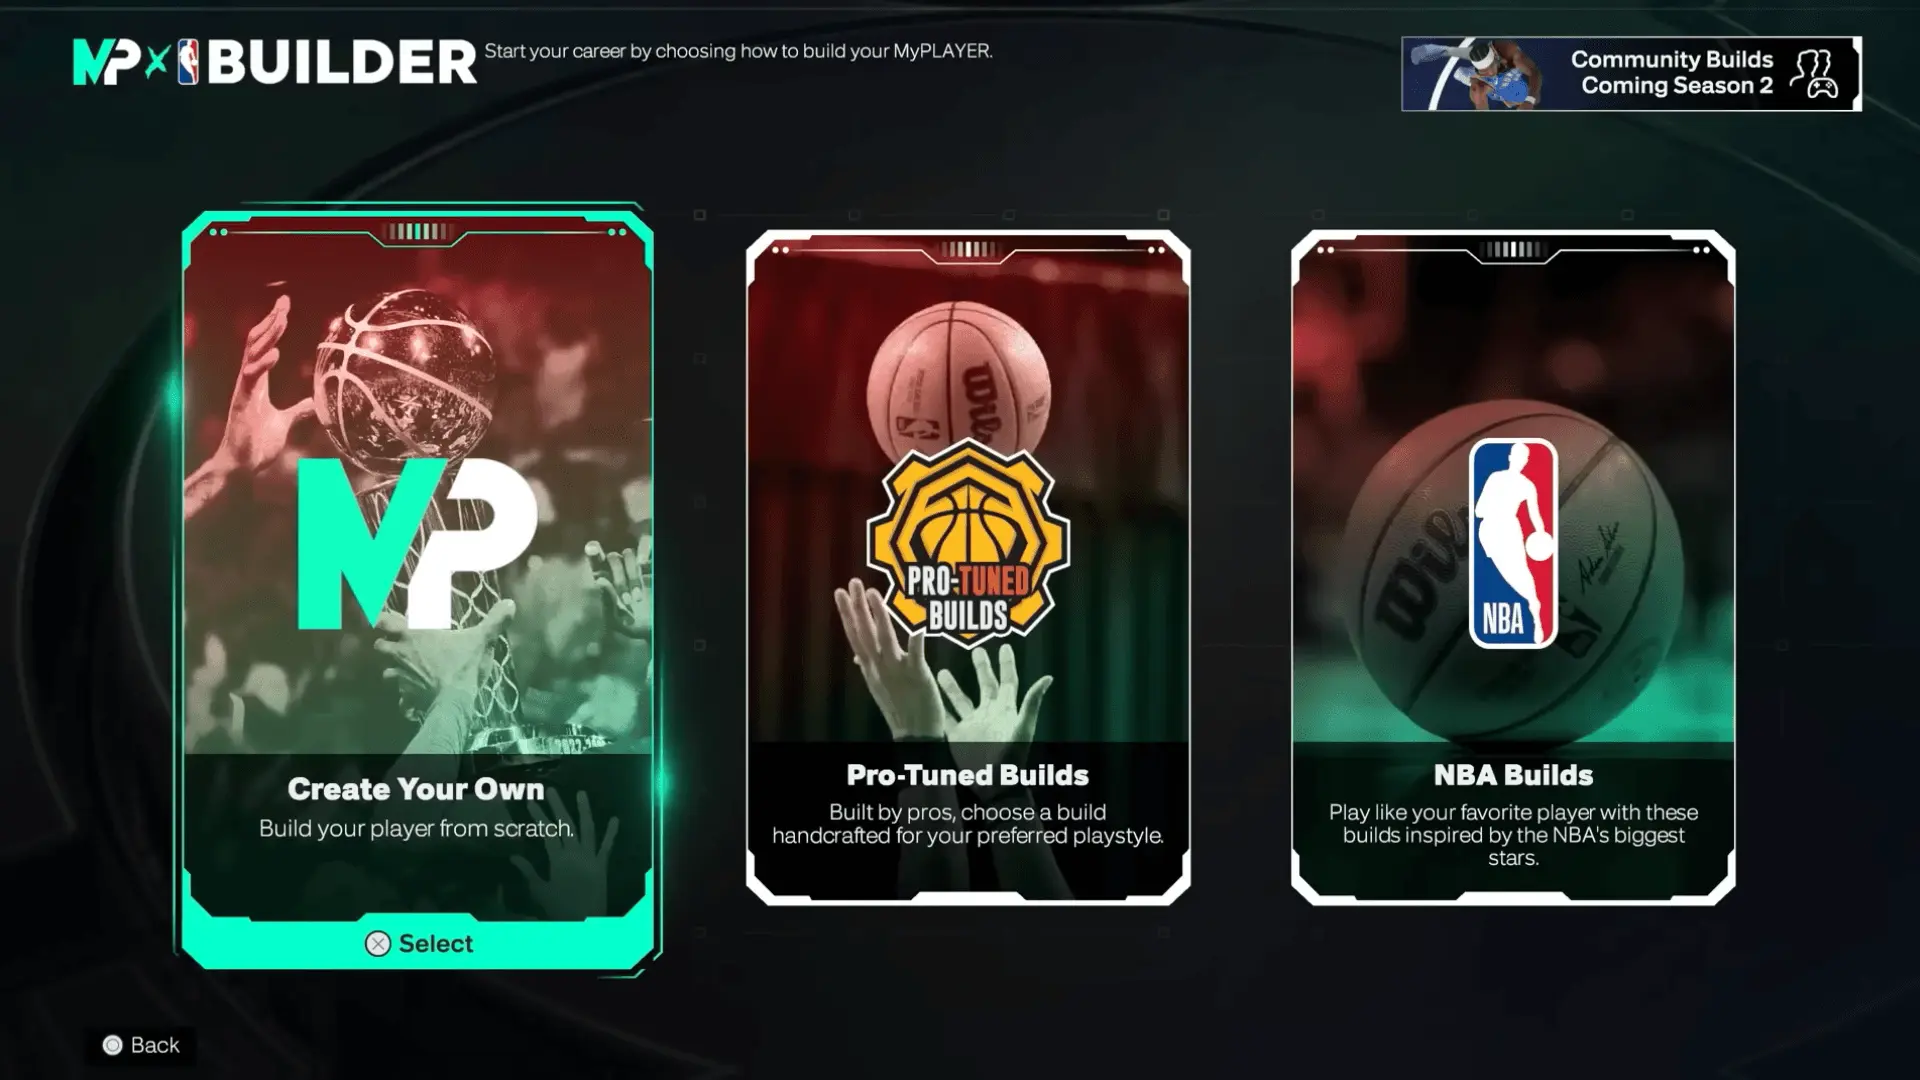
- Create the base build in the creator. Set the height and wingspan to match the template; small changes can shift animations dramatically.
- Allocate attributes to hit the listed caps. Prioritize the headline stats (Three-Point Shot, Driving Dunk, Offensive Rebound, Pass Accuracy) first.
- Buy and level badges that complement the role (e.g., HOF Dimer for Triple-Double Threat). Don’t waste badges on stats you’ll rarely use.
- Play test in a lower-stakes match. Note what feels off—shot timing, burst to the rim, or weakbox rebounds—and adjust wingspan/badges.
- Iterate. Swap badge tiers and micro-adjust wingspan until animations and feel match the role.
Point Guards
| Build | Key Attributes |
|---|---|
| 6'3" 2-Way 3PT Slasher | Driving Dunk: 93, Three-Point Shot: 92 (Cap breaks to 99), Ball Handle: 92, Perimeter Defense: 85, Steal: 91 |
| 6'2" Iso Sniper | Three-Point Shot: 97, Ball Handle: 92, Speed With Ball: 90, Mid-Range Shot: 87 |
Notes: 2-Way 3PT Slasher is a swiss-army knife—dunks, passes, and defense. Iso Sniper is your isolation creator; excels where you need to separate and shoot.
Shooting Guards
| Build | Key Attributes |
|---|---|
| 6'8" 2-Way Middy-Slashing Cleaner | Mid-Range Shot: 92, Perimeter Defense: 92, Driving Dunk: 89, Steal: 85 |
| 6'5" 2-Way Mid-Range High Flyer | Ball Handle: 90, Driving Dunk: 89, Mid-Range Shot: 89, Block: 68 |
Notes: Middy-Slashing Cleaner gives you contest control and mid-range stroke. High Flyer is transition-first.
Small Forwards
| Build | Key Attributes |
|---|---|
| 6'9" 2-Way 3-Level Scorer | Driving Dunk: 93, Perimeter Defense: 91, Mid-Range Shot: 89, Three-Point Shot: 86 |
| 6'10" 2-Way Lob Threat | Block: 93, Standing Dunk: 90, Interior Defense: 84, Steal: 84 |
Notes: Lockdown first for comp play; 3-Level Scorer keeps opponents honest offensively.
Power Forwards
| Build | Key Attributes |
|---|---|
| 6'7" Physical Edge Enforcer | Defensive Rebound: 94, Perimeter Defense: 92, Three-Point Shot: 81, Steal: 85 |
Notes: Modern stretch four that can switch everything. High Defensive Rebound and perimeter D mean you’re the glue.
Centers
| Build | Key Attributes |
|---|---|
| 7'4" Triple-Double Threat | Pass Accuracy: 93, Close Shot: 90, Standing Dunk: 90, Three-Point Shot: 89 |
| 7'0" Inside-Out Crasher | Offensive Rebound: 99, Standing Dunk: 90, Three-Point Shot: 90, Interior Defense: 81 |
Notes: Triple-Double Threat is a facilitator who spaces the floor—HOF Break Starter/Dimer territory. Inside-Out Crasher wins extra possessions.
Final step: test each build in real matches for ~5 games and tune badges and wingspan based on feel, not just numbers.
Pro Tips
- Use wingspan to tune tradeoffs: longer wingspan helps defense and rebounding but can butcher shot timing on shooters. If your Three-Point Shot is 92+, trim wingspan slightly to keep release consistent.
- Badge order matters more than raw stat points. A 90 shooter with the right shooting badges often outperforms a 94 shooter without them. Prioritize Badge tiers for your primary role.
- In 5v5, role consistency beats flashy stat lines. If your team already has a lockdown wing, lean one of your builds toward playmaking or rebounding instead of trying to do everything.
- Test dunk animations in-game after hitting Driving Dunk 93. If you don’t get contact dunk animations, your height/wingspan combination might be preventing them.
- For centers: Offensive Rebound 99 wins more games than a few extra standing dunk points. Extra possessions are underrated — think of it like free money at the line.
Common Mistakes to Avoid
- Copying a template without adjusting wingspan and badge distribution — feels right on paper, middles out in game.
- Trying to make one player do every job: builds like Physical Edge Enforcer need teammates who will take spacing/shooting responsibilities.
- Ignoring shot timing after raising Three-Point Shot to 92+ — a better attribute doesn’t fix a bad release.
- Assuming taller always equals better — a 7'4" build with poor badges or playstyle fit still plays poorly.