Dying Light: The Beast — All Legendary Weapon Locations
All legendary weapon locations and how to get them in View All's Dying Light: The Beast - maps, puzzles, blueprints, irreparable notes, and step-by-step routes.
TL;DR
- Legendary weapons are scattered across Castor Woods — key picks: The Eraser, The Needle, Boomerang Axe (160 durability), Sunray Revolver, The Statement, Tempered Crowbar, Strauss & Broda Machete.
- Expect power puzzles (generators, fuse boxes, power cables), locked containers needing lockpicks, and environmental puzzles (roof access, vents).
- Some legendaries are irreparable; several include blueprints so you can craft replacements. Save irreparables for boss fights.
- Bring lockpicks, power cables, spare weapons and healing. Knock the Nate Market cabinet ~77 times and the Sunray safe code is 2 2 19.
What You Need to Know First
Before you start hunting every shiny weapon in Castor Woods, get these basics sorted. Legendary gear often needs specific items or actions — treat this like planning a heist, except with more zombies and fewer suits.
Required items and common sources:
| Item | Effect | Where to Get |
|---|---|---|
| Lockpicks | Open locked containers and access doors | Loot, vendors, mission rewards |
| Power Cable | Connect generators and fuse boxes to unlock rooms | Found near power puzzles or inside nearby buildings |
| Generator access | Activates electrical puzzles that power containers | On-site; often behind crates or in vents |
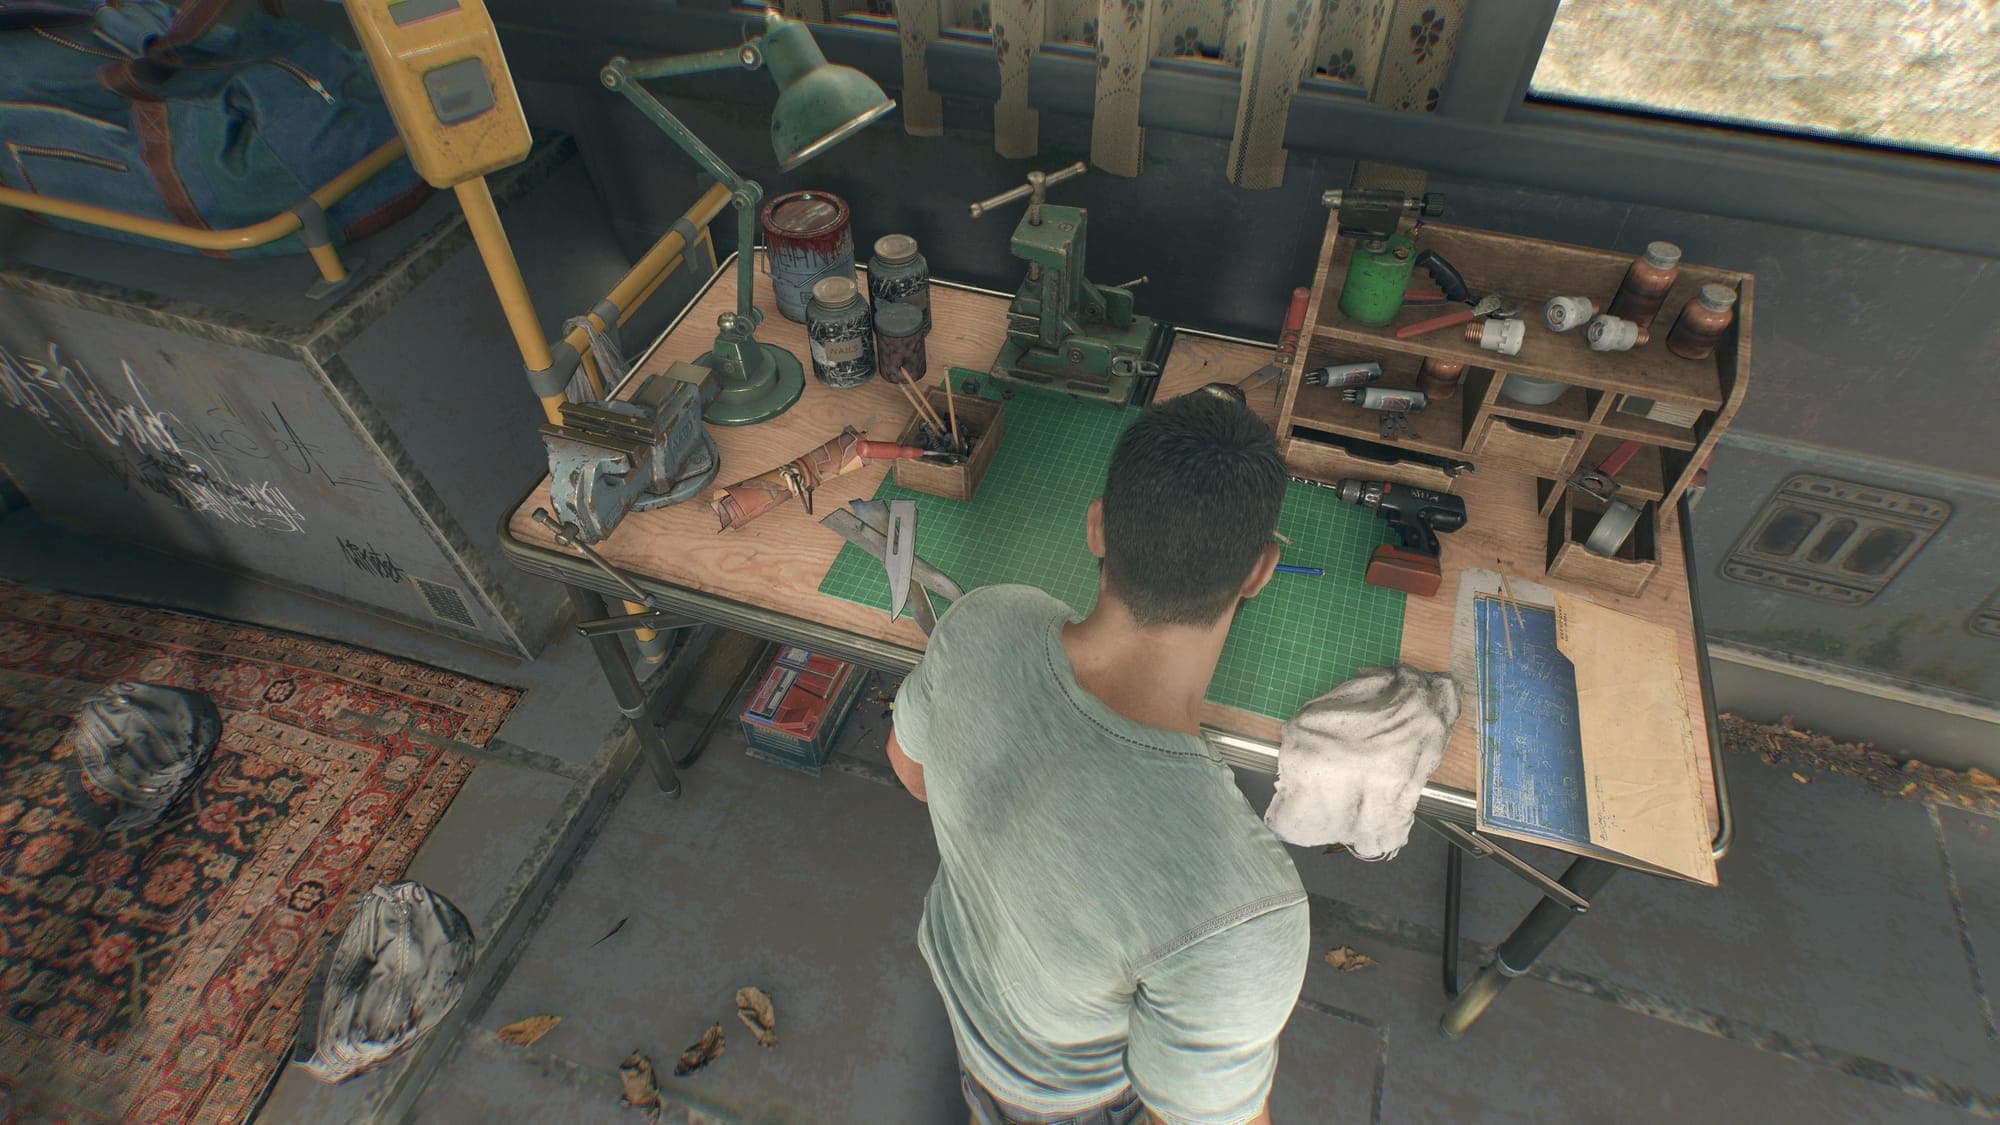
| Workbench | Craft or craft from blueprint and upgrade items | Any safe house with workbench |
| Enhancement Materials | Upgrade weapon stats for longevity | Loot, vendors, scavenging |
| Ammo Components | Keep The Elite and The Eraser usable | Crafting stations, vendors, loots |
| Grappling Hook (recommended) | Easier roof access for hunting lodge and rooftops | Exploration rewards / vendor purchase |
Quick survival notes:
- Irreparable items: A few legendaries (notably the Boomerang Axe with 160 durability) cannot be repaired. Use them like single-use grenades in fights you can’t afford to mess up.
- Blueprints: Several legendary weapons include blueprints so you can craft replacements — prioritize grabbing those if available.
- Combat prep: Bring backups, healing, and consider stealth approaches around generators; powering puzzles often spawns infected.
If you’ve got those supplies sorted, move on. If not — go loot a house and stop complaining.
Step-by-Step Guide
Here’s how to get each legendary weapon, step by step. I kept the steps tight — follow them in order and don’t try to wing the generator puzzles while chasing a Volatile.
- Tempered Crowbar (Gordon's Crowbar) — Farmland region, Castor Woods
| Item | Effect | Where to Get |
|---|---|---|
| Tempered Crowbar | Extra stamina damage, higher headstrike damage, bonus vs humans and infected; legendary quality (cannot be modified) | Farmland silo cluster summit — blueprint pickup |
Steps:
- Go to the Farmland region, find the silo cluster.
- Climb the tallest silo (the third one in sequence).
- At the summit locate and collect the blueprint.
- Craft at any workbench; it will craft at legendary quality immediately.
- The Elite (Pistol) — National Park (bridge area)
| Item | Effect | Where to Get |
|---|---|---|
| The Elite Pistol | Reliable backup sidearm; limited ammo effectiveness | Bridge with locked containers in National Park |
Steps:
- Find the bridge with locked shipping containers.
- Locate the container with an open generator and activate it (this will spawn infected).
- Run the cable along the bridge to the container's power port and connect it.
- Defeat the military infected that spawn in the adjacent container.
- Loot the Convoy Access Card and use it on the locked access door to get The Elite.
- The Needle (SMG) — near Mountain Shelter, Walking Dead reference house
| Item | Effect | Where to Get |
|---|---|---|
| The Needle SMG | Legendary SMG with distinctive Easter-egg location | House with "Don't Dead Open Inside" roller door near Mountain Shelter |
Steps:
- Find the house with “Don't Dead Open Inside” on the roller door.
- Enter the small hut to the right; pick up the power cable inside.
- Connect it to the fuse box beside the roller door. Clear infected when the door opens.
- Go to the back room, pick the hard lock on the rear door, and claim The Needle.
- Boomerang Axe — Hunting lodge near The Needle house
| Item | Effect | Where to Get |
|---|---|---|
| Boomerang Axe | Throws and returns, extended throwing range, extra loot on crafts; 160 durability (irreparable) | Hunting lodge roof above balcony near Needle location |
Steps:
- Climb onto the hunting lodge roof (grappling hook highly recommended).
- Find the open balcony area and the axe positioned above the doorway.
- Claim it; note: it’s irreparable (160 durability) but includes a blueprint for future crafting.
- The Eraser (Rifle) — The Vale region, southeast of Farms Tower Safe Spot
| Item | Effect | Where to Get |
|---|---|---|
| The Eraser Rifle | Powerful automatic rifle requiring multi-stage power puzzle | Hidden bunker in The Vale after multiple generator/fuse actions |
Steps:
- Find the small shack with a locked door in Castor Woods; break boxes to find a vent entrance.
- Crouch in the vent, start the generator and connect a cable to the first fuse box.
- Climb broken walls to reach the elevated platform and connect the cable's other end to the second fuse box.
- The bunker below will unlock — enter, push the movable cupboard to reveal another vent.
- Return to the platform, disconnect the cable, carry it into the bunker, and connect to the interior fuse box.
- Restore power, enter the left door, defeat two undead, then pick the easy lock on the metal cabinet to loot The Eraser.
- Sunray Revolver — Golden Pine Park, northeastern houses
| Item | Effect | Where to Get |
|---|---|---|
| Sunray Revolver | Distinctive revolver with reliable damage | Upper house in Golden Pine Park; safe behind fuse replacement and code |
Steps:
- Enter the upper house via window, clear bathroom zombie, loot the power fuse from the dead body.
- Exit to the living room's east side, access the basement via exterior hatch.
- Replace the old fuse in the basement fuse box, enter the newly unlocked room, and find the small vent opening opposite the dining table.
- Input safe code: 2 2 19 and collect Sunray from the opened safe.
- The Statement Shotgun — Pembroke area, southern structures
| Item | Effect | Where to Get |
|---|---|---|
| The Statement Shotgun | High stopping power for close quarters | Small shack with vent entry in Pembroke; work table inside |
Steps:
- Find the small shack with a locked door; circle to locate the vent entrance.
- Force open the vent, enter, start the generator and connect the cable to the fuse box.
- Carry the cable to the nearby house and connect to its fuse box to power the building.
- Enter the powered building and loot The Statement from the work table at the far end.
- Strauss & Broda Machete — Industrial Zone, Nate Market dark zone roof
| Item | Effect | Where to Get |
|---|---|---|
| Strauss & Broda Machete | One-handed machete with mod slots and night bonuses; irreparable but includes blueprint | Nate Market rooftop cabinet after unique cabinet interaction |
Steps:
- Climb to Nate Market roof and pick the rooftop door lock.
- Inside, find the wall-mounted cabinet and repeatedly interact (knock) approximately 77 times.
- After a special opening animation, collect the machete and its blueprint.
- Weapon maintenance notes (short and useful)
- Weapons with blueprints can be crafted repeatedly — prioritize those blueprints.
- Irreparable legendaries: conserve durability and save for boss fights or critical encounters.
- Enhancement materials are better spent on melee damage for close-range legendaries and accuracy for ranged ones.
- Always carry a backup: some pickups spawn infected when you power puzzles.
That’s the route list. If you want to farm them in one run, do National Park cluster first, then Farmlands, then The Vale and Industrial Zone when you’re ready for longer puzzles.
Pro Tips
- When a puzzle requires a generator, clear the immediate area first then place the cable — infected spawn predictably and choke points make things easier.
- Treat the Boomerang Axe and other irreparables like a boss-only play: they’re great for guaranteed takedowns but not for every street fight.
- If you see a vent or a questionable crawlspace, check it — most legendaries hinge on sneaky access paths rather than a locked chest in plain sight.
- For multi-fuse puzzles (The Eraser): move cables methodically. If you disconnect the wrong end you’ll force a reset and attract more enemies — save before attempting.
- Knocking 77 times on the Nate Market cabinet is a test of patience. Put on a podcast or hum The Sopranos theme and keep tapping until the animation triggers.
Common Mistakes to Avoid
- Rushing power puzzles without clearing the area — activate a generator and you’ll fight a horde while trying to thread a cable.
- Using irreparable legendaries for every patrol — they break and don’t come back unless you have a blueprint.
- Forgetting to carry lockpicks or a spare cable — several containers and rooms are gated behind them and it’s annoying to run home mid-puzzle.
- Assuming roof access is optional — many legendary spawns are placed on roofs or high balconies; bring grappling gear or plan a climb.
- Not saving before complex multi-stage sequences like The Eraser — mistakes force resets and wasted resources.