Silent Hill f Beginner Guide — Combat, Sanity & Survival
Survive Silent Hill f as Hinako: learn counterattacks, perfect dodges, Focus Attacks, Sanity care, weapon upkeep and shrine upgrades. Starter tips & mistakes.
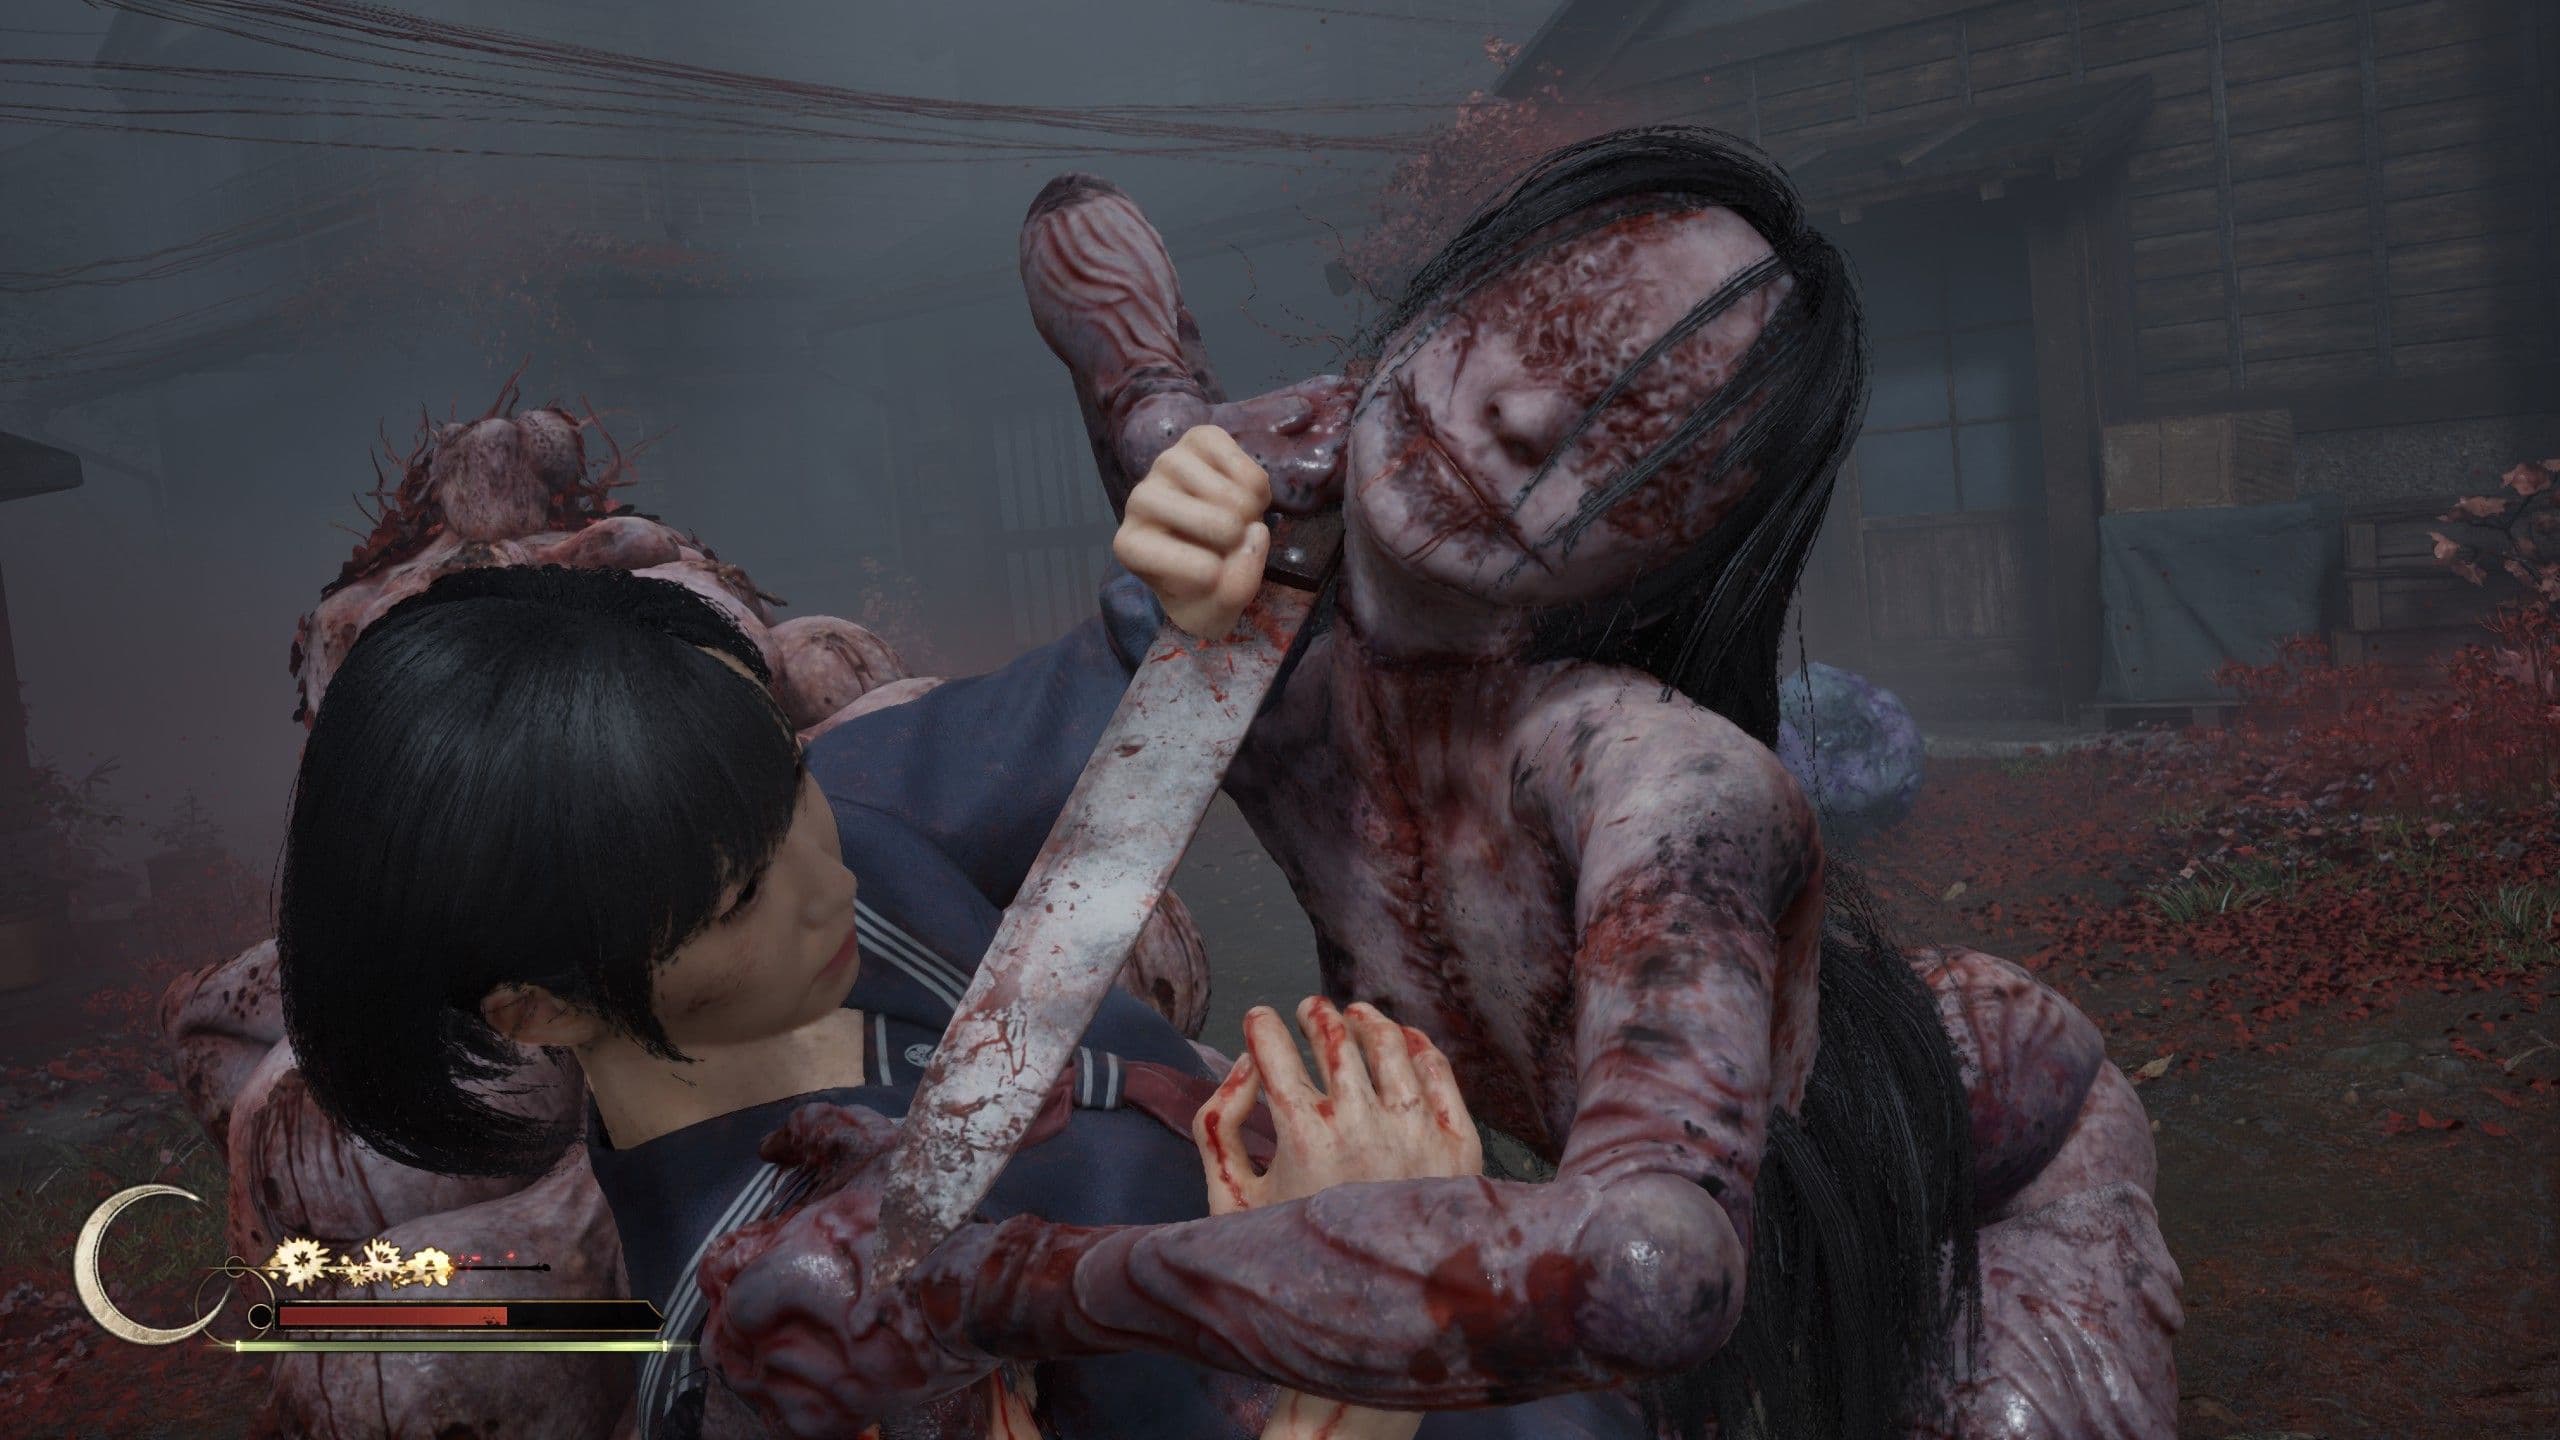
TL;DR
- Master counterattacks (R2/RT) — wait for the color flash; timing beats button-mashing, stagger and punish.
- Use Perfect Dodge (Circle/B) to restore stamina, trigger slow-mo and reposition safely.
- Reserve Focus Attacks (L2) for armored enemies — big damage but drains Sanity.
- Manage weapons, Tool Kits, Divine Water, and Hokora Shrine upgrades; don't hoard healing items.
What You Need to Know First
What you should have before getting aggressive
Start by treating Silent Hill f like a fight choreography class: timing matters more than flailing. Below are the essentials — if you go in without these, expect a lot of trial-and-error and some very rude deaths.
| Item | Effect | Where to Get |
|---|---|---|
| Bandages | Restore significant health | Looted from houses, enemy drops |
| Red Capsules | Quick health and Sanity restoration | Vending machines, containers |
| Divine Water | Restores Sanity for Focus Attacks | Shrines, hidden stashes |
| Tool Kits | Restore weapon durability | Scavenging, some shrine rewards |
| Ramune drinks | Small Sanity restore | Shops and hidden fridges |
| Omamori slots | Passive bonuses via charms | Unlockable at Hokora Shrines |
Controls you should know (short):
- Counterattack: R2 (PlayStation) / RT (Xbox) when enemies flash a color.
- Perfect Dodge: Circle / B timed as attack lands.
- Focus Attack: Hold L2 to charge (drains Sanity).
- Sprint and evade: use stamina wisely; Perfect Dodge restores it.
Shrine basics:
- Hokora Shrines act as save points and upgrade kiosks.
- Offer items to gain Faith Points and unlock Health, Stamina, Inventory and Omamori slots.
Recommended mindset:
- Practice counters on mannequins early.
- Treat Focus Attacks like a limited-use nuke — they help against armored enemies but cost Sanity.
- Don’t assume every door is empty; Silent Hill f rewards poking into closets and back alleys.
Step-by-Step Guide
Step-by-step survival route
-
Learn the counter window first
- Spend the first hour deliberately fighting mannequins and basic grunts. Watch for the color flash and press R2/RT once. It stuns most enemies and kills weaker ones fast.
-
Nail Perfect Dodges next
- Practice dodging just as an attack lands (Circle/B). A Perfect Dodge restores stamina and gives you slow motion to reposition.
| Dodge Type | Stamina Cost | Benefits |
|---|---|---|
| Regular Dodge | High | Basic evasion |
| Perfect Dodge | None (restores stamina) | Slow motion, positioning advantage |
| Failed Dodge | Maximum | Leaves you open |
-
Use Focus Attacks with intent
- Hold L2 to charge. These shred armored foes and can stun bosses, but they drain your Sanity meter. If an enemy is interrupting you, stop and reset rather than eating damage.
-
Weapon and durability management
- Check your weapon durability often. Use lower-durability weapons on weak mobs and save sturdy weapons for minibosses or boss windows.
| Item | Effect | Where to Get |
|---|---|---|
| Steel pipe / Axe / Knife | Melee damage; each has durability | Found in houses, enemy drops |
| Tool Kits | Restore weapon durability | Loot, rare containers |
-
Shrine upgrades and Faith Points
- Bring spare items to Hokora Shrines and buy the stamina and inventory upgrades first. An extra Omamori slot can swing a difficult fight if you pick the right charm.
-
Use map and journal like tools, not crutches
- The hand-drawn map auto-updates; use red lines and question marks to plan routes. The journal records puzzle clues — read it before forcing a puzzle.
-
When to run, when to fight
- If your weapon is nearly broken, health is low, or you’re outnumbered, sprint away. Break line of sight and use the environment to lose aggro; most enemies won’t chase forever.
-
Manage Sanity proactively
- Restore Sanity with Divine Water, shrine prayers, Ramune drinks, and successful Perfect Dodges. Low Sanity worsens controls and can drop you into nasty hallucinations.
-
Final boss pointers (Ara-abare example)
- Ara-abare hits multiple patterns; combine Perfect Dodges with quick Focus Attacks to open windows. Don't waste high-durability weapons on its predictable, weak phases.
Quick stat table for fights
| Strategy | Best for | When to use |
|---|---|---|
| Counterattack | Regular enemies | When you see the color flash |
| Perfect Dodge | Any strong attack | To restore stamina and reposition |
| Focus Attack | Armored enemies / bosses | When you can safely charge |
Wrap-up: Silent Hill f is less about button spam and more about picking your moments. If you treat stamina, Sanity, and tool kits like limited resources, Hinako lasts far longer than most players expect.
Pro Tips
- Practice counters at a safe location until muscle memory clicks. The flash timing varies slightly by enemy — mannequins are forgiving training partners.
- Use Perfect Dodge to bait stamina-draining enemy patterns. If a foe swings repeatedly, dodge once to refresh stamina, then punish while they recover.
- Don’t charge Focus Attack in tight corridors. Crowds will interrupt you. Reserve L2 for open spaces or when a boss is stunned.
- Rotate weapons intentionally: use fragile blades for scouting and conserve pipe/axe durability for boss windows. Keep at least one Tool Kit in inventory.
- When low on Sanity, pray at a Hokora Shrine between fights if possible — it’s free sanity that stacks with Divine Water and Ramune for tougher stretches.
Common Mistakes to Avoid
- Spamming counterattacks without waiting for the visual cue — gets you killed more than it helps.
- Wasting Focus Attacks on basic mobs and running out of Sanity for boss fights.
- Hoarding healing items until it’s too late — use Bandages and Red Capsules proactively under 50% health.