
Ninja Gaiden Ragebound: Kenji Combat & Hypercharge Guide
Master Kenji in Ninja Gaiden Ragebound: aura matching, Hypercharge, Guillotine Boost, and Kumori tricks. Clear requirements, step-by-step build, and pro tips.
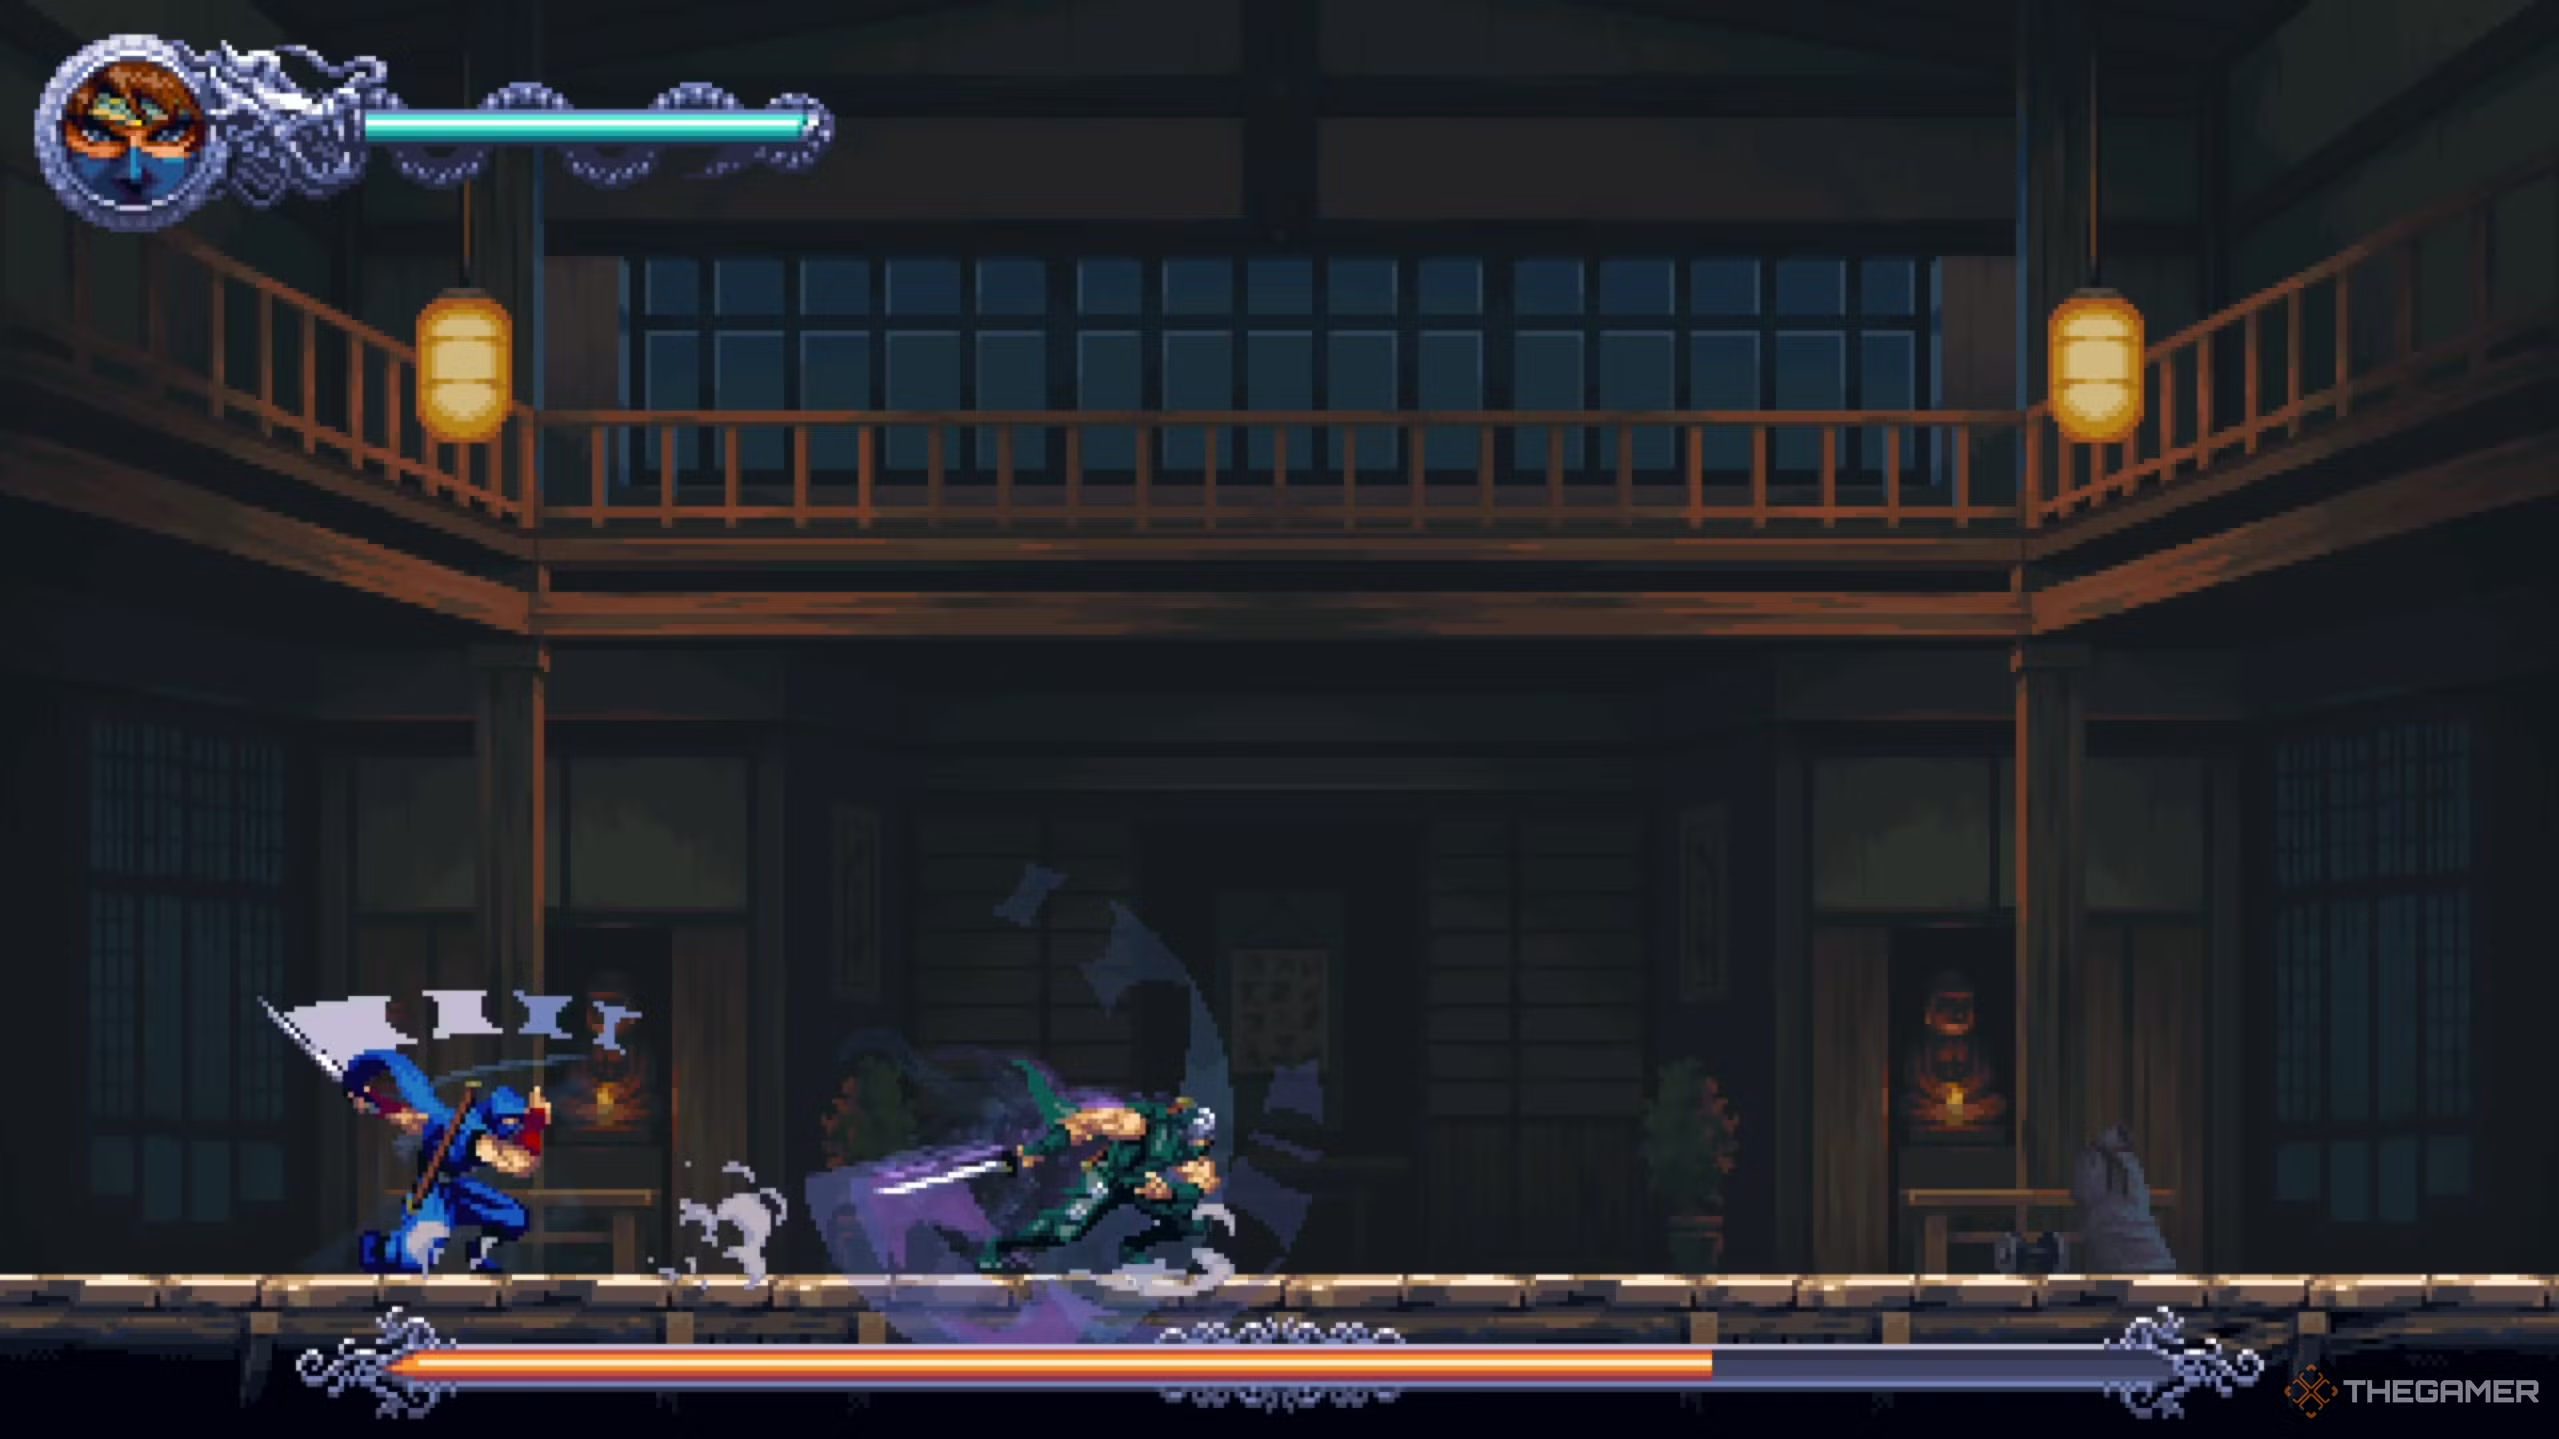
TL;DR
- Kenji kills quickly — match enemy aura (Blue = Katana, Purple = Kunai) to charge Hypercharge faster and one-shot most foes.
- Hypercharge: activate via Health Absorption or by chaining correct aura kills; use it on mini-bosses and dense groups.
- Guillotine Boost keeps you airborne for combos and traversal — chain boosts off enemies, projectiles, and objects.
- Kumori sections are puzzle-platforming breaks; use her Teleporting Kunai and Underworld Traversal to open shortcuts.
- Grab collectibles for permanent upgrades, spend currency at Morama’s Shop, and chase time/kill/style for higher ranks.
What You Need to Know First
Below is what to have ready before you try to master Kenji. Short and practical — like a loadout checklist you’d scribble on a napkin.
| Item | Effect | Where to Get |
|---|---|---|
| Katana | Primary melee; matches Blue aura for instant kills | Starting weapon / Morama’s Shop upgrades |
| Kunai | Ranged; matches Purple aura to chain kills | Early mission pickups / Morama’s Shop |
| Throwing Sickle | Extended-range melee for mixed groups | Unlocks after Kumori sections |
| Ragebound Arts | Screen-clearing special attacks | Story progression / unlocks |
| Morama’s Shop Currency | Buy upgrades and consumables | Collect in levels |
Prerequisites & basics:
- Recommended starting level: none required; scaling is gentle early but you benefit from upgrades.
- Unlocks: Kumori joins mid-act; Guillotine Boost is available early in the first combat arena.
- Difficulty: base difficulty is approachable; Extreme Difficulty Mode unlocks after completion for veterans.
Quick mechanics recap:
- One-hit kill philosophy: most enemies die to a single correct strike. Precision over attrition.
- Aura color system: Blue = Katana, Purple = Kunai. Matching builds Hypercharge faster.
- Hypercharge activation: Health Absorption (sacrifice HP) or chain correct aura kills.
- Guillotine Boost: bounce off enemies, bodies, projectiles, and objects to stay airborne and extend combos.
Note: Kumori segments are puzzle-platforming interludes — less fighting, more traversal. Think of them as the game catching its breath so you don't.
Step-by-Step Guide
Follow this progression to get comfortable with Kenji and push for high ranks.
-
Learn the aura shorthand (first 10–30 minutes)
- Scan each enemy’s aura color before engaging. Blue = Katana, Purple = Kunai. Mixed groups require quick swaps.
- Practice switching weapons mid-air; it’s the cheapest quality-of-life improvement you’ll buy with time.
-
Practice Hypercharge economy (next 1–2 hours)
- Two activation methods: Health Absorption (instant) and Aura Kills (gradual).
- Use aura kills to build Hypercharge on longer patrols; reserve Health Absorption for bosses or when you need a clutch wipe.
-
Master Guillotine Boost chaining (ongoing)
- Bounce off flying projectiles and enemy limbs to stay airborne.
- Link boosts between aura kills to maintain Hypercharge buildup and rack style points.
-
Mix in Kumori segments (when unlocked)
- Use Teleporting Kunai to create shortcuts and reach collectibles.
- Underworld Traversal opens hidden paths for extra currency and permanent upgrades.
-
Spend smart at Morama’s Shop
- Prioritize damage on Katana/Kunai and one permanent vitality upgrade. Save a slot for Ragebound Arts once available.
-
Level runs for ranking
- Ranking factors: completion time, kill count, and style points.
- Route: main path for speed; slight detours for collectibles that unlock upgrades you can’t ignore.
Useful item/stats table while you learn:
| Item | Effect | Where to Get |
|---|---|---|
| Katana | High melee damage; best vs Blue aura | Starter / Morama’s Shop |
| Kunai | Ranged kill; best vs Purple aura | Early pickups / Morama’s Shop |
| Throwing Sickle | Mid-range melee option | Post-Kumori sections |
| Ragebound Arts | Clears screen, high style | Story unlock / Shop |
| Collectible Upgrades | Permanent tweaks (damage, HP) | Hidden caches in levels |
Tactics for common encounters:
- Isolated enemy: swap to matching weapon and finish with a Guillotine Boost follow-up for style.
- Mixed crowd: prioritize matching the easiest aura-first to stack Hypercharge quickly, then detonate with Ragebound Arts.
- Mini-boss: build Hypercharge via aura chain, then use Health Absorption only if you need instant burst.
Level ranking table:
| Factor | Why it matters |
|---|---|
| Completion Time | Speedrunners get top marks |
| Kill Count | Efficient clearing improves grade |
| Style Points | Combo creativity and Hypercharge usage |
Wrap-up: Treat Ragebound like a high-tempo precision fighter. Don’t mash — plan your aura match, float with Guillotine Boosts, and use Kumori when the level asks for puzzles rather than bloodshed.
Pro Tips
- When you’re low on Hypercharge, deliberately leave one easy enemy alive with the matching aura and shut it down to finish the chain — small, repeatable trick that beats risky Health Absorption.
- Use Guillotine Boost off projectiles to conserve stamina; projectiles are predictable anchors you can bounce from repeatedly during hectic fights.
- In mixed rooms, equip Throwing Sickle if available to handle Blue-adjacent mobs while you line up Kunai shots — it’s a tempo tool more than a damage upgrade.
- Save Ragebound Arts for rooms where Hypercharge would be wasted on small trash. Think of Arts as a score multiplier for style and rank, not just raw damage.
- If you’re chasing time records, learn one safe spot per level to reset enemy respawns after a death. Speedruns live on muscle memory and a single reliable fallback.
Common Mistakes to Avoid
- Ignoring aura colors and relying on raw hits — you’ll waste Hypercharge potential and die to what should be one-shots.
- Overusing Health Absorption early — burning HP for instant Hypercharge becomes a habit that ruins longer runs.
- Touching ground during extended encounters — failing to chain Guillotine Boosts kills momentum and style points.