
BEGINNERHyrule Warriors: Age of Imprisonment
Hyrule Warriors: Age of Imprisonment Combat Guide (Beginner)
Beginner guide for Hyrule Warriors: Age of Imprisonment combat. Covers movement, Y/X combos, outpost control, Sync Strikes, Zonai Devices, and mini-map.
By Esportz.fun Team
Archive · original publication date unavailable
9 min read
TL;DR
- Keep mobile — standing still gets you surrounded; dodge (B) timed to avoid red-glowing attacks.
- Use Y to build combos and X to finish: Y-Y-Y-X for crowds, Y-X to finish, X-X-X vs single targets.
- Prioritize Powerful Foes and outpost commanders; capture diamond-marked outposts to control spawns.
- Use Sync Strikes (L) and Zonai Devices smartly; conserve energy cells and spend special attacks often.
What You Need to Know First
Essentials and prerequisites
Start with these basics before you try to control a full battlefield. No, you don't need perfect reflexes — just the right priorities.
| Item | Effect | Where to Get |
|---|---|---|
| Zelda | Ranged crowd control and special kits | Story unlock / selectable character |
| Rauru | Devastating area attacks | Story unlock / selectable character |
| Mysterious Construct | Balanced offense for newcomers | Story unlock / selectable character |
| Zonai Devices | Terrain and effect modifiers (consume energy cells) | Find in stages / mission rewards |
| Energy cells | Fuel for Zonai Devices | Stage pickups, rewards |
| Sync Strikes | High-damage coordinated attacks (press L) | Build sync gauges during combat |
| KO counter & experience gauge | Tracks XP from kills and progression | UI bottom-left |
| Mini-map | Shows red dots for enemies and diamonds for outposts | HUD / top-right (use directional buttons to zoom) |
Important control reminders:
- Y = fast, weak attacks for combo building.
- X = slower, heavy attacks that finish combos.
- B = dodge (better positioning than blocking against red-glowing attacks).
- ZL = hold to block (reduces damage but can be broken).
- D-Pad Up/Down = switch characters on the fly.
Don't try to capture every outpost early. Learn single-point control and the difference between regular troops and Powerful Foes with health bars.
Step-by-Step Guide
1) Warm up: learn the rhythm
- Spend 5–10 minutes in a low-threat stage. Practice Y and X timings until Y-Y-Y-X feels natural. Muscle memory matters here — your future self will thank you.
- Practice dodging (B) through red-glowing attack telegraphs and blocking (ZL) against generic hits.
| Item | Effect | Where to Get |
|---|---|---|
| Y-Y-Y-X | Basic crowd control combo — builds meter and clears groups | Practice arenas / early missions |
| Y-X | Quick heavy finisher — good for interrupting | Mid-tier fights |
| X-X-X | Single-target DPS — maximum damage for bosses | Boss encounters |
2) Read the battlefield and pick priorities
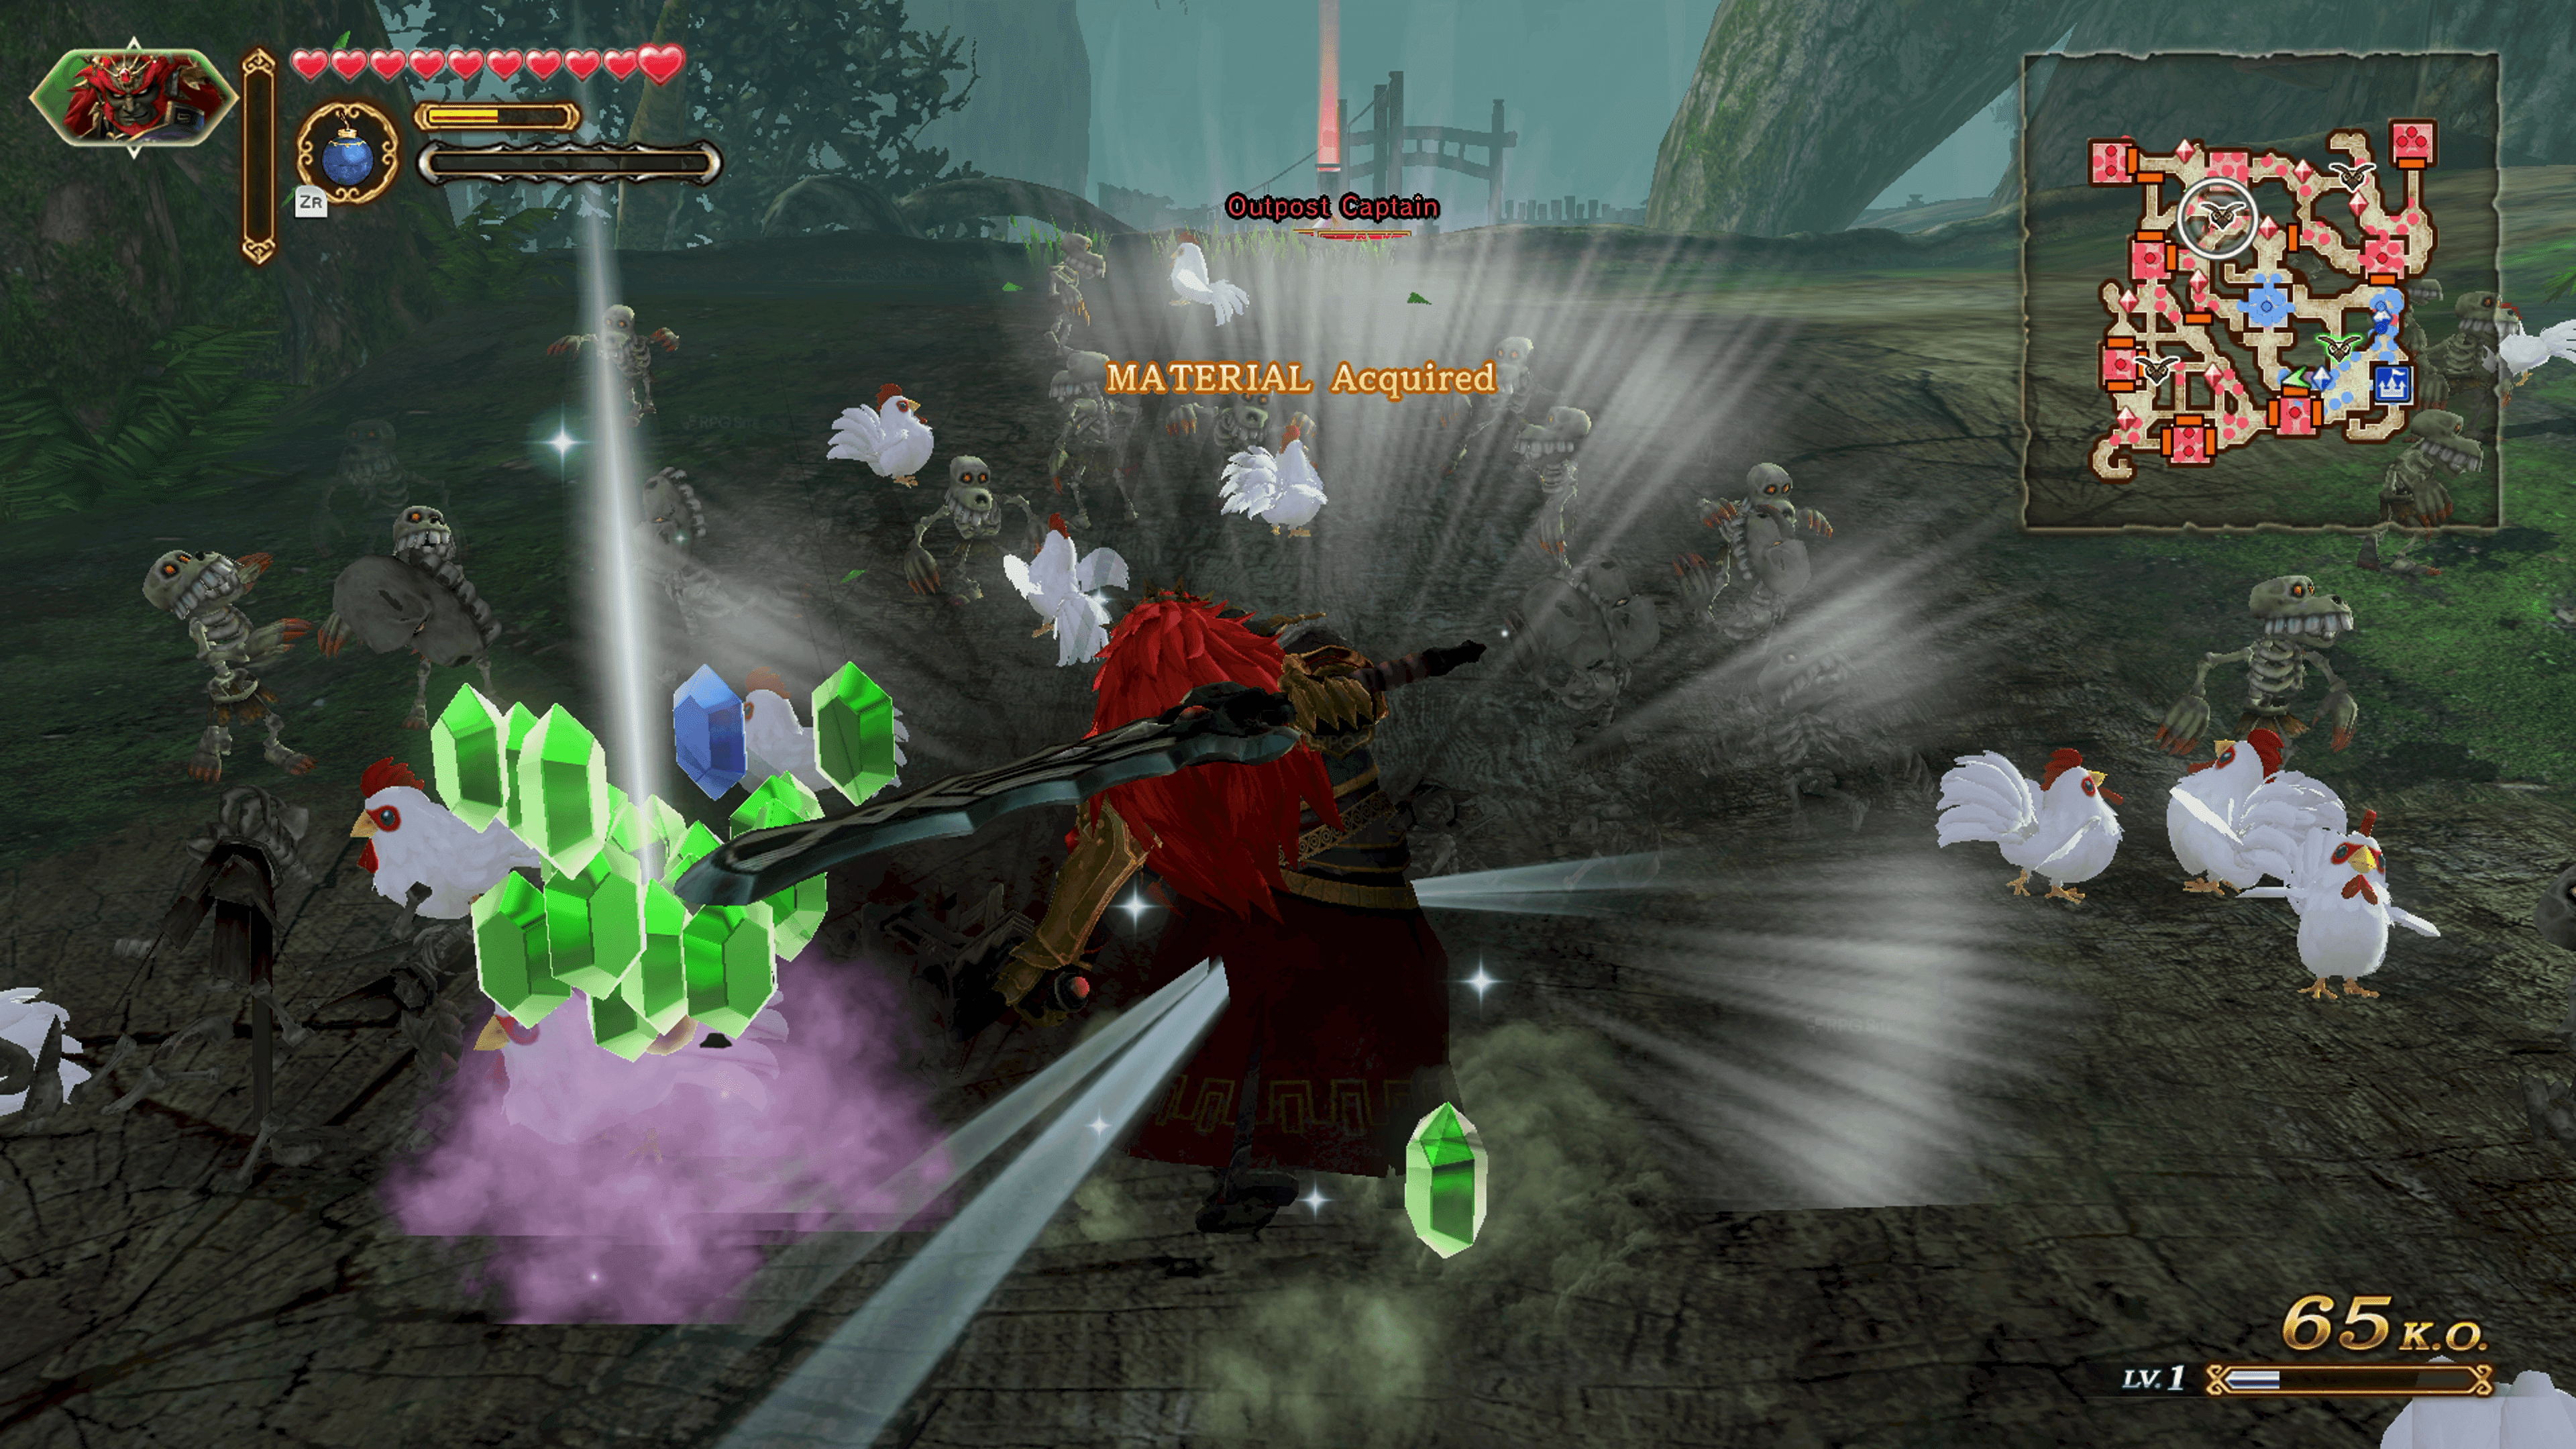
- Hit the mini-map often with the directional buttons. Red dots = soldiers, outlined red dots = Powerful Foes, blue diamonds = friendly outposts, red diamonds = enemy-held outposts.
- Prioritize:
- Powerful Foes with health bars and red attack indicators — they break outposts and kill momentum.
- Outpost commanders — defeat them to claim territory.
- Elite soldiers — clear to keep safe movement corridors.
| Item | Effect | Where to Get |
|---|---|---|
| Powerful Foes | High threat, visible health bars, break outposts | Appear on stage as mini-bosses |
| Outpost commanders | Capture points for map control | Diamond-marked outposts on mini-map |
| Regular troops | Build combo meter and special gauges | Everywhere |
3) Capture and defend outposts the smart way
- Focus on one outpost at a time until you can reliably capture and hold it. If the mini-map shows a diamond, that’s usually strategic — take it.
- Time Sync Strikes (press L when both sync gauges are full) to remove boss threats or wipe swarms while you secure an outpost.
- Use Zonai Devices to shape terrain — electrify tornadoes or create updrafts to separate groups; always watch energy cells.
4) Use special attacks and resources often
- Your special attack gauge fills with combat. Don’t hoard it for mythical "perfect moments." Spamming a full special at the right time keeps you alive and pressures enemy control.
- Zonai Devices are powerful but consume energy cells. Use them to solve sticky situations, not to show off.
5) Team management and sync usage
- Cycle characters with D-Pad up/down to adapt to the fight. Zelda for ranged control, Rauru for area clear, Mysterious Construct for balanced offense.
- Sync Strikes hurt. Save them for boss weak windows or to break enemy strongholds.
Quick checklist table
| Item | Effect | Where to Get |
|---|---|---|
| KO counter & experience gauge | Track XP; keep aggressive to keep it visible | HUD bottom-left |
| Weak Point Gauges | Exposed after special attacks; heavy damage window | Triggered by Powerful Foes after moves |
| Challenges & quests | Unlock upgrades and materials | Mission menus / stage objectives |
Follow that progression and you’ll stop feeling like you’re getting swarmed every minute.
Pro Tips
- If a Powerful Foe exposes a Weak Point Gauge, go all-in: its stagger opens a guaranteed damage window and often forces it to retreat.
- When defending an outpost, place yourself between the spawns and the commander. You’re forcing their pathing, which is the cheapest kind of control.
- Rotate characters mid-battle to refresh momentum: a wounded character swaps into a fresh health bar and different kit — use D-Pad switching proactively.
- Treat Sync Strikes like a limited wipe tool. Using one to clear a lane is better than holding it until the boss has half health.
- Conserve energy cells for multi-stage fights. If you can, use Zonai Devices to isolate a boss rather than trying to kill everything at once.
Common Mistakes to Avoid
- Standing still and trying to tank groups with ZL — blocking won’t save you from red-glowing attacks.
- Ignoring Powerful Foes because they look like regular soldiers — they’re the reason outposts fall.
- Hoarding special attacks and Sync Strikes for a theoretical perfect moment instead of using them to maintain momentum.