
FM26 Starter Tactics: 4-2-3-1 Setup & Quick Wins
Beginner FM26 4-2-3-1 guide: roles, core In Possession and Out of Possession instructions, training focus, and simple in-game tweaks to get results fast.
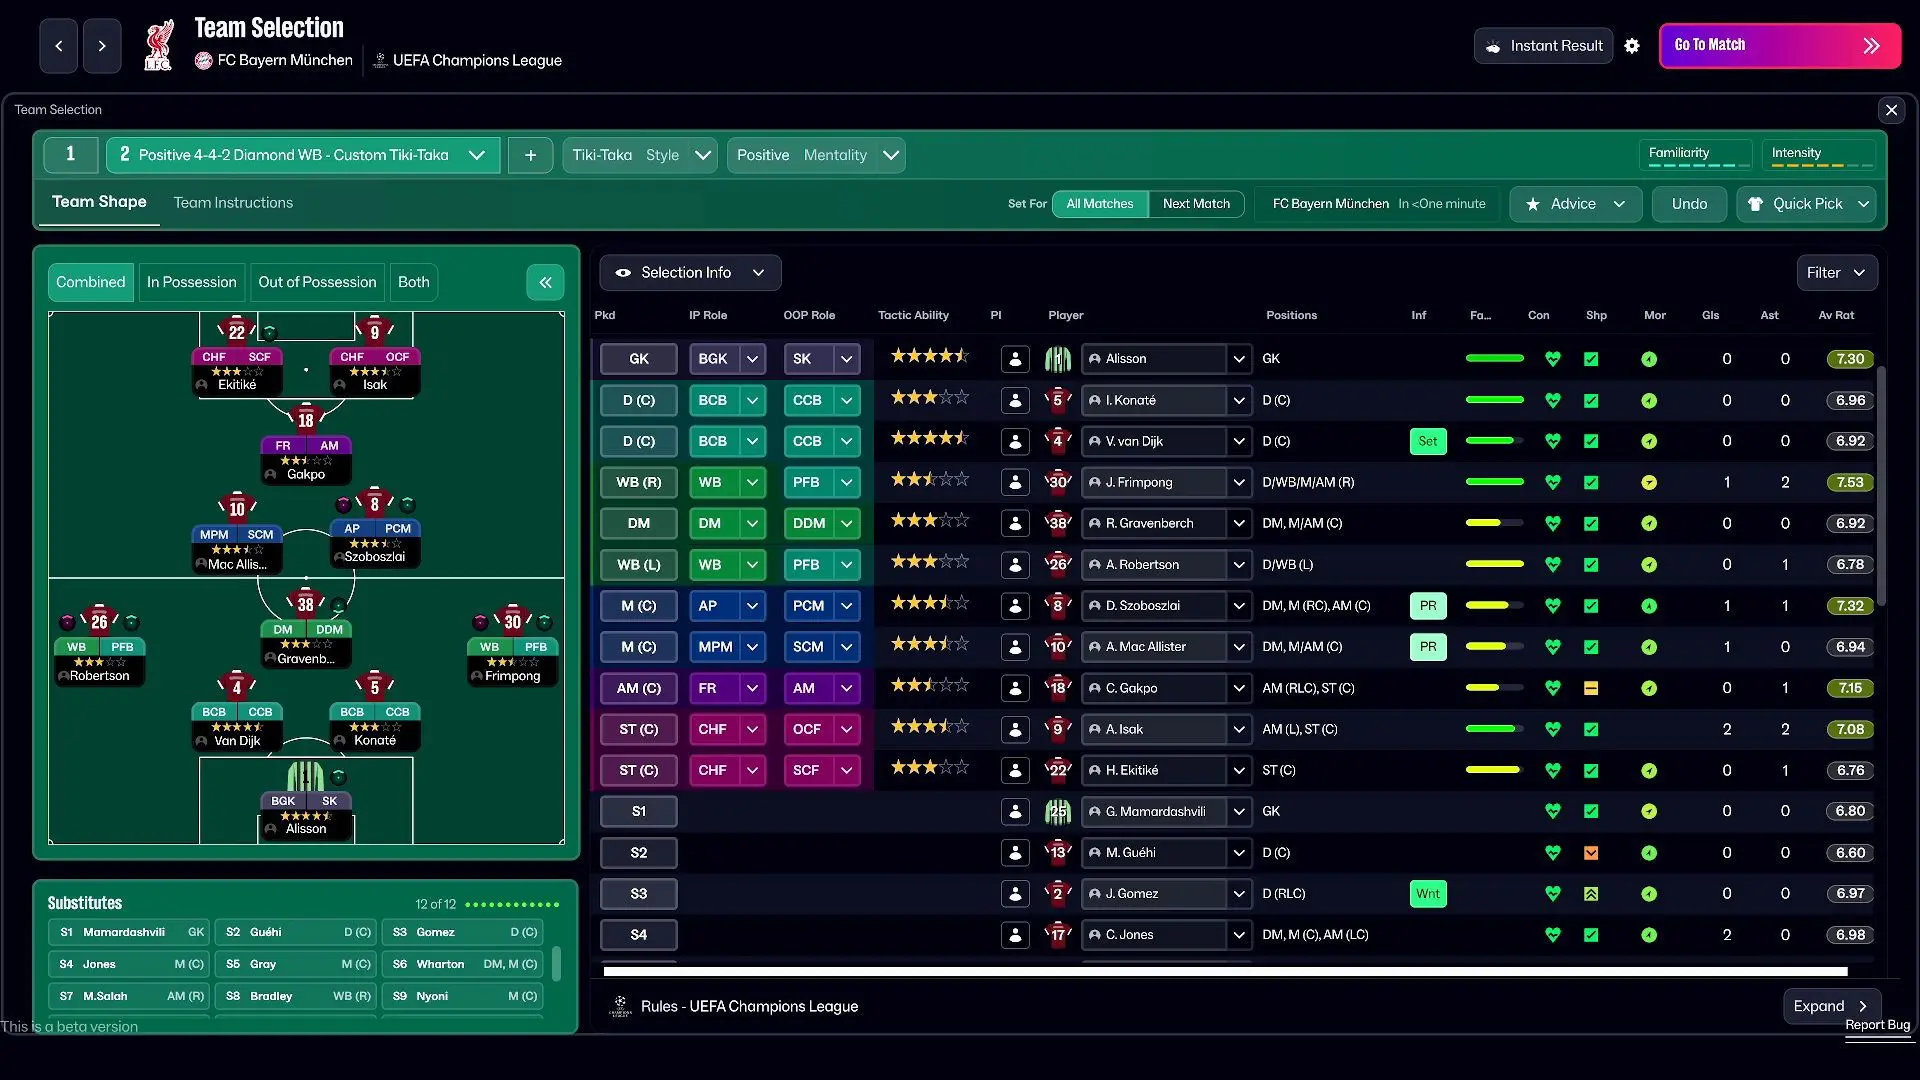
TL;DR
- Use 4-2-3-1 as your starter tactic: two holding mids for cover, width from Wing-Backs, and an Advanced Playmaker pulling strings.
- Core instructions: shorter passing, higher tempo, fairly wide in possession; higher defensive line and urgent pressing out of possession.
- Key roles to fit first: Sweeper Keeper (Support), Deep Lying Playmaker, Box to Box Midfielder, Inside Forward, Complete Forward.
- Train Tactical Cohesion and Passing; give the tactic 5-6 matches to bed in and make small tweaks as problems show up.
What You Need to Know First
FM26 splits your tactic into In Possession and Out of Possession phases. That means one formation can look like two different teams depending on who has the ball — which is exactly how pro managers get paid the big bucks. Start simple: 4-2-3-1 gives balance, cover, and straightforward role combos.
Requirements
| Item | Effect | Where to Get |
|---|---|---|
| Formation: 4-2-3-1 | Balanced shape: two holding mids, one advanced creator, wide attackers, lone striker | Select from Formation screen |
| Sweeper Keeper (Support) | Modern distribution and sweeper tendencies | Best for GK with Passing, Decisions, Composure |
| Deep Lying Playmaker (Support) | Dictates tempo and links defence to attack | Use your most technically gifted CM |
| Wing-Back (Attack) + Inside Forward (Attack) | Width plus inside-cutting overloads | Assign to naturally wide/fullback and inverted wingers |
| Matches to bed in | 5-6 matches to reach understanding | Season start or after tactical change |
| Training focus: Tactical Cohesion, Passing | Improves role familiarity and pass accuracy | Training schedule -> Individual/Team |
Player quality matters, but cohesion matters more at the start. A decent squad playing a clear system beats a stacked team with 15 instructions turned on like a dial-up modem.
Step-by-Step Guide
-
Pick 4-2-3-1 and set your phases. Set the same base shape for both In Possession and Out of Possession, but expect positions to shift naturally.
-
Assign core roles. Prioritize attributes that match roles rather than names on the shirt. Use the table below as a checklist.
| Item | Effect | Where to Get |
|---|---|---|
| Sweeper Keeper (Support) | Cleaner distribution, sweeps behind a high line | Best GK with Passing, Anticipation, Composure |
| Ball Playing Defender (Defend) | Progressive passing from centre-back | CB with Passing and Vision |
| Central Defender (Defend) | Solid defensive base | Typical defensive CB attributes |
| Deep Lying Playmaker (Support) | Controls tempo, finds pockets | Technical CM with Passing, Vision |
| Box to Box Midfielder (Support) | Energy, transitions both ways | High Stamina and Work Rate |
| Advanced Playmaker (Attack) | Primary creator in the AMC slot | AM with Creativity and Passing |
| Wing-Back (Attack) | Width and crosses | FB with Pace, Crossing, Stamina |
| Inside Forward (Attack) | Cuts inside to shoot/create | Winger with Dribbling, Finishing |
| Complete Forward (Support) | Links play, drops deep | Striker with Technique and Passing |
- Core team instructions (start here; less is more):
| Item | Effect | Where to Get |
|---|---|---|
| Passing: Shorter | Keeps possession, reduces turnovers | In Possession settings |
| Tempo: Higher | Find gaps quickly, suits Advanced Playmaker | In Possession settings |
| Width: Fairly Wide | Stretches defence for inside runs | In Possession settings |
| Defensive Line: Higher | Compresses space, suits pressing | Out of Possession settings |
| Line of Engagement: Much Higher | Forces opponents back, better pressing traps | Out of Possession settings |
| Pressing Intensity: More Urgent | Quick counter-press after loss | Out of Possession settings |
| Tackling: Stay on Feet | Avoids red/yellow spam | Out of Possession settings |
-
Training and prep. Prioritize Tactical Cohesion and Passing. Add Pressing sessions so your team knows when to hunt the ball. Work Set Pieces as a low-effort points boost.
-
Match management: watch the first 30 minutes for balance. If you dominate possession but lack penetration, switch to More Direct passing and increase Shoot More Often. If you're getting beaten down the wings, swap Wing-Back (Attack) to Full-Back (Support) or tell wingers to Stay Wider.
-
Role combos to exploit: pair Deep Lying Playmaker + Advanced Playmaker + Complete Forward for central control; use Wing-Back (Attack) with Inside Forward (Attack) on the same flank for overloads.
-
When to adapt: if you're outnumbered centrally, move to a 4-3-3 or add a Ball Winning Midfielder. If you need to see out a lead, lower Line of Engagement and use Waste Time.
-
Patience. Give the tactic 5-6 matches. Small, surgical changes beat frantic reworks. If it still performs poorly, check player suitability and training matchups.
Pro Tips
- Use your best passer as Deep Lying Playmaker rather than forcing a role because of reputation; the role needs technique and vision.
- If opponents expose your full-backs, switch the Wing-Back (Attack) to Full-Back (Support) mid-game instead of immediately changing formation.
- Train pressing routines against teams that play long balls — your higher Line of Engagement needs recovery pace to avoid getting skipped.
- For the lone striker, Complete Forward (Support) works better early on because he links play and creates space for AMs.
- Watch set pieces. A tidy routine wins tight games; assign your most composed players for delivery and near-post flicks.
Common Mistakes to Avoid
- Packing too many attacking roles without defensive cover; you need balance or the AI will slice you on counters.
- Overloading instructions. Start minimal—extra instructions often conflict and confuse player AI.
- Expecting instant chemistry. New systems take 5-6 matches to click; immediate panic changes usually make things worse.
- Ignoring player attributes when assigning roles—names on the card lie; attributes don't.