
Donkey Kong Bananza Early Game Guide: Smash, Farm, Survive
Donkey Kong Bananza early-game guide: where to smash for bananium chips, which skills to pick, items to grab, and tricks to extend Bananza form and stay alive.
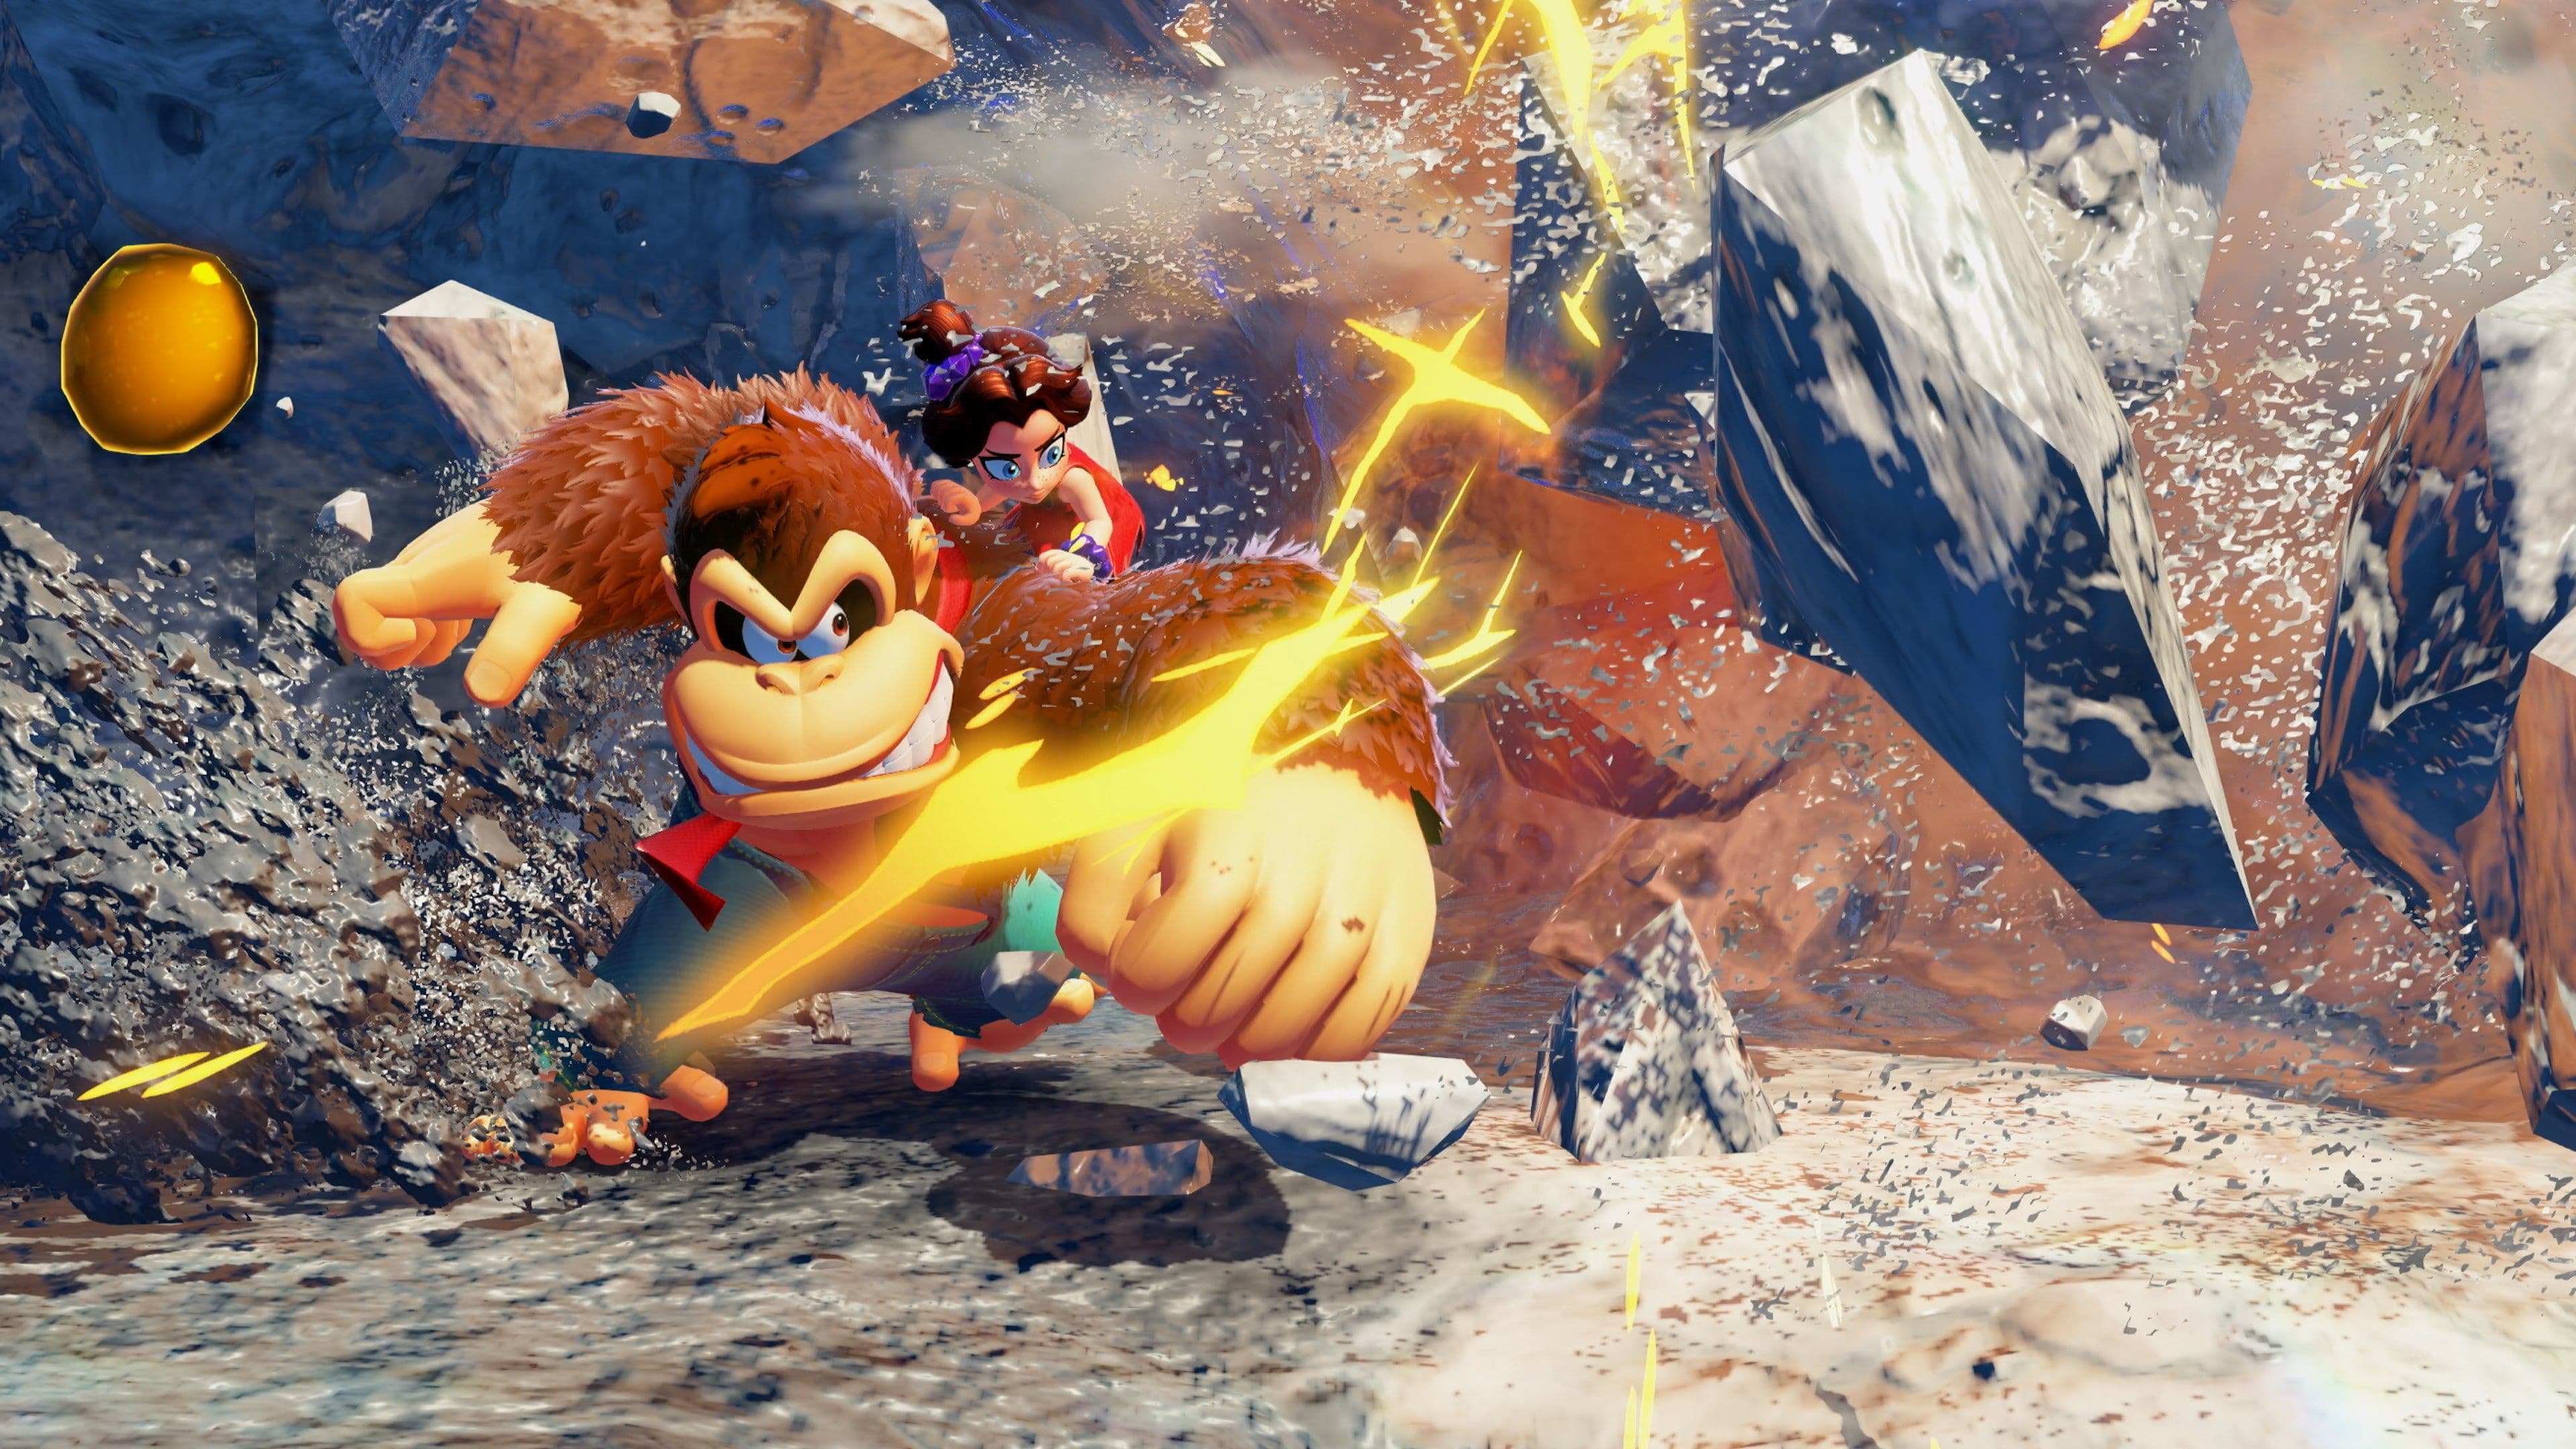
TL;DR
- Smash everything early to hoard bananium chips and gold — gems start at 10 chips, later cost 100 chips + 300 gold.
- Prioritize Banana Transformation, then Health — Max Banana Transformation = 130% duration (60s base); outfits + fossils extend Bananza time.
- Buy Treasure Tie (Lagoon) to increase chest spawns to 30% — use maps and pin with - then X or highlight with L to farm fossils.
- Bring Balloons, Apple juice, Melon juice; learn ZR/A/ZL throws, use R sonar, and fast travel via the mini-map to avoid dumb deaths.
What You Need to Know First
Before you start smashing like it's payday, get the basics straight. This table lists what to prioritize, where to find it, and why it matters.
| Item | Effect | Where to Get |
|---|---|---|
| Bananium chips | Currency for bananium gems and upgrades | Dropped by smashing terrain and enemies (early rooms pay off big) |
| Bananium gem | Spendable item for skill points (trade from chips) | NPC trader; starts at 10 chips, later costs 100 chips + 300 gold |
| Treasure Tie | Raises chest spawn rate (max 30%) | Clothing vendor in the Lagoon layer |
| Giddy Up Canyon Getup | Outfit that extends Kong Bananza time when leveled | Canyon layer shop; level via fossils |
| Fossils | Used to level outfits (and some quests) | Found on specific maps, chests, and terrain nodes |
| Balloons | Save you from fatal falls | Stuff shops and treasure chests |
| Apple juice | Revives full red hearts on death | Shops; can upgrade to carry more |
| Melon juice | Instantly activates Bonanza form | Shops and chests |
And a quick skill/upgrade cheat sheet — preserve these numbers, they matter more than your ego in the canyon:
| Skill Upgrade | Cost (Points) | Benefit |
|---|---|---|
| Banana Transformation Level 1 | 1 point | +10% Bonanza duration |
| Banana Transformation Max | 5 total | 130% duration (60 seconds base) |
| Health Upgrades | 7 total | Up to 10 hearts |
| Outfit Combo (e.g., Canyon) | Fossils vary | +80% Kong form time |
Prio order: get at least Banana Transformation to Level 2–3 early, then put points into Health. You want enough raw Bonanza uptime to actually use the power you paid for.
Hardware/UI notes: use the D-pad (Up) to open the skill menu. Press - for the mini-map, X to pin locations, and L to highlight collectibles on-screen. Those buttons will save you time and brain cells.
Step-by-Step Guide
This is the path I take when I start a new run — it gets you rolling fast and avoids the common early-game stumbles.
-
First room: smash everything.
- Make breaking terrain your opener. Bananium chips and gold pop off most nodes. You’ll often net enough chips to buy a bananium gem after clearing the first room.
- Always smash in Bananza form when you can; breaking gold fills the banana energy meter and chains your transform time.
-
Convert chips into power.
- Trade chips for bananium gems early (trades start cheap at 10 chips per gem). Remember the curve: it later ramps to 100 chips + 300 gold, so don’t hoard forever.
- Spend the first few skill points on Banana Transformation, then Health.
-
Hit the Lagoon for Treasure Tie.
- Buy Treasure Tie and level it when possible. At max it boosts chest spawn rates to 30% — chests give free items and maps that point to fossils and gems.
- Strategy: equip Treasure Tie, find a big swath of weak terrain, and go Kong Bonanza-mode to chain chests while refilling energy from gold drops.
-
Map everything and farm smart.
- Once you get a map, press - for the mini-map and pin locations with X. Use L to highlight paths and collectibles on-screen. Maps stop appearing once you’ve grabbed all for an area, so switch zones to keep the farm going.
-
Upgrade outfits and extend Bananza time.
- Collect fossils to level the Giddy Up Canyon Getup to three and get +80% Kong Bananza extension. Combine that with Banana Transformation Max (130% duration) and you’re at ~90 seconds of powered-up smashing.
- Table recap:
| Upgrade | Requirement | Result |
|---|---|---|
| Banana Transformation Max | 5 skill points | 130% duration (60s base) |
| Giddy Up Canyon Getup Level 3 | Fossils | +80% Kong Bananza time |
| Health Upgrades | 7 points | Up to 10 hearts (plus yellow hearts from getaways) |
-
Essentials for survival and movement.
- Stock Balloons, Apple juice, and Melon juice at shops or from chest farms. Apple juice revives full red hearts on death; Melon juice activates Bonanza immediately.
- Movement trick to cross gaps:
- Grab terrain with ZR
- Jump with A
- Throw mid-air with A
- Spin with ZL for extra distance
- If terrain looks broken, save at a checkpoint then press + to reset the map (it restores terrain but also dulls already collected items). Use R for sonar to reveal hidden gems or materials.
-
Talk to NPCs every time.
- Constructone builds or opens paths for gold. Quiztone quizzes you for a free bananium gem if you answer all 3 correctly. Smashtone rewards gems for how much terrain you destroy. Cranky Kong appears in sublayers and gives a free gem. Unlock getaways (house NPCs) to rest and gain bonus yellow hearts — handy before boss runs.
-
Terrain notes and tricks.
- Some terrain explodes when thrown (gold blocks, purple terrain). Others stick (mud, dirt, snow, sand) — stack those to reach hidden shelves or bridge gaps.
- Co-op terrain duplication is a niche but filthy trick for building bridges quickly if you know the inputs.
Follow this loop: smash -> trade -> skill -> outfit/fossil -> upgrade health -> repeat. It’s boring, efficient, and keeps you alive when the game thinks it’s funny to spawn a pit beneath you.
Pro Tips
- If you’re short on bananium chips, clear any small room twice rather than hunting rare nodes. Consistent small gains outpace RNG binges.
- Don’t max everything immediately. One extra Health point often beats a marginal damage increase in the early game — survivability scales better than ego.
- Use Treasure Tie plus a large terrain patch in Bonanza form: gold refills energy so you can chain transformations and chest spawns for rapid resources.
- Disable gyro for precise throws if you’re having aim problems. The ZR/A/ZL throw combo is more reliable without unintended camera drift.
- When farming fossils for the Giddy Up Canyon Getup, pin spawn points with - and mark them with X. It saves walking back and forth and feels like cheating (the good kind).
Common Mistakes to Avoid
- Grinding rare spawns instead of clearing common nodes — early game chips come faster from consistent smashing than hunting rare drops.
- Dumping points into niche skills before securing Banana Transformation and Health — you’ll regret a glass-cannon Kong on a cliff.
- Skipping Treasure Tie or forgetting to pin maps — you’ll miss out on steady chest and fossil runs that speed up progression.