Digifarm Mastery Guide — Digimon Story: Time Stranger
Use the Digifarm in Digimon Story: Time Stranger to passively train 30 Digimon, optimize Training Sets, boost Bond, use Load Enhancement and manage Personality.
TL;DR
- Unlock the Digifarm after defeating Raremon in the Reunions Bring Trouble quest — enter via the Kabukicho back alley In-Between Theater and speak to the receptionist (Mirei Mikagura).
- Place up to 30 Digimon to passively gain XP, gather materials, and raise Bond while you play; the farm works as an automated training facility.
- Use Training Sets (30 minutes) to target stats, feed items bought at Item Shops for fast Bond, and reply to Mirei Mikagura messages to auto-requeue training.
- Exploit Load Enhancement: convert at 200% scan rate, farm-train priority fodder, then use them as load material for big EXP boosts.
What You Need to Know First
Before you start redecorating like you’re opening an Etsy shop, get the mechanics down. The Digifarm is not just storage — it’s passive progression. Here are the prerequisites and must-have systems.
| Item | Effect | Where to Get |
|---|---|---|
| Digifarm | Houses up to 30 Digimon, passive XP, material gathering, supports Training Sets and feeding | Unlock after beating Raremon in Reunions Bring Trouble; enter via Kabukicho back alley → In-Between Theater and speak to the receptionist |
| Storage Box | Holds up to 999 Digimon (static storage) | Inventory menu |
| Training Sets | Targeted stat training; each session takes 30 minutes | Buy or unlock through farm UI (use multiple copies to train multiple Digimon simultaneously) |
| Food Items | Raises Bond (0-100%) quickly; no time cooldown between feeds | Any Item Shop |
| Mirei Mikagura messages | Notification system for training completion and requeue | Farm receptionist / Digiline messages |
| Conversion (200% scan rate) | Converts Digimon for Load Enhancement bonuses | Scanner / conversion menu |
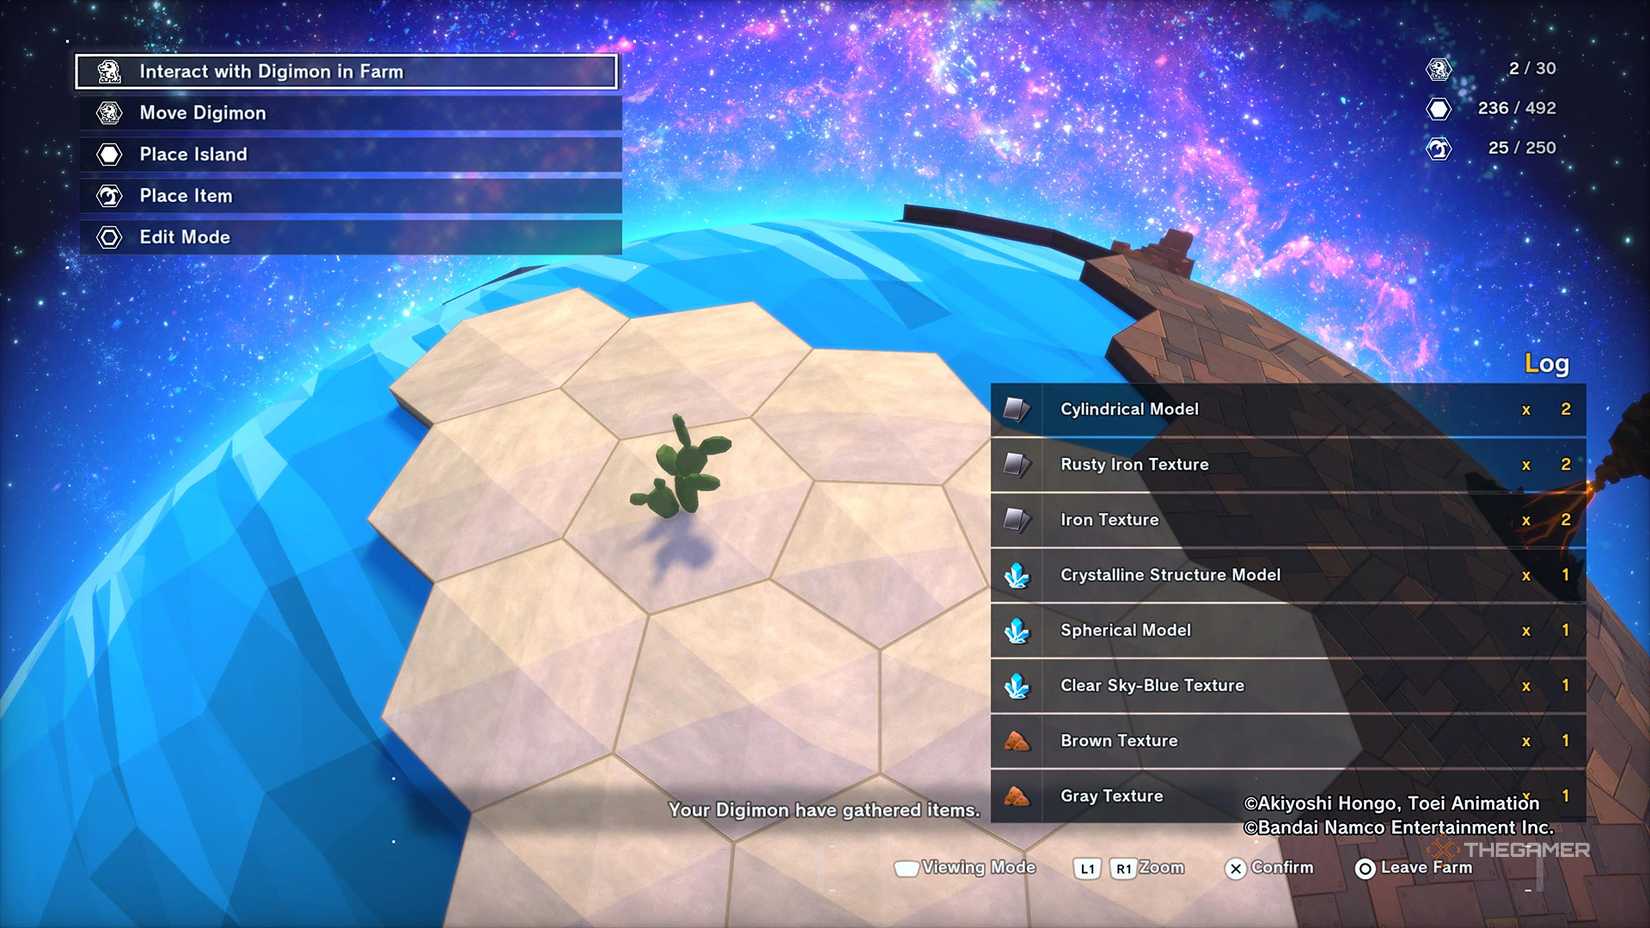
| Farm Tiles & Items | 492 tiles, 250 decorative items capacity; terrain can slightly affect environment | Farm customization menu |
Key numbers: training sessions take 30 minutes real-world time; Bond runs 0-100%; farm holds 30 Digimon while Storage Box holds 999; conversion at 200% scan rate gives bonus HP/EXP when used as load material.
Small but important: you cannot feed Digimon while they're actively training. Cancel or wait for training to finish before starting a feeding binge.
Step-by-Step Guide
Follow this like a recipe — except the main ingredient is Digimon and the oven is 30 minutes.
-
Unlock and access the Digifarm
- Complete the portion of the Time Stranger main quest up through defeating Raremon in the Reunions Bring Trouble storyline.
- Go to the Kabukicho back alley in Shinjuku, find the door to the In-Between Theater, speak to the receptionist and select "I wanna check out the Digifarm." You can return any time via that door.
-
Initial placement and priorities
- Immediately place newly converted Digimon in the Digifarm to soak passive XP and materials.
- Reserve space for at least one of each evolution line you’re working on — you’ll be rotating these into the party for specific fights.
-
Set up Training Sets (parallelize everything)
- Training Sets take 30 minutes each. If you want multiple Digimon to gain the same attribute, buy multiple copies of the same Training Set.
| Training Set Type | Primary Benefit | Time Required | Cost Method |
|---|---|---|---|
| Treadmill A | Speed / Agility boost | 30 minutes | Yen acceleration / Quick Complete |
| Strength Training | Attack power increase | 30 minutes | Yen acceleration / Quick Complete |
| Defense Drills | Defensive capabilities | 30 minutes | Yen acceleration / Quick Complete |
| Intelligence Focus | Special attack enhancement | 30 minutes | Yen acceleration / Quick Complete |
-
Use the Quick Complete Training option if you need immediate stats (spends Yen). Mirei Mikagura sends messages when training completes — reply to those messages to requeue training without visiting the farm.
-
Feeding and Bond management
- Buy food at any Item Shop. Feeding has no cooldown; you can stack items to quickly push Bond toward 100%.
- Bond matters for stat transfer during evolution and de-digivolution. Higher Bond = more bonus stats carried over.
- Bond increases from: battle participation, Digiline interactions, and direct feeding (fastest).
-
Material gathering and passive gains
- Farm-placed Digimon gather materials in parallel, useful for crafting and upgrading.
- They also accumulate the same experience as inventory Digimon, plus the farm bonuses and Bond interactions.
-
Load Enhancement loop (where the farm shines)
- Train fodder Digimon in the farm, then convert them at the 200% scan rate for max returns.
- Use those converted Digimon as load material — farm-trained units grant significantly more EXP than untrained ones.
| Step | Action | Why it works |
|---|---|---|
| 1 | Convert at 200% scan rate | Bonus HP/benefits on conversion |
| 2 | Place in Digifarm | Passive leveling and stat-focused Training Sets |
| 3 | Apply targeted Training Sets | Shape Personality/stat profile for future evolution |
| 4 | Use as Load Enhancement fodder | Big EXP boost to priority Digimon |
-
Personality and environment
- Personality affects evolution requirements and training efficiency. The farm environment, training selection, and which Digimon cohabit can nudge Personality.
- Decorative items are mostly cosmetic (492 tiles, 250 items); prioritize functional terrain that subtly assists desired outcomes if you’re chasing narrow evolution paths.
-
Daily workflow (optimal)
- Convert a handful of fodder to 200% scan rate, drop them in the farm immediately.
- Equip multiple Training Sets that match the stat profile you want.
- Feed your key Digimon to push Bond before final evolution.
- Rotate trained fodder back into conversion and use for Load Enhancement on your priority team.
If this sounds like busywork, it is — but it's busywork that makes your main party feel unfairly efficient. Think of the Digifarm as your salaried intern who actually delivers results.
Pro Tips
- Always keep at least one extra copy of a Training Set you use often. Training Sets are unlimited use, but you need duplicates to train multiple Digimon at once with the same regimen — don’t bottleneck your parallel queue.
- Stagger training completion times to avoid message spam. If all 30 Digimon finish together you’ll choke on notifications; stagger start times and reply to Mirei Mikagura to requeue without visiting.
- Prioritize Bond for Digimon you intend to evolve or de-digivolve into load material. A 90–100% Bond means cleaner stat transfers and better returns during Load Enhancement.
- When short on Yen, cycle fodder through passive farm XP before converting. The farm boosts final load EXP far more than putting raw converts straight into conversion; it’s more work but pays off.
Common Mistakes to Avoid
- Treating the Digifarm as extra storage: leaving Digimon idle wastes its passive XP and material-gathering potential.
- Training one Digimon at a time with limited Training Set copies — you lose the farm’s parallel advantage.
- Feeding while a Digimon is mid-training and expecting Bond increases — the game blocks feeding during active training sessions.
- Ignoring Personality when planning evolutions; certain lines require specific Personality traits and the farm influences those shifts.