INTERMEDIATEBorderlands 4
Borderlands 4 Movement: Glide, Grapple & Digirunner Controls
Master gliding, grappling, and movement in Borderlands 4 on Kairos. Full controller and PC input breakdown, Digirunner tips, combos, and common mistakes.
By Esportz.fun Team
Archive · original publication date unavailable
9 min read
TL;DR
- Glide by holding the jump button again after a jump — use it to cover distance, escape, or ambush enemies.
- Grapple to yellow anchor points then chain into a glide or dash for huge range and positioning advantage.
- Digirunner is summonable anywhere; use boost to cross gaps and let a passenger man the turret in co-op.
- Remap controls if needed, lower mouse sensitivity for aerial shooting, and practice combos in tutorial areas.
What You Need to Know First
Before you start blasting across Kairos, get these basics sorted. No hidden requirements — but a little prep goes a long way.
| Item | Effect | Where to Get |
|---|---|---|
| Minimum Practice | No level gate, but tutorial areas teach glide/grapple timing | Starting zones / early missions |
| Grapple Anchor Points | Enable grappling — usually yellow and obvious | Open world: look for yellow anchors |
| Digirunner | Personal hover bike with boost and turret options | Available by default on Kairos (summonable) |
| Repkit | Heals, shields, or temporary buffs depending on type | Loot, vendors, or world drops |
| Action Skill & Ordnance | Your class power and cooldown-based explosive option | Character selection / unlocked by level |
| Licensed Parts system | Weapon component combos that change behavior | World drops — every gun roll can surprise you |
Quick note: practice chaining movement—grapple -> glide is the bread-and-butter. Start from low heights to learn the physics before trying to pull off a cinematic drop onto a mob camp.
Step-by-Step Guide
- Get the controls mapped and comfortable
| Function | PlayStation 5 | Xbox Series X/SPC (Default) | PC |
|---|---|---|---|
| Fire Weapon | R2 | Right Trigger | Left Click |
| Aim Down Sights | L2 | Left Trigger | Right Click |
| Action Skill | L1 | Left Bumper | F |
| Use Ordnance | R1 | Right Bumper | G |
| Reload/Interact | Square | X | R / E |
| Melee/Grapple | R3 (Click) | Right Stick | V |
- Learn the movement basics
| Function | PlayStation 5 | Xbox Series X/SPC (Default) | PC |
|---|---|---|---|
| Jump/Glide | X | A | Space |
| Crouch/Slide/Dash | Circle | B | Ctrl |
| Sprint | L3 (Click) | Left Stick | Shift |
| Move | Left Stick | Left Stick | WASD |
- How to glide
- Jump from any elevated position. While airborne, press and hold the jump button again to deploy your glider.
- You slowly descend while keeping forward momentum. Use this for: long jumps between platforms, surprise drops on enemies, and escaping bad engagements.
- Use gliding as a combat tool
- Enemies struggle to track airborne targets. That extra second lets you line up headshots, reposition, or drop into cover.
- Combine Aim Down Sights while gliding for controlled airshots; lower your mouse sensitivity for better aerial precision.
- Advanced movement combos (order matters)
- Grapple + Glide: Grapple to a high point (yellow anchor), then immediately deploy glide to extend range.
- Slide + Jump + Glide: Build speed with a slide, jump at the end, then glide for maximum distance.
- Dash + Grapple: Dash to refine your angle before hooking to anchors.
- Double Jump + Glide: Use the double jump for extra height, then glide for long trajectories.
- Weapon and equipment flow
| Item | Effect | Where to Get |
|---|---|---|
| Weapon Wheel | Fast switch during calm moments | Triangle / Y / Middle Mouse |
| Change Gun Mode | Alternate fire modes on some weapons | D-Pad Down |
| Licensed Parts | Mix-and-match weapon perks | World drops — pay attention to manufacturer combos |
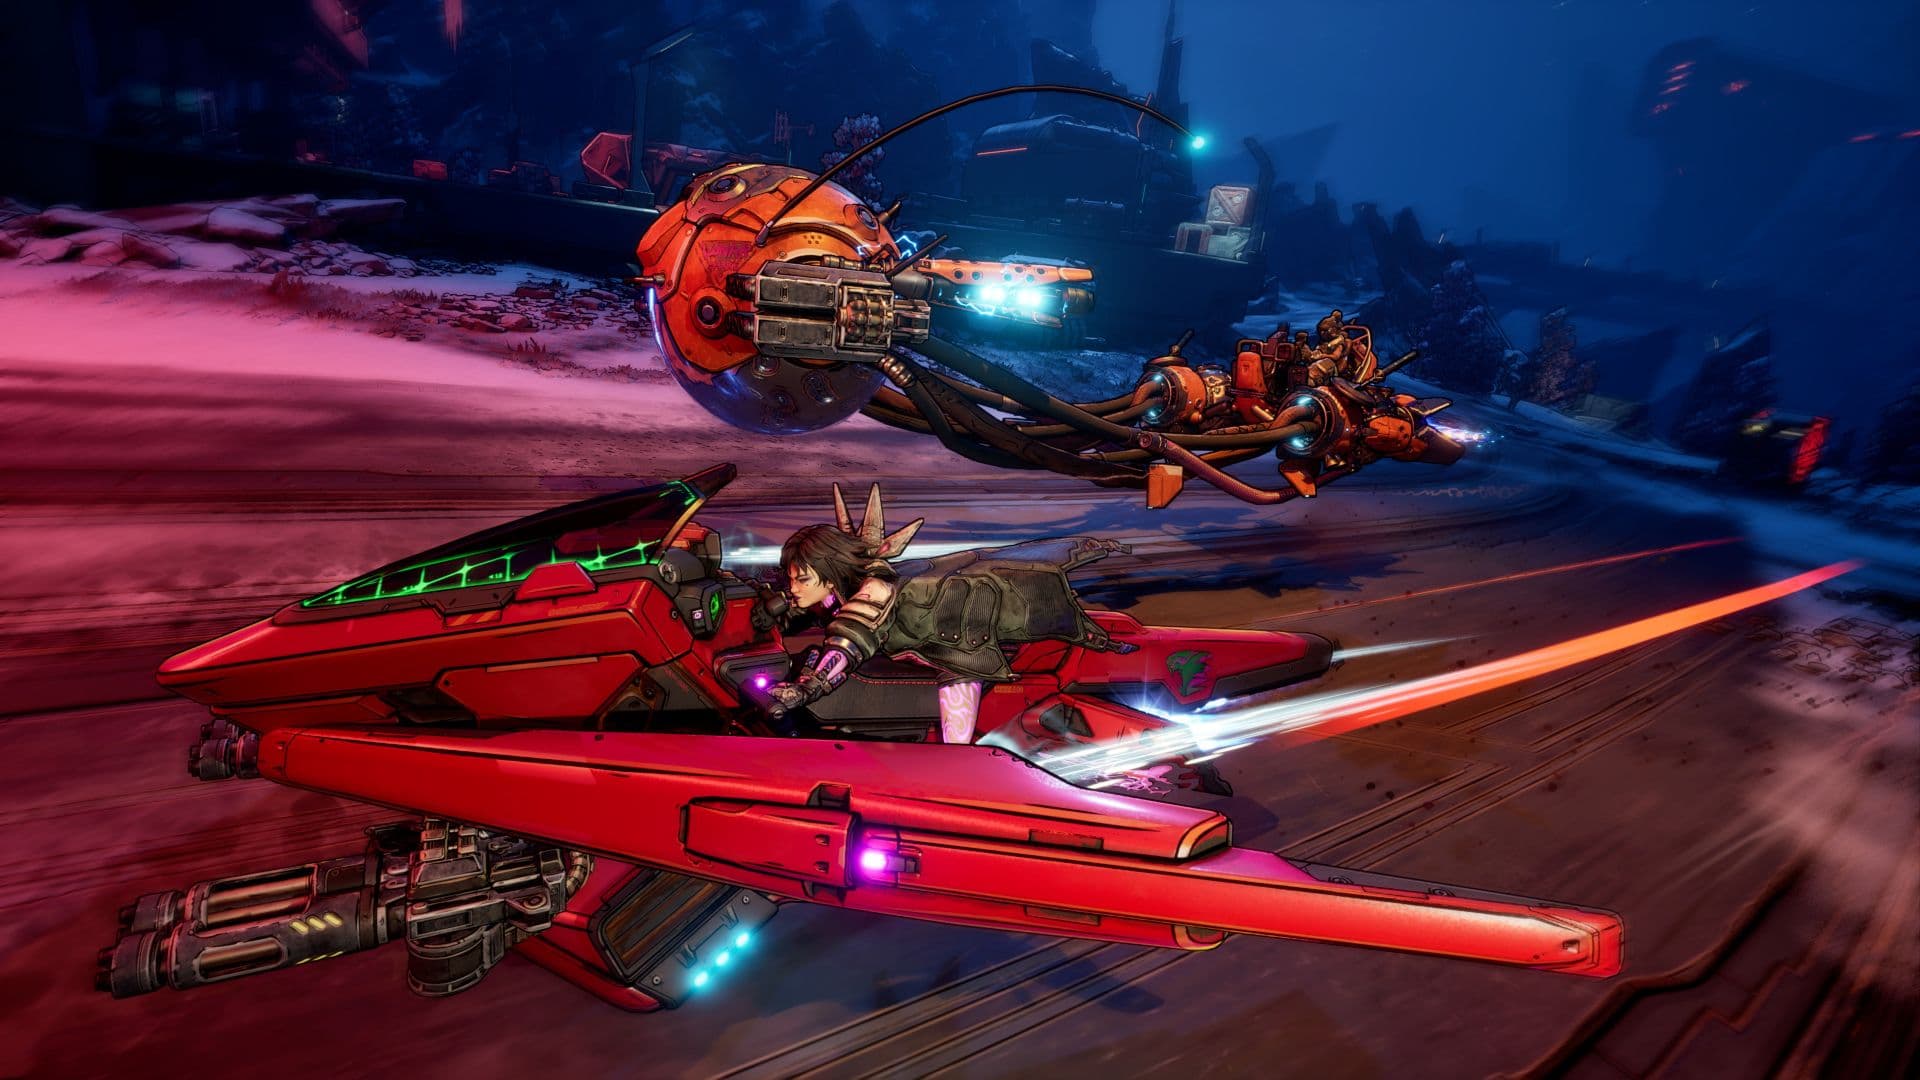
- Vehicle basics — Digirunner operation
| Function | PlayStation 5 | Xbox Series X/SPC (Default) | PC |
|---|---|---|---|
| Accelerate | R2 | Right Trigger | W |
| Brake/Reverse | L2 | Left Trigger | S |
| Boost | L1 | Left Bumper | Shift |
| Fire Weapon | R1 | Right Bumper | Left Click |
| Exit Vehicle | Circle | B | X or E |
- Boost is vital for clearing ravines or escaping. In co-op, split driver and turret to make the Digirunner lethal on the move.
- Utility and QoL
| Item | Effect | Where to Get |
|---|---|---|
| ECHO Menu | Map, quests, inventory | Touchpad / Menu / Tab |
| TPing/Mark | Ping enemies or loot | D-Pad Up (Hold) / Middle Mouse |
| Repkit Usage | Tactical heals and buffs | D-Pad Left |
- Accessibility & optimization
- Button remapping and hold/toggle options exist on all platforms. PC players should tweak mouse sensitivity for gliding sequences; aerial shooting feels different from ground strafing.
- Use DualSense features on PS5 if you like tactile feedback; Xbox and PC have their own perks like Quick Resume and higher frame rates.
- Practice routine
- Spend 20–30 minutes in the early tutorial or low-risk areas chaining grapple -> glide -> boost. Muscle memory here translates directly to survival in harder encounters.
Pro Tips
- Treat the glide like a sprint cooldown: don't fling yourself off every cliff unless you're sure of the landing.
- When grappling to a high ledge, aim slightly above it to keep momentum for an immediate glide; timing the second jump extends range.
- Use Ordnance in mid-air to force enemy flinches — it buys you time on the landing and can stagger heavy targets.
- In co-op, call your dive points with TPing so the driver knows where to boost; coordinated Digirunner dives win fights.
- On PC, have two mouse sensitivity profiles: one for ground strafing and one lower profile for gliding/air aiming.
Common Mistakes to Avoid
- Spamming glide from flat ground — it won't deploy unless you're airborne, and you just wasted a button press.
- Over-relying on boost for vertical gaps — sometimes a well-timed grapple + glide is the less risky option.
- Ignoring Licensed Parts — that 'meh' pistol can be terrifying with the right manufacturer combo.
- Not adjusting mouse sensitivity for aerial shots — makes headshots mid-glide feel like trying to thread a needle blindfolded.