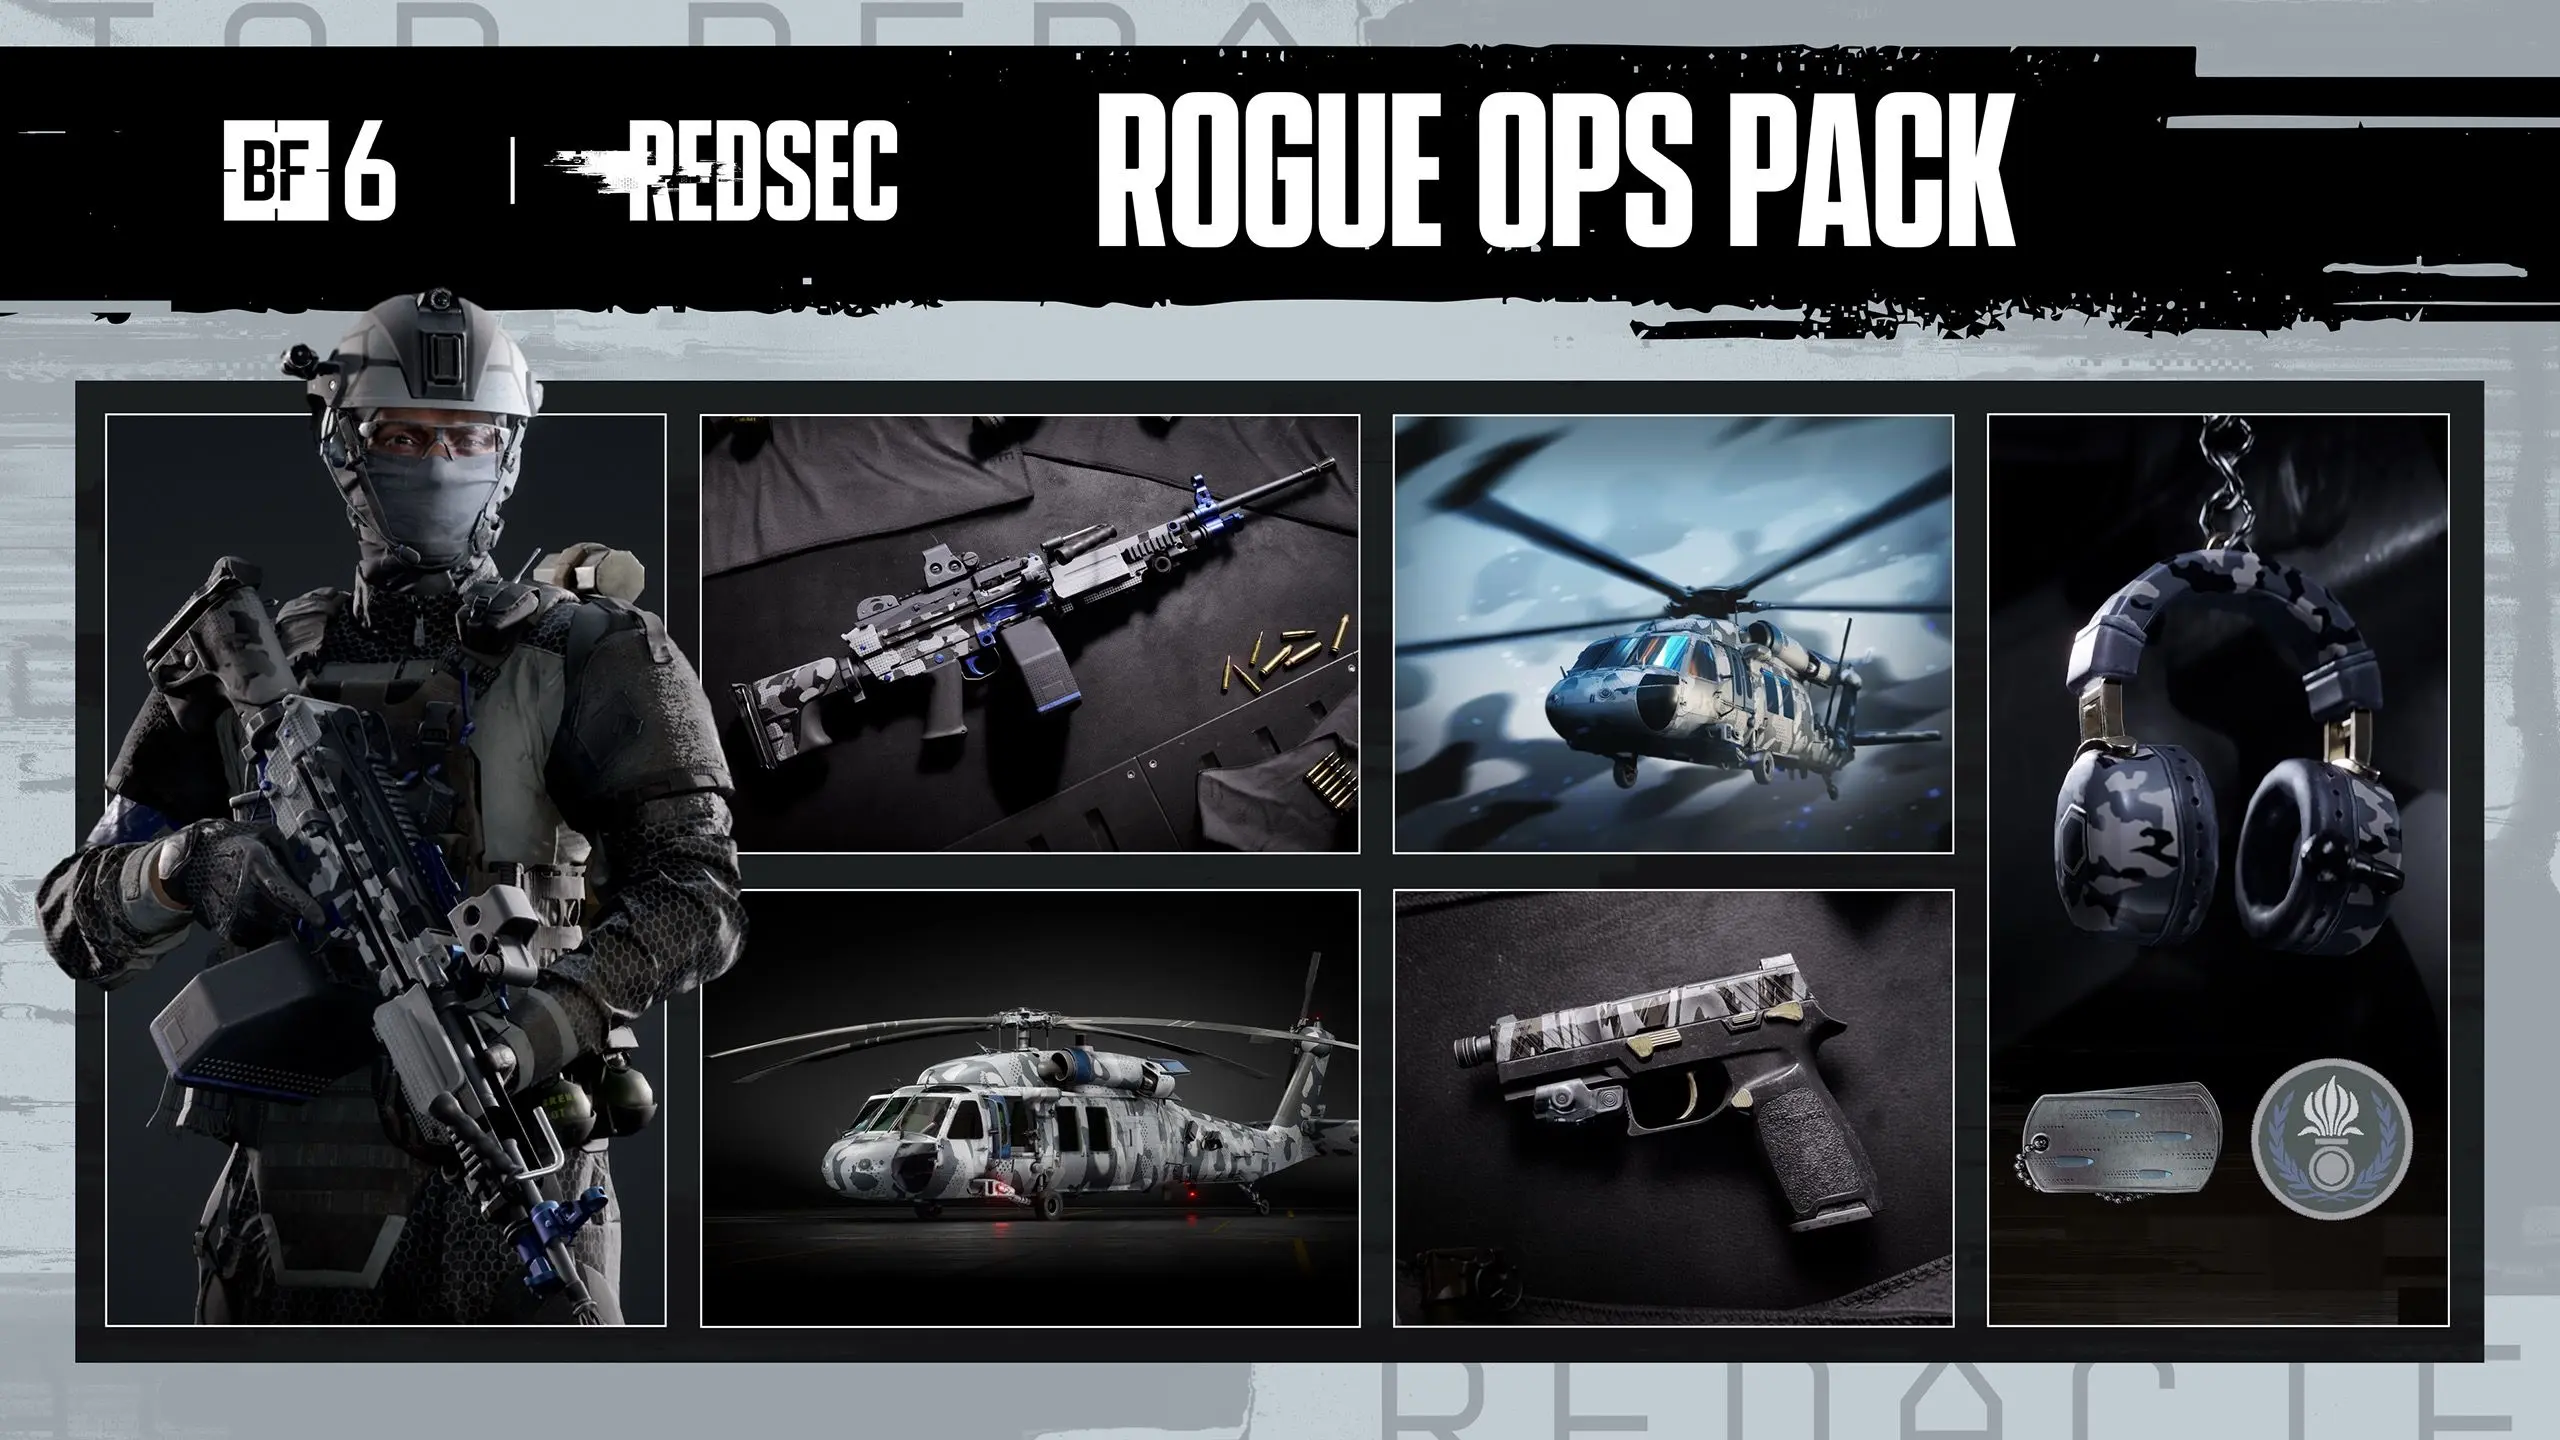
REDSEC Best Meta Loadouts — Battlefield 6
Fast REDSEC loadout guide for Battlefield 6's View All. Best SMG, AR, LMG and DMR builds, must-have attachments, contract timing, and Fort Lyndon positioning.
TL;DR
- REDSEC uses contracts or a mid-match public loadout drop for personal kits — early choices and loot adaptability win fights.
- MP5 and SCW-10 are the close-range kings; M87A1 and USG-90 handle building clears and sustained CQB.
- KTS-100 MK8, AK-205, M25, and M39 EMR own long-range; SOR-556 Mk2 is your reliable generalist AR.
- Prioritize suppressors, grips, and barrels inside the attachment point system; scout drops and split squad roles.
What You Need to Know First
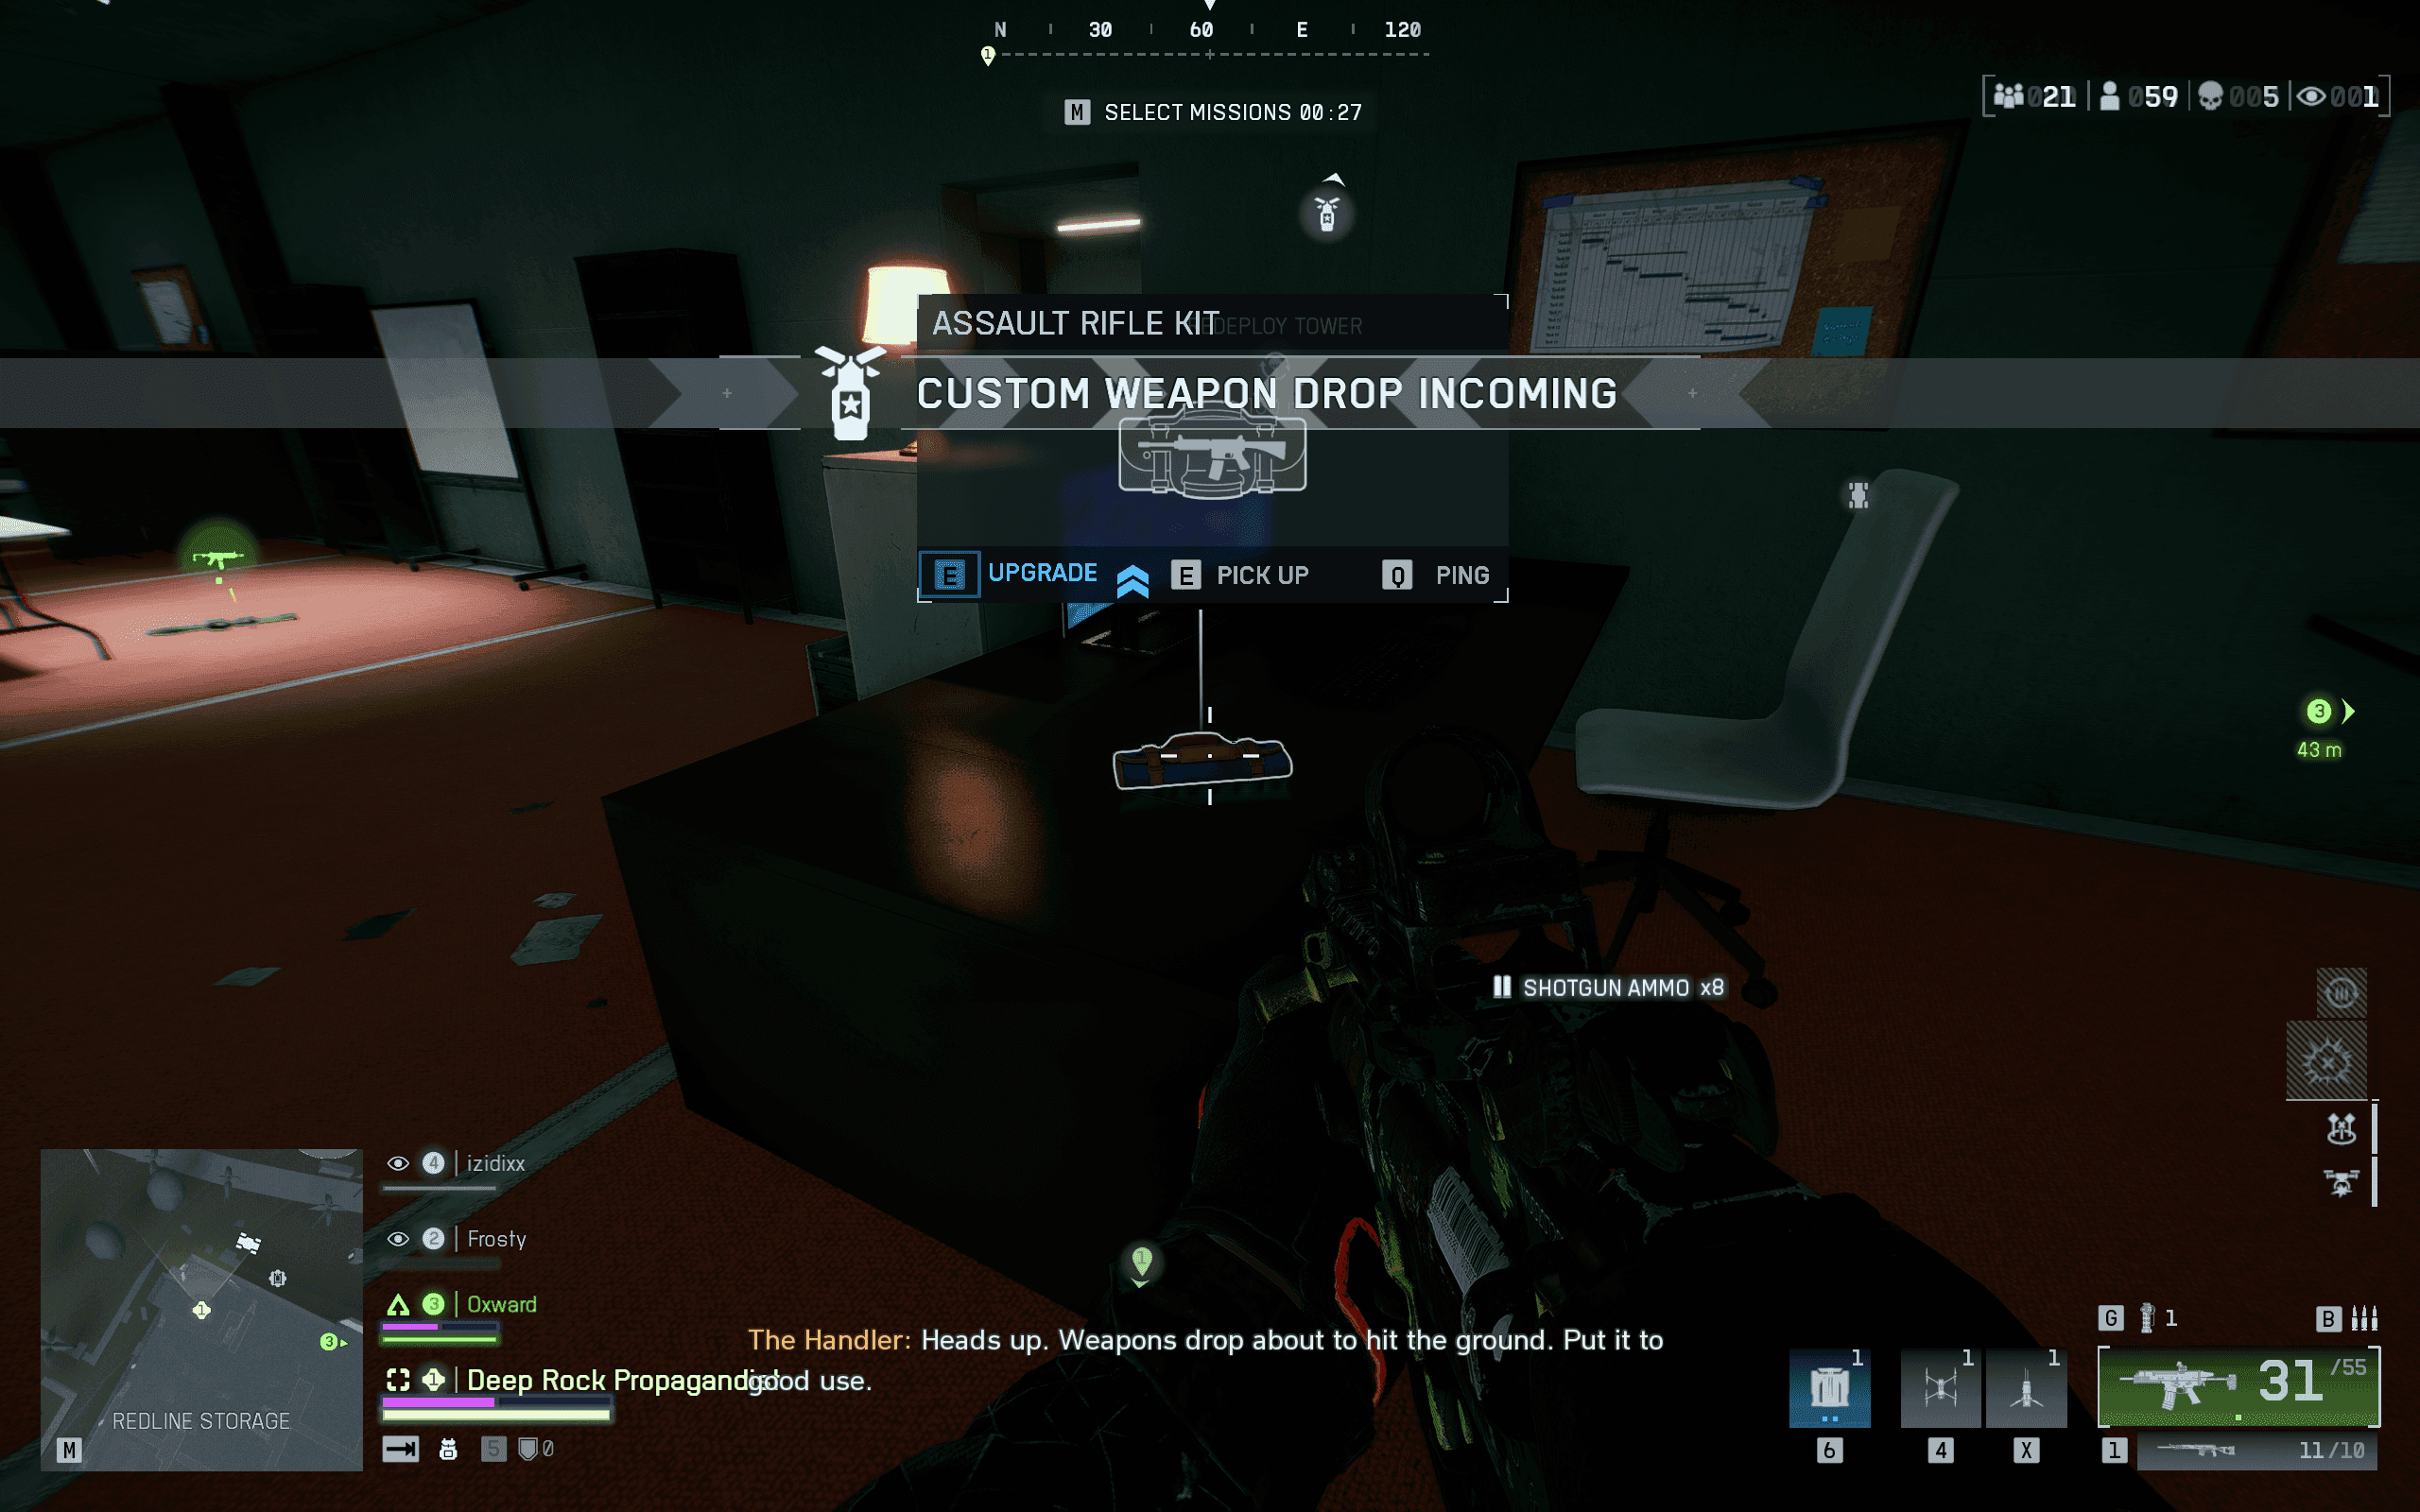
Quick primer before you start looting Fort Lyndon. Contracts = personal loadouts if you finish them early. Miss that? The public loadout drop shows up mid-match and becomes a fight magnet.
| Item | Effect | Where to Get |
|---|---|---|
| Contract | Unlocks your personal loadout when completed | Start of match — usually short objectives (secure intel, capture point) |
| Public Loadout Drop | Mid-match drop containing a full loadout | Spawns halfway through match; accessible to anyone nearby |
| Suppressors (CQB Suppressor, Tactical Suppressor) | Reduce muzzle flash and sound; essential for stealth | Attachment unlocks via progression or ground loot |
| Underbarrels / Grips (Ribbed Stubby, Stubby Grip, Stippled, Low Profile) | Improve recoil control and handling | Ground loot / attachments stations |
| 40 Round / 36 Round / 50 Round Mags | Mag size changes sustain and TTK | Weapon-specific unlocks and ground loot |
| Level Requirements (KTS-100 MK8, etc.) | Some weapons need level gating (20-25 for full KTS-100 MK8) | Player progression / unlocks |
A few notes: Fort Lyndon is mixed terrain — industrial, open plains, suburbs and destructible buildings. The ring closes quicker than usual BRs, so you’ll be moving. Attachment points are limited by a point system — every upgrade costs points, so you’ll have to choose fights and stats more carefully than in standard multiplayer.
Step-by-Step Guide
-
Early-match: Decide contract or loot. If your team can reliably finish a contract, do it — personal loadouts beat scrambling later. If not, plan to secure the public loadout drop but treat it like a chokepoint.
-
Early loot priorities (first 60–90 seconds):
- Suppressor (CQB on SMGs, Tactical on rifles)
- Underbarrel/Grip for recoil control
- Extended or appropriate barrel depending on range needs
- Extra mags if you expect sustained fights
-
Evaluate ground weapons quickly. Don’t cling to one plan. If you wanted an M39 EMR but only find an AK-205 and a Stippled Grip, switch to mid-range play and avoid long open sites until you find cover.
-
Attachment point triage: Spend points on handling over optics early. A suppressed, controllable gun beats a laser-pointer rifle that slaps you with bloom.
-
Mid-match: public loadout drop tactics
- Use recon drones or ping spots before committing.
- Send a fast teammate to contest while others hold angles.
- If you win the drop, redistribute roles: one close-range (MP5/SCW-10), one mid (AK-205/SOR-556 Mk2), one long (KTS-100 MK8/M39 EMR).
-
Late-game: Adjust to circle. If the ring tightens into a town, prioritize shotguns and SMGs (M87A1, USG-90). If it closes onto open plains, bring the KTS-100 MK8 or M25 and play support from high ground.
Sample weapon build table (use as templates, tweak for attachment points):
| Weapon | Key Attachments | Role / |
|---|---|---|
| MP5 | CQB Suppressor, Extended Barrel, Ribbed Stubby, 40 Round | Aggressive CQB rushes |
| SCW-10 | CQB Suppressor, Lightweight Ammo, Stubby Grip | Fast TTK close-range duels |
| M87A1 | Tight Choke, Extended Barrel, Suppressor | Building clear shotgun |
| USG-90 | CQB Suppressor, Light Barrel, 50 Round | Sustained close-range fights |
| KTS-100 MK8 | Long Barrel, Marksman Scope, Heavy Bipod | Long-range suppression/support |
| AK-205 | Tactical Suppressor, Light Barrel, Stippled Grip | Versatile mid-long engagements |
How to split squad roles (simple and effective):
| Playstyle | Primary | Secondary | Notes |
|---|---|---|---|
| Rusher | MP5 / SCW-10 | M87A1 / USG-90 | Close the gap and force fights |
| Support | KTS-100 MK8 / M39 EMR | MP5 | Hold angles, control space |
| Flex | AK-205 / SOR-556 Mk2 | SGX | Middle ground, adapt to loot |
Final step: always check your attachment point budget before committing. You can’t slap on everything; the right grip and suppressor beat a fancy scope half the time.
Pro Tips
- Suppressors are game-changers. They let you reposition and third-party without screaming your location. CQB Suppressor on SMGs, Tactical on rifles — choose based on range, not aesthetics.
- Don’t use lasers unless you want to be obvious. Tiny beams in REDSEC are as loud as a yacht horn at midnight; they reveal your position before an enemy can even ping you.
- When contesting a public loadout, use a vertical slice: one teammate pokes from cover while another watches flanks. Full commits into drops without intel usually end in regret.
- If you’re level-gated (KTS-100 MK8 at 20–25), lean on AK-205 or SOR-556 Mk2 until you unlock it. Practice recoil control now so the transition feels natural later.
- Spread roles in your squad. One close-range brawler, one mid-range anchor, one long-range support will outplay three identical loadouts 9 times out of 10.
Common Mistakes to Avoid
- Chasing the public loadout without recon — drop zones are deathtraps if you walk in blind.
- Maxing optics over handling within attachment point limits — flashy scopes don’t stop bullets or bloom.
- Ignoring suppressors because they reduce visible range — stealth and repositioning save more fights than raw range in REDSEC.
- Running solo with a long-range kit into tight urban circles — you’ll be outgunned at the door every time.