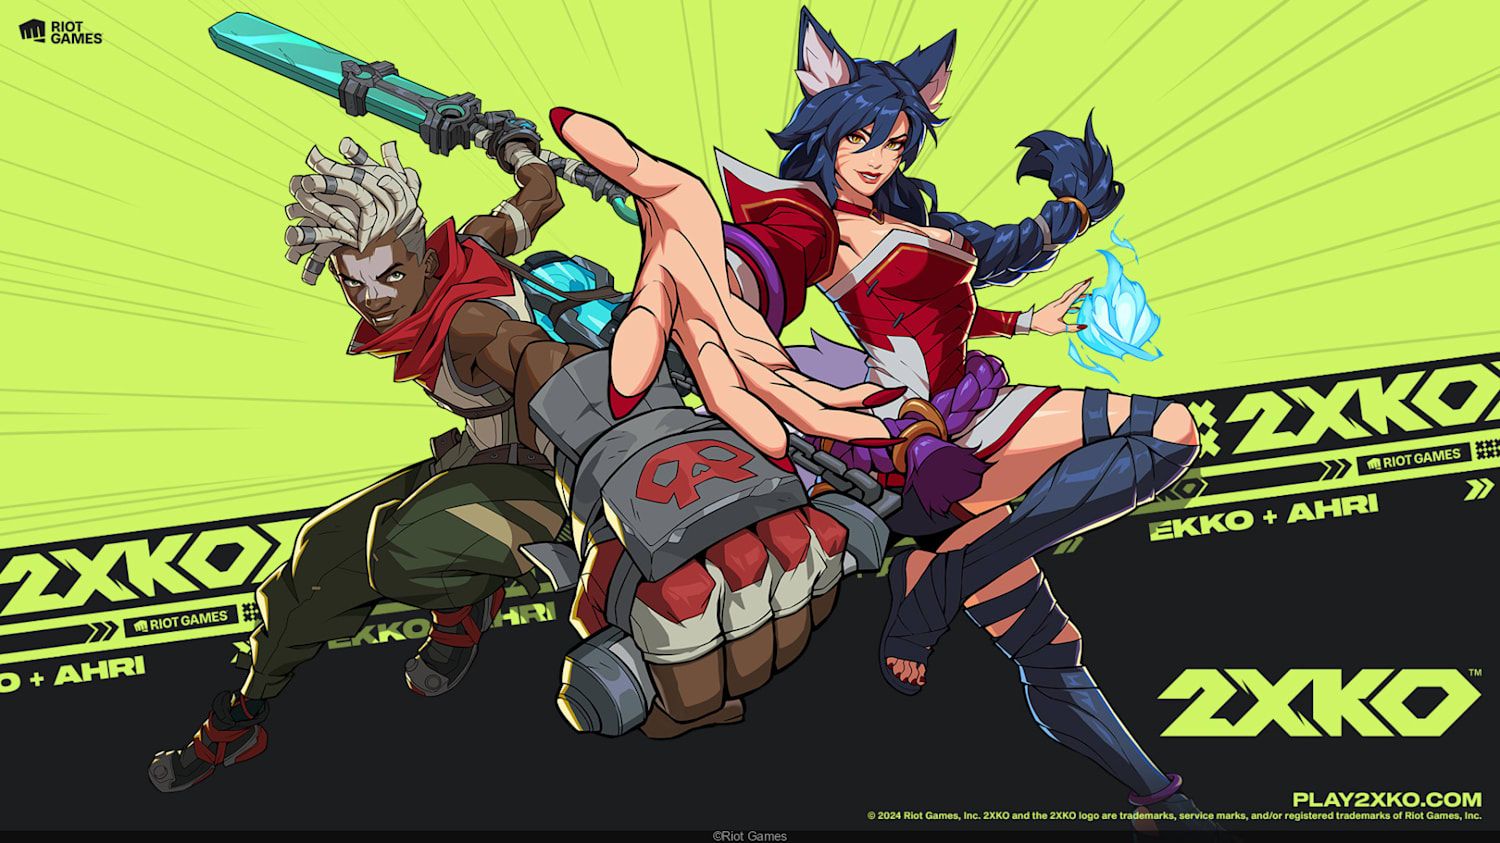
Early Meta Tier List: Best Champions & Team Picks
Early View All tier snapshot: Vi, Darius, Teemo and Ekko dominating tournaments. Read quick picks, team synergies, risky counters, and what to practice first.
TL;DR
- Vi, Darius, and Teemo are the most consistent early top performers; Yasuo and Ekko are execution-heavy threats.
- Blitzcrank shines as an assist — Braum and Illaoi need setup to be relevant on point.
- Prioritize team synergy (Vi+Jinx, Darius+Yasuo, Ekko+Ahri); tags beat one-trick solo power.
- Study Super_Nune’s Echo+Darius win at Tampa Never Sleeps and SonicFox’s Jinx clips for practical setups.
What You Need to Know First
This is a snapshot, not gospel. Week-one trends are noisy, but the tournament data already points at reliable patterns: Vi placed in five top brackets, Yasuo in four, and Blitzcrank in three. Echo and Darius were the winning duo at Tampa Never Sleeps (Super_Nune). If you want to climb or prep for locals, focus on execution windows and assist timing before theorycrafting gimmicks.
| Item | Effect | Where to Get |
|---|---|---|
| Minimum Practice Hours | 10–20 hours in training for execution-heavy champs (Yasuo, Ekko) | Training Mode / Local Lab |
| Recommended Level Cap | Play to higher-level matchups; learn neutral and pushblock timings | Ranked / Scrims |
| Essential Assists | Ahri (extensions), Blitzcrank (restands), Jinx (zoning coverage) | Roster / Tournament VODs |
| Meter Awareness | Must know DHC routes and meter-efficient confirms for Darius and Yasuo | Training Mode |
| Key VODs | Echo + Darius (Tampa Never Sleeps), SonicFox Jinx clips | YouTube / Twitch |
Quick callouts:
- Vi: gap-closing, strong neutral and consistent conversions. She's the easiest immediate payoff for players learning the meta.
- Darius: simple execution, Apprehend creates true throw situations and wound damage scales pressure.
- Teemo: control and invisible positioning make him a tempo disruptor; patience rewards you.
If you’ve got limited lab time: prioritize assist timing for Ahri and Blitzcrank, then spend remaining sessions on one execution-heavy point (Yasuo/Ekko) and one reliable point (Vi/Darius).
Step-by-Step Guide
-
Pick a reliable anchor and an assist that complements it.
- Start with Vi or Darius on point if you want straightforward results. Vi handles approach and pressure; Darius opens windows opponents can't escape.
- If you prefer execution reward, pick Yasuo or Ekko — they scale harder but require time.
-
Learn one assist and its exact timing.
- Ahri: OTG extensions and 2x Assist combos.
- Blitzcrank: restands and forced mixups — his assist changes neutral for your team.
-
Lab the bread-and-butter combos until they’re muscle memory.
- Practice meter management: know when to DHC into Yasuo or when to cash out for maximum damage.
- Test common punishes against pushblock and raw tag to avoid getting baited.
-
Build two team archetypes and stick with them while you climb.
| Team | Core Strategy | Why It Works |
|---|---|---|
| Vi + Jinx | Rushdown + Zoning | Vi forces entries; Jinx punishes failed approaches |
| Darius + Yasuo | Power + Precision | Darius opens wounds, Yasuo converts huge solo damage |
| Ekko + Ahri | Control + Extension | Ekko’s layered setups + Ahri’s OTG stretches combos |
| Teemo + Warwick | Setup + Payoff | Teemo control feeds Warwick Bloodlust stacks |
-
Watch the right VODs and copy one setup per week.
- Analyze Super_Nune’s Echo+Darius run from Tampa Never Sleeps: focus on how they chain pressure and force bad defensive options.
- Watch SonicFox’s Jinx gameplay to see setup windows and trap placement in real scenarios.
-
Put it into practice: scrim, adjust, repeat.
- Use ranked to test matchups, then scrim a different player to adjust team composition.
- If a character feels underperforming (Braum, Illaoi on point), swap roles: try them as an assist or change team order.
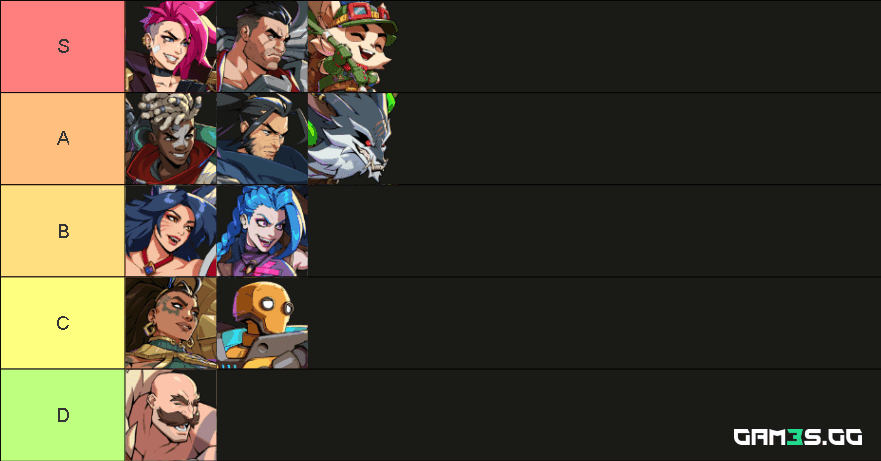
Tier breakdown (quick reference):
| Tier | Champions | Why |
|---|---|---|
| S | Vi, Darius, Teemo | Strong neutral tools, reliable conversions, tempo control |
| A | Ekko, Yasuo, Warwick | High ceiling; Ekko and Yasuo can dominate but need practice |
| B | Ahri, Jinx | Exceptional assist value; Jinx needs protection to reach S potential |
| C | Illaoi, Blitzcrank | Setup-dependent; Blitzcrank is much stronger as an assist |
| D | Braum | Good damage but weak neutral; best used as support unless meta shifts |
-
Meta hygiene: iterate weekly.
- Re-check tournament results and scrub new VODs — early metas shift fast.
- If a champ starts popping in top tiers (like Blitzcrank as assist), adapt your team or ban them in scrims.
Final note: team synergy beats raw strength in View All’s tag system. A mid-tier point with perfect assists and timing will outscore a popular S-tier played poorly.
Pro Tips
- Practice the exact frame for Ahri’s OTG — missing it loses 20–30% combo carry on some routes.
- Against zoning Jinx, use Vi’s gap-close preemptively; force a committed approach and punish the startup.
- Yasuo players: spend more lab time on whiff recovery than new combos. His punish windows are brutal if you can’t convert safely.
- Blitzcrank is game-changing as an assist. If your team lacks a lockdown, prioritize him over a flashy point pick.
- Record your matches and watch only the first and last 30 seconds — you'll spot the entry patterns and death loops fast.
Common Mistakes to Avoid
- Playing Braum or Illaoi on point without a setup plan — they need space and screen control to function.
- Treating Ekko and Yasuo like beginners’ picks; their high ceilings punish sloppy execution.
- Neglecting assist timing for Ahri and Blitzcrank — losing a single extension often costs rounds.